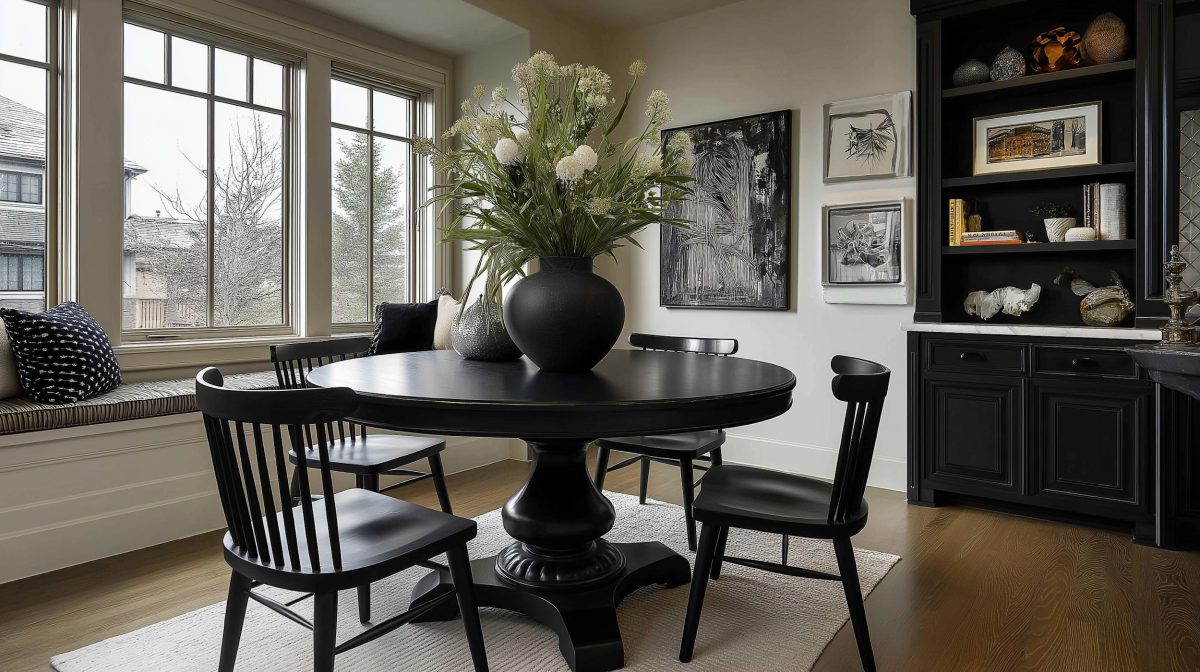
Looking for some DIY ideas to decorate your dining table? You’re at the right place! Here are some crafty ideas that can add warmth and unique touch to your dining table, with step-by-step instructions to create each look.
Project #1. Vegetable Dyed Table Runner
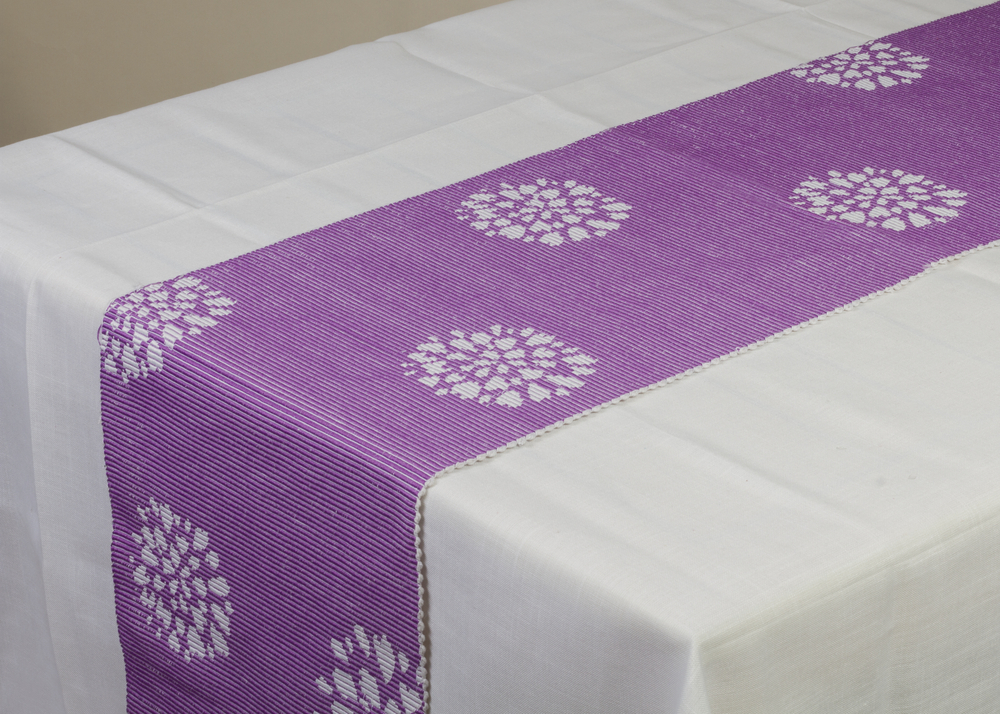
This pretty table runner has been handcrafted using a stencil cut out from freezer paper and vegetable dye using beets. You will need quite a bit of patience, but the end result is worth it as you can see!
Materials Used:
- 60 cm wide cotton fabric to the length you require (measure the length/width of your table and add around 30 cm as an overhang on either side). Hem the edges.
- One kg juicy beetroot
- A large pot
- Freezer paper to cut the stencil
- Sharp knife
- Flour to make a paste
- An iron
Method:
- Draw or print out the design you have picked and placed a length of freezer paper over the design. Secure it with tape.
- Cut out the design with a sharp knife, and make a number of such stencils.
- Lay the fabric straight, and iron the stencil onto the fabric with the shiny side of the freezer paper facing the wrong side of the cloth. You can also tape it down so it doesn’t move.
- Make a paste of flour and brush it over the stencil. Allow it to dry completely. You may need to leave it overnight.
- Put the pot of water to boil and add the cut beets. The water should just cover the beets. Let it simmer for an hour and then strain to get a lovely violet dye.
- Turn everything upside down so that the flour coating is below, and the right side of the cloth is now on top. Using a sponge, paint the dye over the flour coat.
- Once it is dry, peel the fabric away from the stencil and flour. Your design will have imprinted on the cloth.
- Get ready for the compliments!
Project #2. Pumpkin Centrepiece
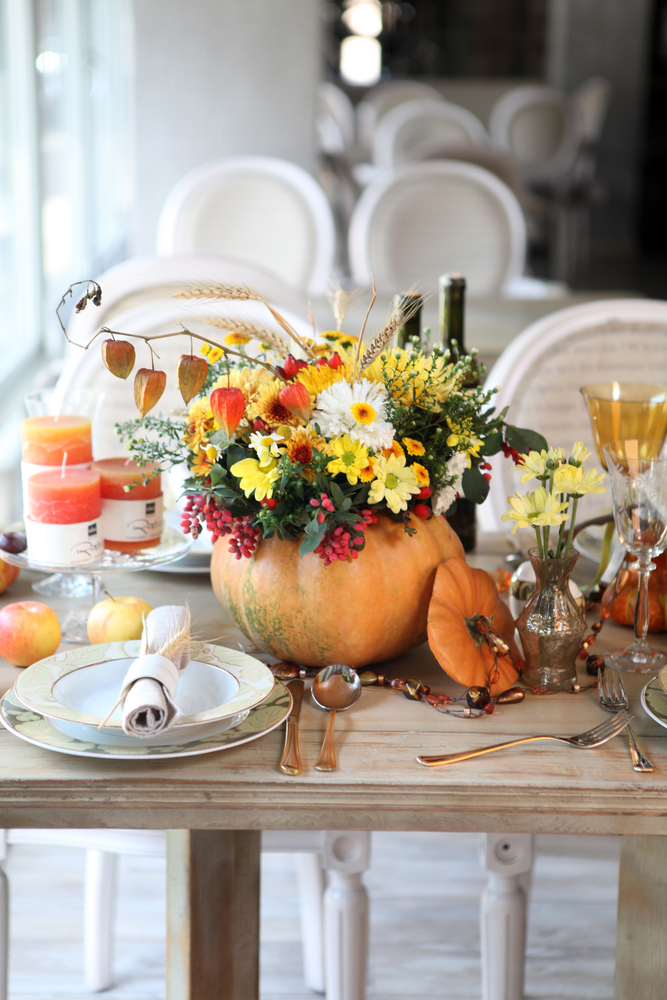
During Halloween or any other time of the year, this hollowed-out pumpkin centrepiece on your dining table is guaranteed to be a showstopper! You can also try this DIY idea using pineapple for a tropical touch.
Materials Used:
- A large pumpkin
- Sharp knife
- Bowls for the pumpkin flesh
Method:
- Wash the pumpkin and dry it thoroughly.
- Cut a neat circle, around 6 inches in diameter, around the stem and keep it aside. Move the cut piece back and forth till it gets loose.
- Scoop out the soft inside parts of the pumpkin using a large spoon.
- Scrap out as much of the flesh as you would like.
- Fill it with water and long-stemmed flowers.
- Your stunning pumpkin centrepiece is ready!
Project #3. Fringed Table Mats
These pretty fringed table mats can be made in under an hour! If you like to sew, you can embroider little motifs around the edges using cross stitch for a touch of old-world charm.
Materials Used:
- Cross stitch matte fabric in cotton
- Sharp scissors
Method:
- Cut the cloth to the size desired. Table mats are usually 30 cm x 45 cm.
- Use a blunt needle to tease out the horizontal rows of thread on the sides of the cloth. Start on one corner, work a row of thread loose and pull it along the length.
- Do the same on all sides.
- When all the edges are fringed, you should run a line of running stitch along the edge to prevent any further unravelling of the cloth.
- Trim all the fringes to ensure a neat, even length.
- Your mat is ready for use!


Project #4. Spray Painted Bottles
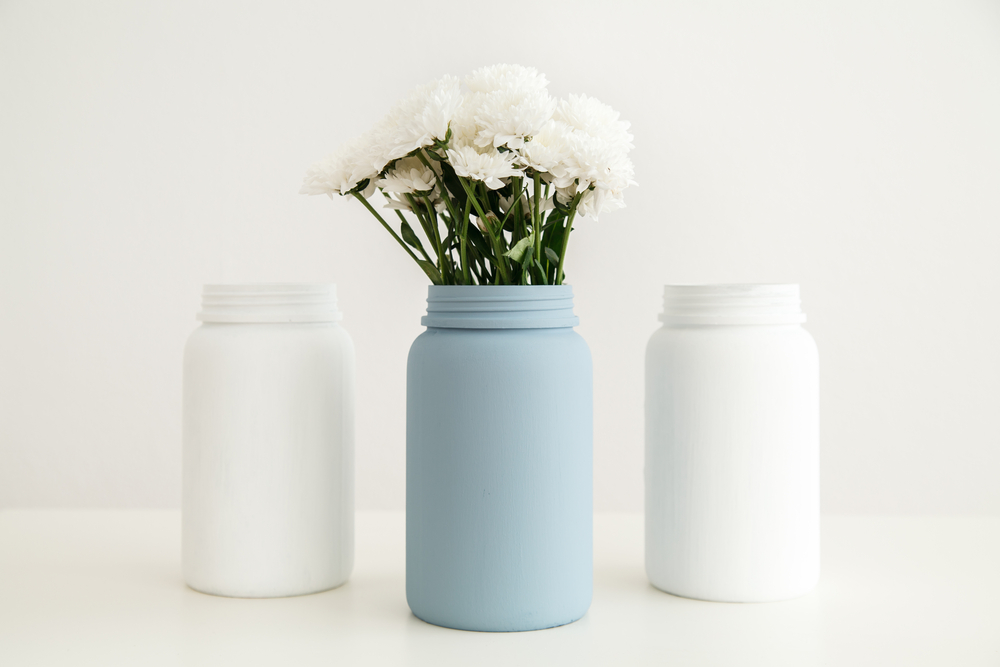
We love anything that’s upcycled! Instead of throwing out glass jars, especially ones that have interesting shapes, try painting them using matte acrylic paint and a flat brush. They make the most gorgeous vases for fresh cut flowers or dry flower arrangements.
Materials Used:
- Dry, empty bottles or jars
- Acrylic paint in the colours you choose
- Flat Paintbrush
- Newspaper to lay down on the table
Method:
- Protect your work table with the newspaper.
- Place the bottles upside down, with the opening down and the base on top.
- Using smooth, even strokes, paint the bottle from top to bottom. You can hold the base so that you are able to paint without the bottle toppling over.
- Once the sides have dried, paint the base.
- Leave till the bottle is completely dry.
- Fill it with flowers for a lovely centrepiece!
Project #5. Beer Bottle Lights
Don’t throw away those beer bottles just yet! Your dining experience is incomplete without the right lighting, and these DIY pendant lights, crafted out of beer bottles, make a stunning cluster chandelier above your dining table.
Materials Used:
- Beer bottles washed and dried
- Glass cutter
- Electric wire and holder
- Edison lamps
- Hot water
- Gloves for safety
Method:
- Draw a line around the circumference of the bottle at the point where you want to cut it.
- Using the glass cutter, evenly score around the line you have drawn.
- Put a kettle of water on the boil.
- Now, take your scored bottle to a sink.
- Turn on the cold water from the tap.
- Slowly pour a tiny amount of hot (not boiling) water from the kettle evenly over the score you have made. Then quickly move it below the cold water from the tap.
- Repeat the process of drizzling hot water and cold water several times.
- The line you have scored will deepen and the lower half of the bottle will fall into the sink.
- Insert a bulb holder and a wire inside the bottle. You may need an electrician to connect your beer lights to the main lighting supply.
- Your lovely new lamps are ready for use!
If you’re still unsure about the process, here is a YouTube tutorial that you can watch before trying to cut the bottle: https://www.youtube.com/watch?v=sFXngPx3w3M

Project #6. Hand Painting Crockery
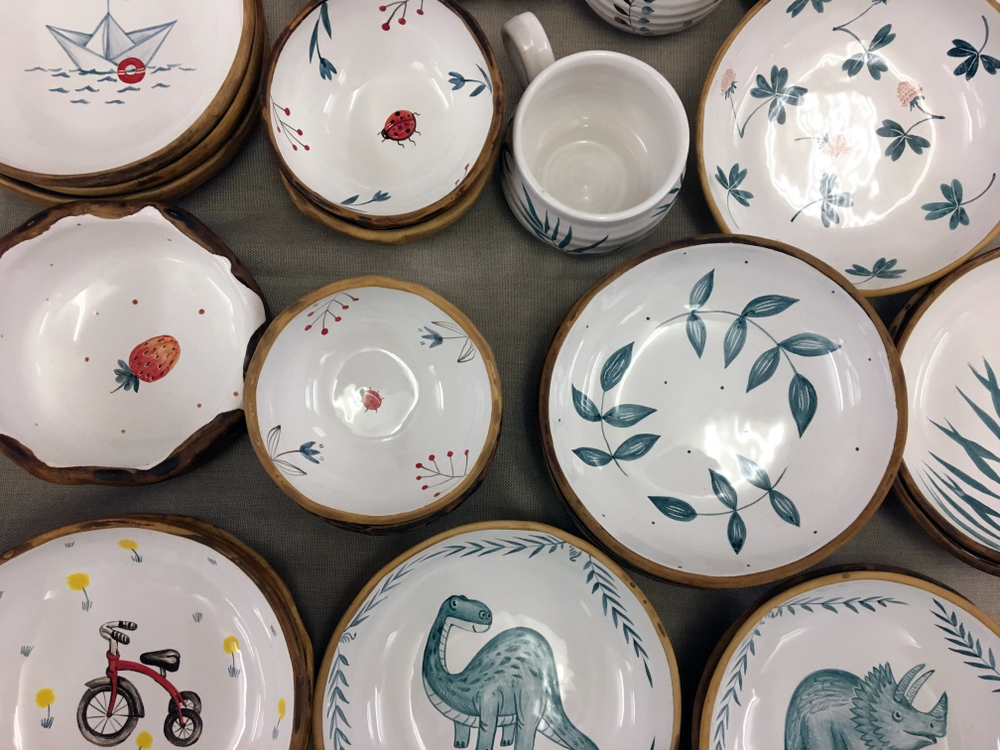
Does your crockery need an uplift? Plain, boring white ceramic plates and mugs can be transformed into unique statement pieces with a little paint and a lot of ingenuity! Here’s how.
Materials Used:
- Fine marker pens in all colours
- Cotton wool and rubbing alcohol
Method:
- Draw your designs in pencil
- Use the fine line markers to ink in the outline of your design in black, and fill in colours.
- If you make any mistakes, wipe them off at once using the cotton wool and alcohol.
- Be as creative as you would like!
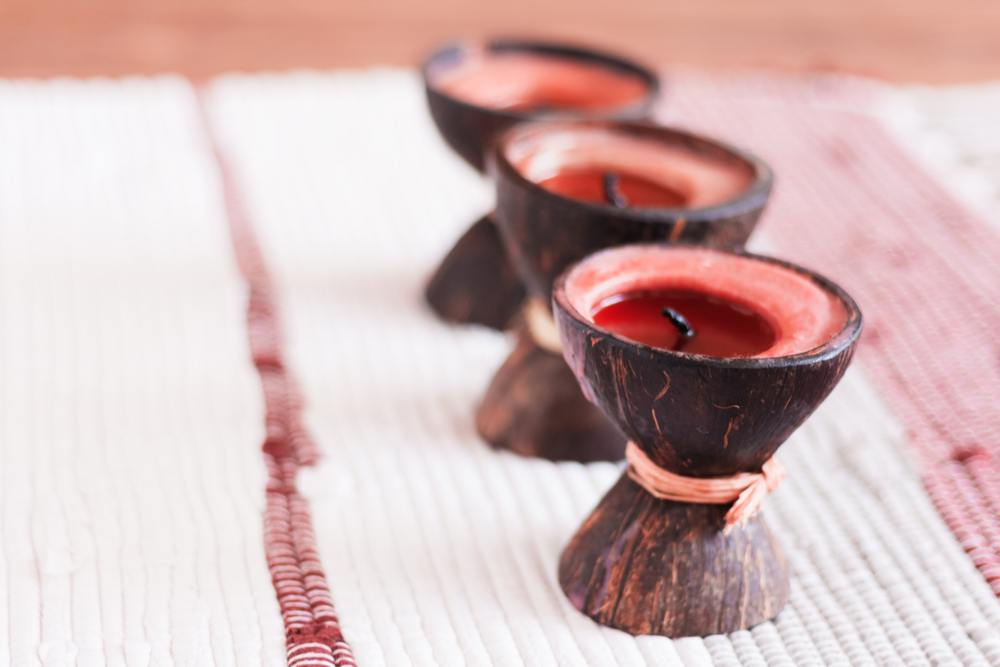
Project #7. Coconut Shell Candles
Use scented essential oils to create your own candles inside these unique coconut shell holders. Dine-in candlelight, with lovely aromas to stoke your senses!
Materials Used:
- Coconut shells
- Votive wax
- Essential oils
- Wax colours (optional)
- Wick
- Glue gun
Method:
- The coconut shell used should be completely dry and cut exactly in a half-circle.
- Using the glue gun, attach one end of the wick to the middle of the coconut shell.
- Heat the wax till it melts, and mix in the essential oils of your choice. You can also add colours if you wish.
- Pour the molten wax into the shell almost to the top, holding the wick vertical so that it does not disappear below the level of wax.
- Once the wax has completely cooled, you can glue the other half of the shell facing the other way, to the bottom of the shell with the wax. The second shell will serve as the base for your coconut shell candle.
- Enjoy your meal by candlelight!
Have any more DIY ideas to share with our readers? The HomeLane team would love to hear from you! Do add your comments below, and let us know how much you loved this article!


 EXPLORE MORE