Children are our future, and they make our life worth living! As most parents will agree, days and years are passing in the blink of an eye, and our children are growing up all too soon. Before you know it your little imp would have become a lovely lady, and your mischievous prankster is a handsome young man. We need to spend as much time as we can with them today when they are little, and create warm fuzzy memories that will last a lifetime! Children’s Day is a day when we celebrate our children and do all we can to make them feel special and cherished.
Running out of ideas to celebrate this fun-filled day? Try these lovely, creative DIY craft ideas and Home Decor Ideas to decorate your home this Children’s Day!
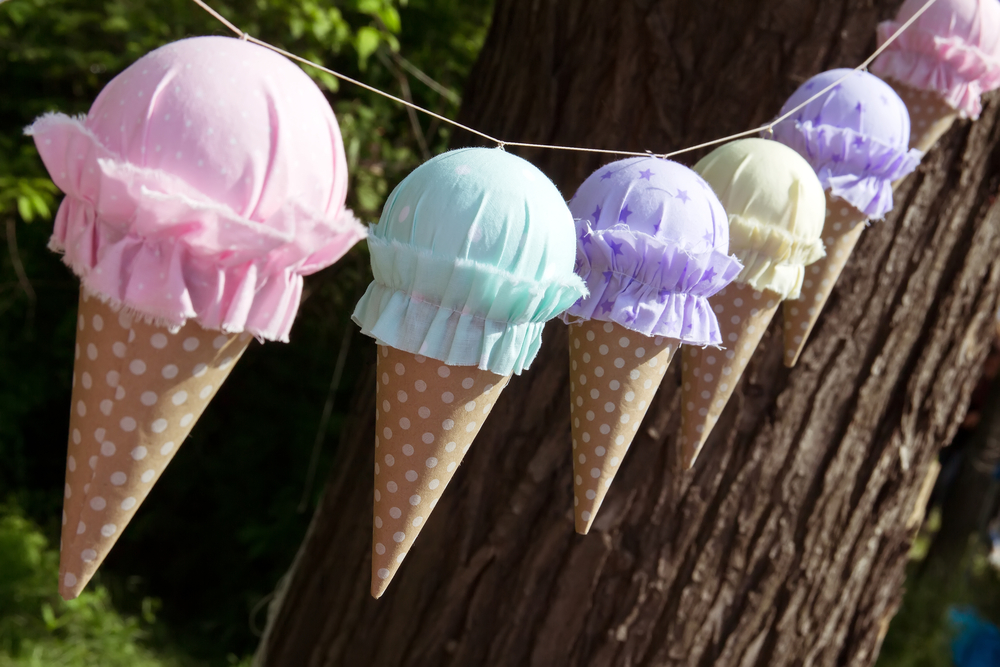
Project #1. Ice-cream Cone Décor
Lovely to look at, and easy to make! Put up a string of these pretty ice-cream cones across your child’s room.
Materials Used:
- Polka dotted or patterned gift wrap paper, preferably beige
- Squares of waste cloth in pastel shades
- Rubber balls, one for each cone
- Ivory card
- Some string
Method:
- Using ivory card of 10 cm x 10 cm, create a cone. Staple it in place and cover neatly with the gift wrap paper.
- Take the plastic ball and cover it completely with the squares of cloth. Place it atop the cone.
- Create a ruffled lace around the edge of the cone using leftover pieces of the cloth. Glue it in place and smoothen the raw edges.
- Tie the cones up using a string.
- Hang your lovely ice-cream cone streamer wherever you would like!
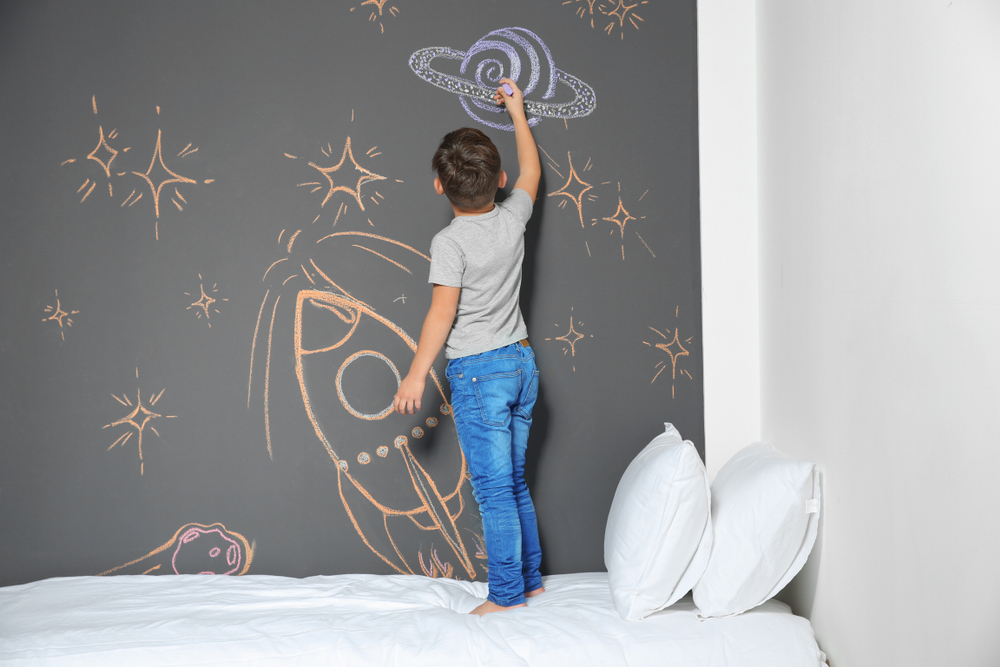
Project #2. Blackboard Paint Wall
A blackboard feature wall is a great addition to your child’s room; or to any room in the home. You can use the services of a professional painter, or you can paint the wall yourself with your older child’s help!
Materials Used:
- Blackboard or chalkboard paint (oil-based enamel paint, available in the market and available as 1 litre and 4-litre cans)
- Chalk
- Your imagination!
Method:
- If you are unsure about your painting skills, do employ the services of a professional painter for one day. Or, wipe down the surface of the wall you have chosen and get started with painting the entire surface. Follow the instructions on the can. A matt finish is best.
- This is the fun part. Once the paint has dried, you and your child can doodle, sketch, scribble messages or create wall art on your blackboard feature wall! (It’s a great homework tool, too!)

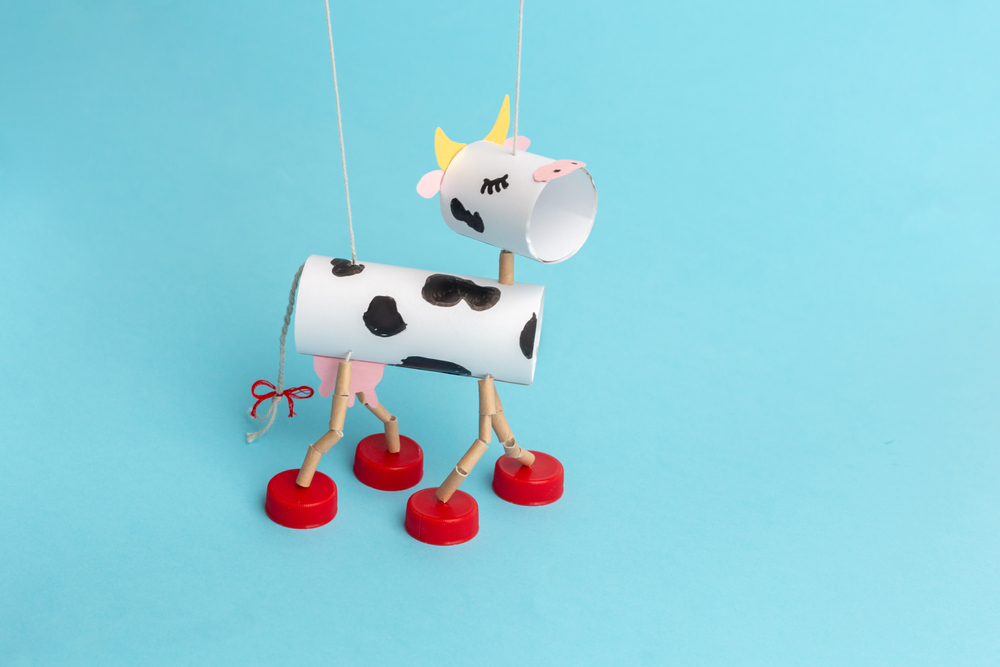
Project #3. Animal Mobiles
We’ll show you how to make a cow mobile, but you can get as creative as you’d like and try making other animals too!
Materials Used:
- White ivory card sheet
- Black marker pen
- Plastic straws
- Toothpaste lids
- Some string
Method:
- Cut a rectangle of ivory card sheet, of size approximately 7.5 cm x 10 cm. Roll it into a cylinder that is around 2 cm in diameter, and neatly staple or glue the overlapping edges in place.
- Once the glue has dried, cut it into two; one part which is about 2.5 cm long for the head and the rest for the body of your cow.
- Use a needle and double thread to pierce a hole through the head and attach a small piece of plastic straw for the neck. Run the needle and thread through the body, as seen in the image below. When the thread comes out on the other side of the body, separate it out into two threads, and attach sections of plastic straw for the legs. Finish off each threaded leg by attaching the toothpaste lid at the end and fasten it inside with a knot.
- Make the back legs in the same way.
- Using string, make the tail and fasten with glue. A bow adds a cute touch.
- Draw the eyes and blobs of black on the coat with the black marker pen. Attach the ears, nose and horns using coloured paper cut-outs.
- Hang up your cow mobile using the two threads at either end!
Project #4. Bunny Jar
This Bunny Jar can be used to hold your little one’s treasures.
Materials Used:
- A glass bottle of the size you prefer
- White acrylic paint
- Craft paper
- Black marker
- Glitter (optional)
Method:
- Clean the glass jar and dry it thoroughly.
- Using a thick brush, paint the inside of the jar with flat white paint, using even strokes. Leave to dry.
- Cut out the ears, nose and toes out of craft paper and use glitter if you wish. Glue them on the jar.
- Draw the eyes and mouth using the black marker. Your treasure jar is ready!

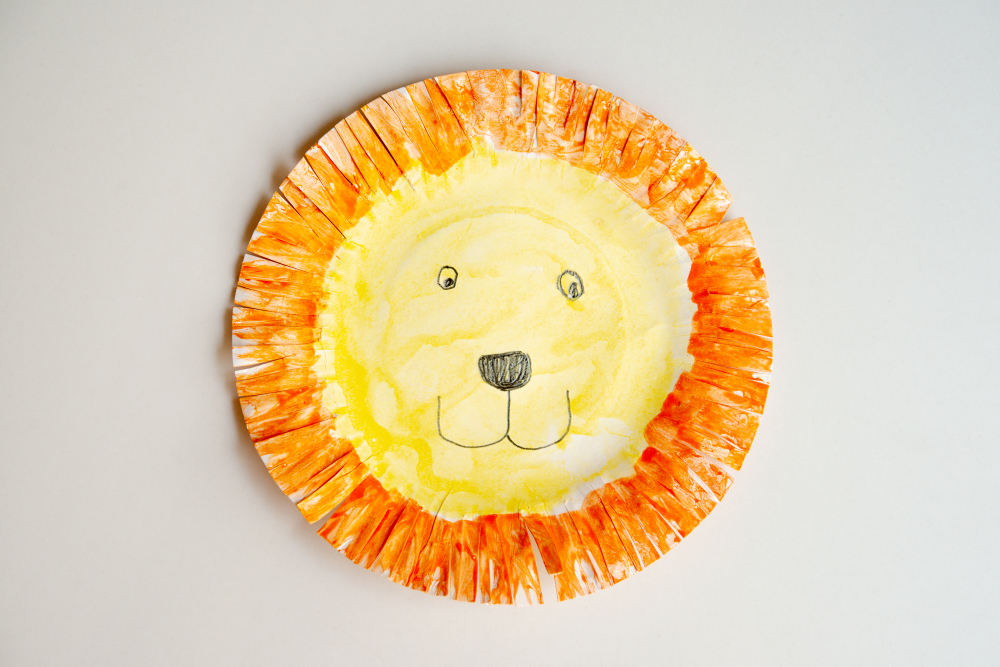
Project #5. Paper Plate Faces
This one is for smaller kids! We’ve pictured a lion, but they can draw any face they would like.
Materials Used:
- Paper plate
- Crayons and colour pencils
Method:
- Use yellow colour pencils to colour the face in, and draw in the eyes, nose and a smiley mouth using a black pencil.
- Cut a fringe around the rim of the plate, and colour this orange as shown. Using crayons will add the texture you need. Note that if crayons are used for the yellow of the face, your child will find it hard to draw the eyes and nose on top.
- Use this as a wall decoration in your child’s room. You can keep adding to the face collection!
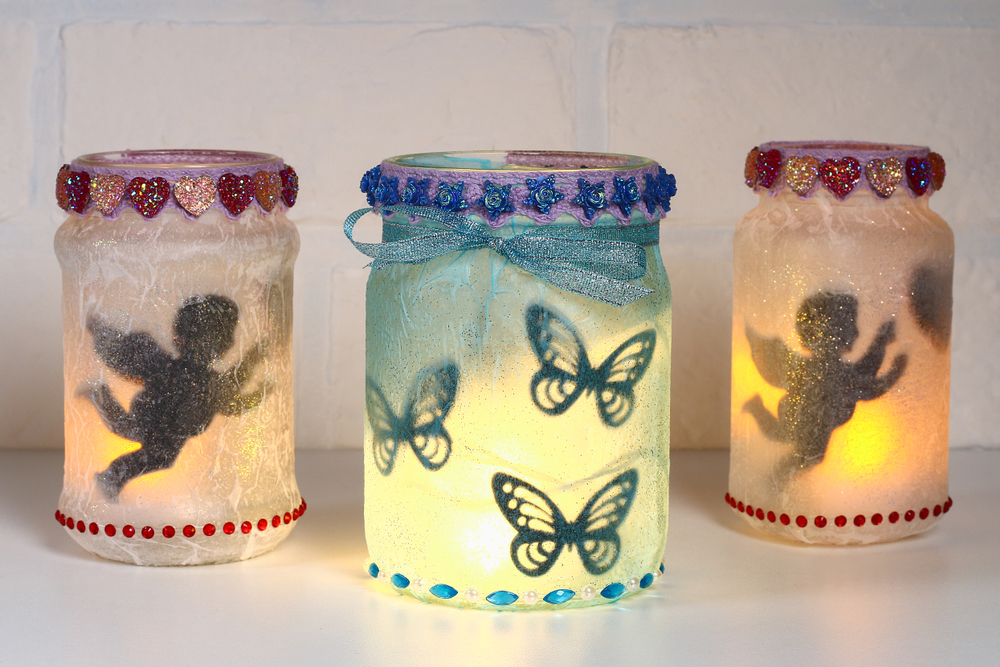
Project #6. Fairy Night Light
Is your tiny tot scared of the dark? This lovely fairy night light can keep the night goblins away!
Materials Used:
- Glass bottle
- Paper plate
- Black marker
- Butter paper
- Light bulb and wiring
- Glitter stars and hearts for decoration
Method:
- Draw out the outline of the fairy on the paper plate and fill it in using a black marker.
- Cut out the outline and stick it inside the clean, dry glass jar.
- Cover the outside of the jar with butter paper and neatly trim the overlap.
- Put the lid on, and decorate using glitter hearts.
- Get the help of an electrician to fix a small bulb, or a string of fairy lights inside the jar.
- When the lights are switched on, your pretty fairy night light is ready!
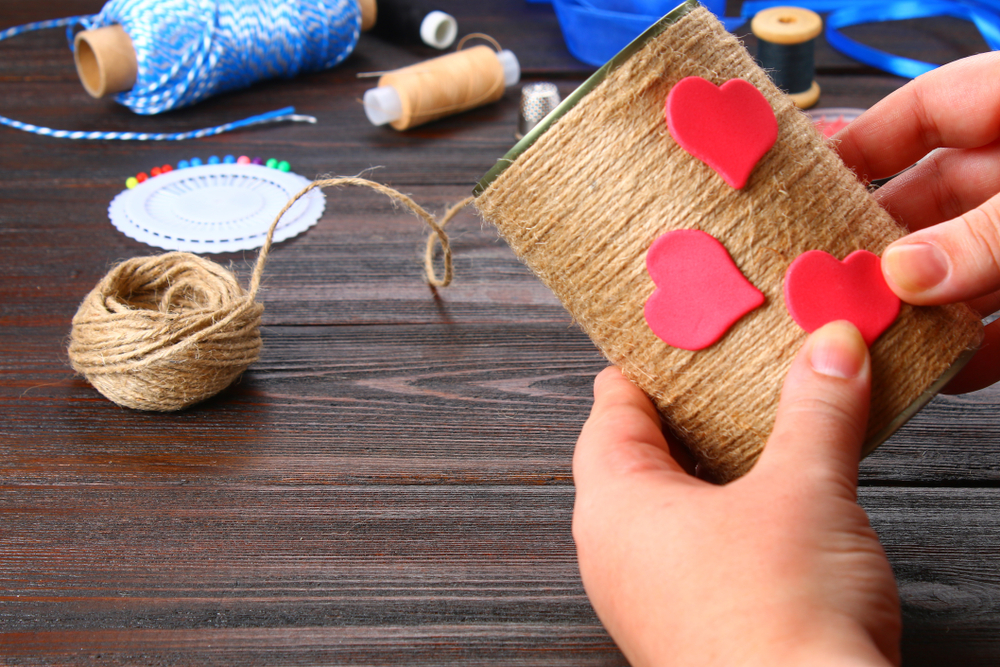
Project #7. Pencil Case for Homework Desk
This is a great incentive to make your child keep his homework desk clutter-free!
Materials Used:
Method:
- Wash and thoroughly dry the can.
- Starting from the lower edge, glue one end of the jute string to the can and wrap the surface with the strong as shown. Keep it neat and don’t let the string overlap.
- Once the entire can is covered, cut the string, tuck in the end and glue it down in place.
- Decorate your pencil case with paper hearts, stars, polka dots or whatever your child likes.
What children need, more than anything else in the whole world, is your undivided attention and quality one-on-one time. These craft ideas will help you to do just that. Take some time out to decorate your home together with your children and appreciate all their efforts, so that they know how special they are. HomeLane sends Children’s Day wishes and much love to your little bundles of joy!


 EXPLORE MORE