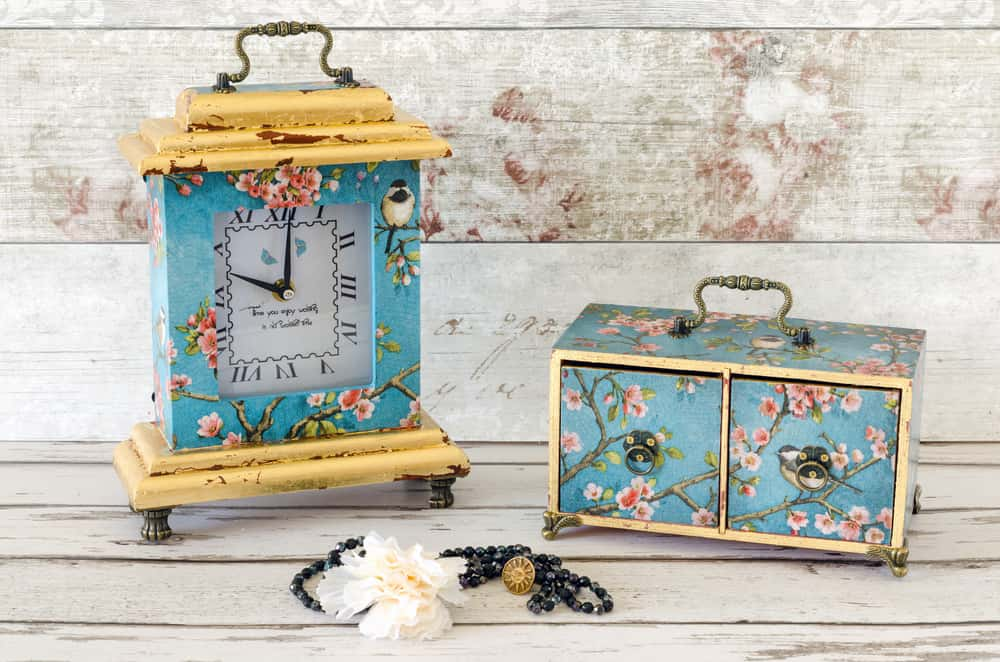
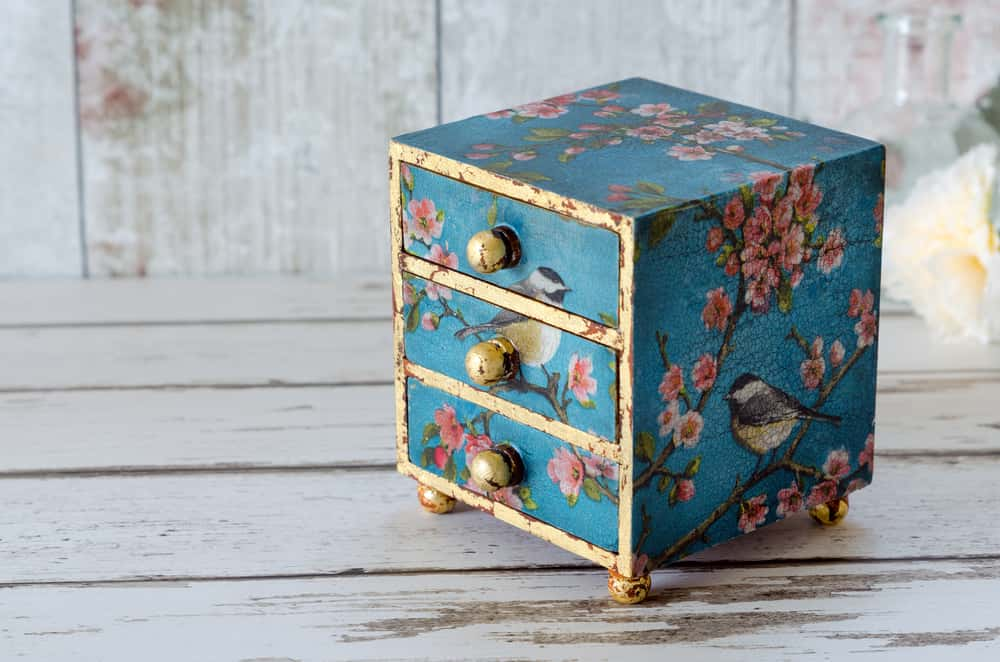
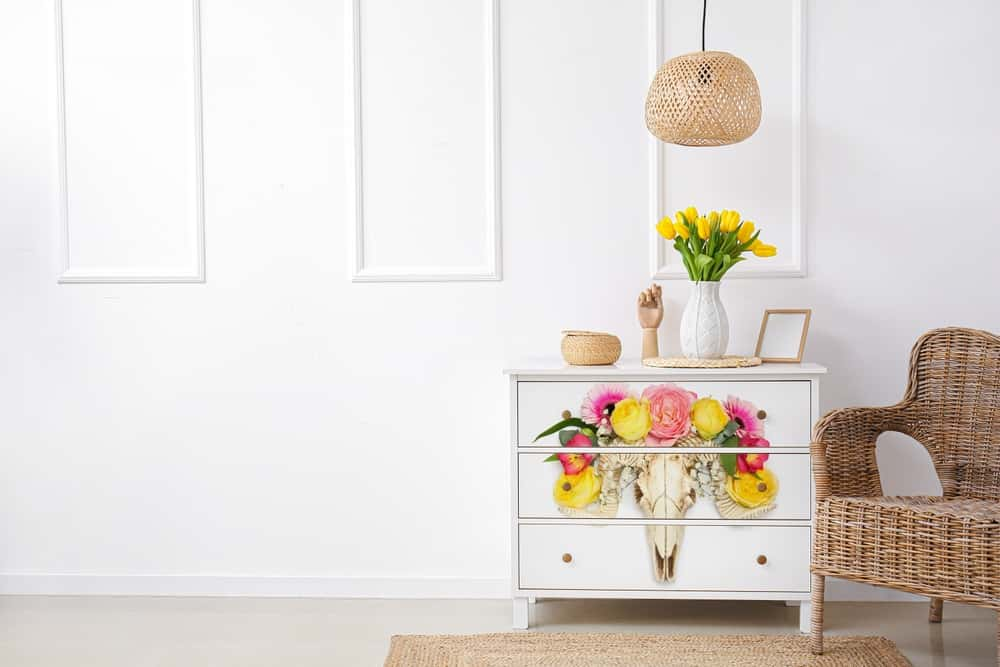
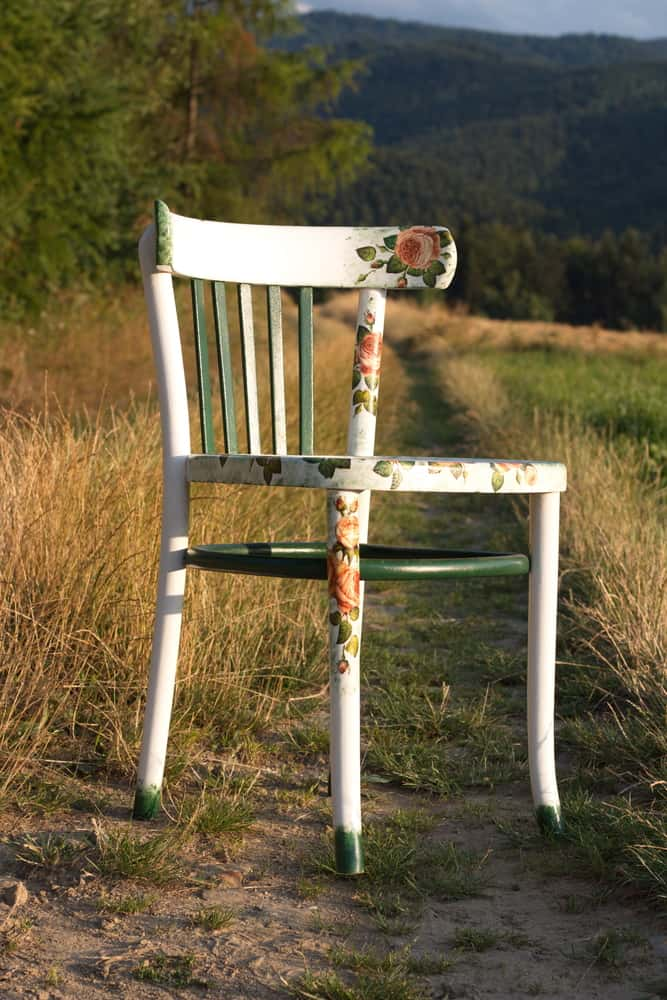
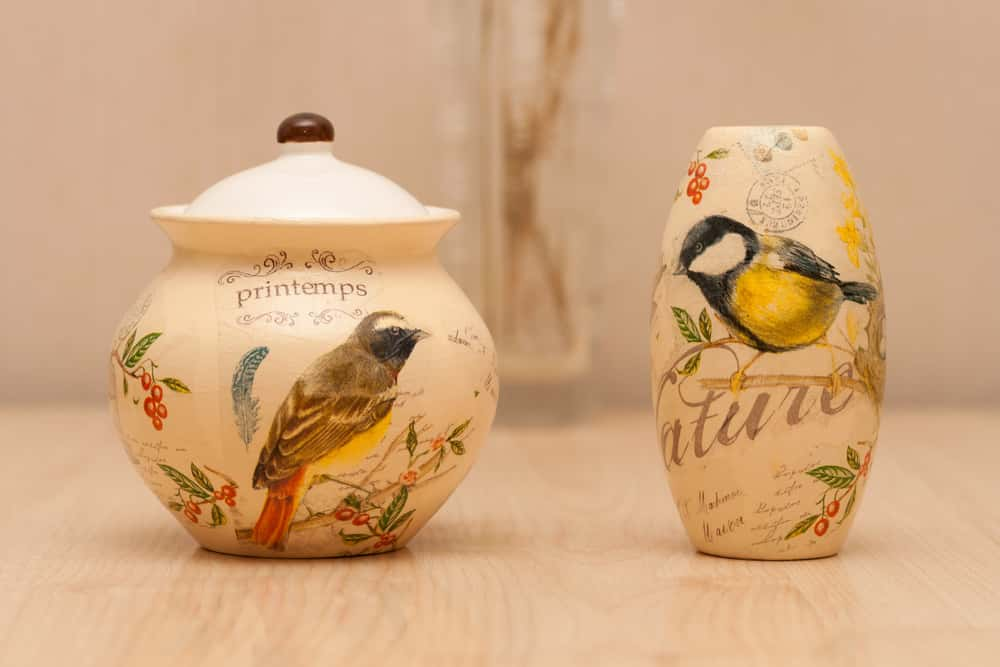
Looking for a screen-free, all-hands-on-deck activity that can give you hours of creative fun? Decoupage is an easy craft that you can learn in a jiffy, and can use to upcycle objects around your home. It’s a very unique way to breathe new life into an old chest of drawers, for instance, or to create a stunning vase out of an empty beer bottle. Once you’ve learnt this art (and we promise it’s really simple!), you’ll find endless ways to apply decoupage art in your home decor.
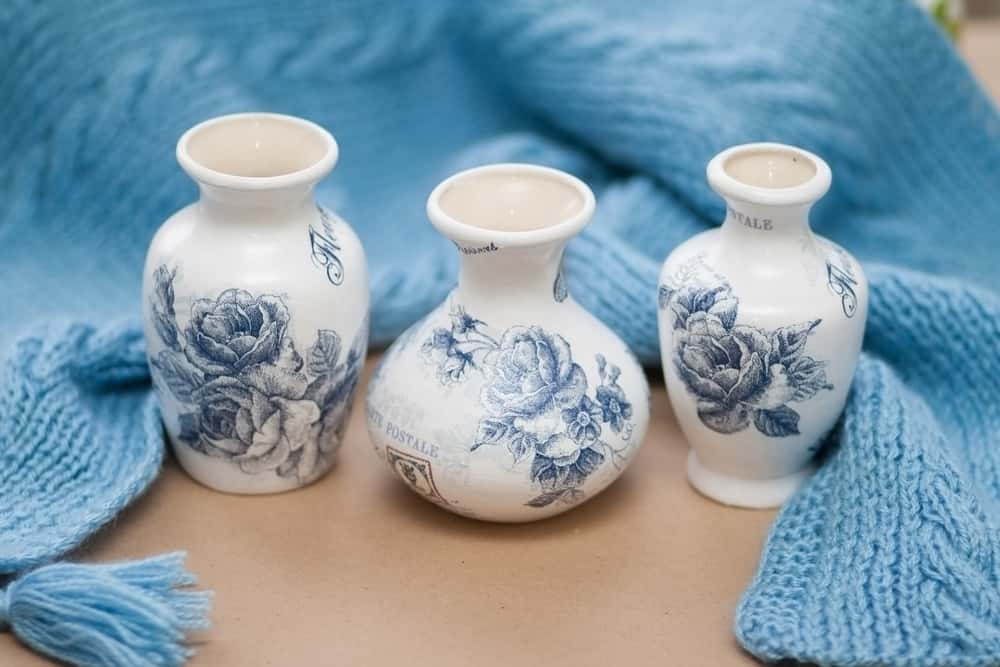
From ideas to how tos, find all you need in this comprehensive beginner’s guide!
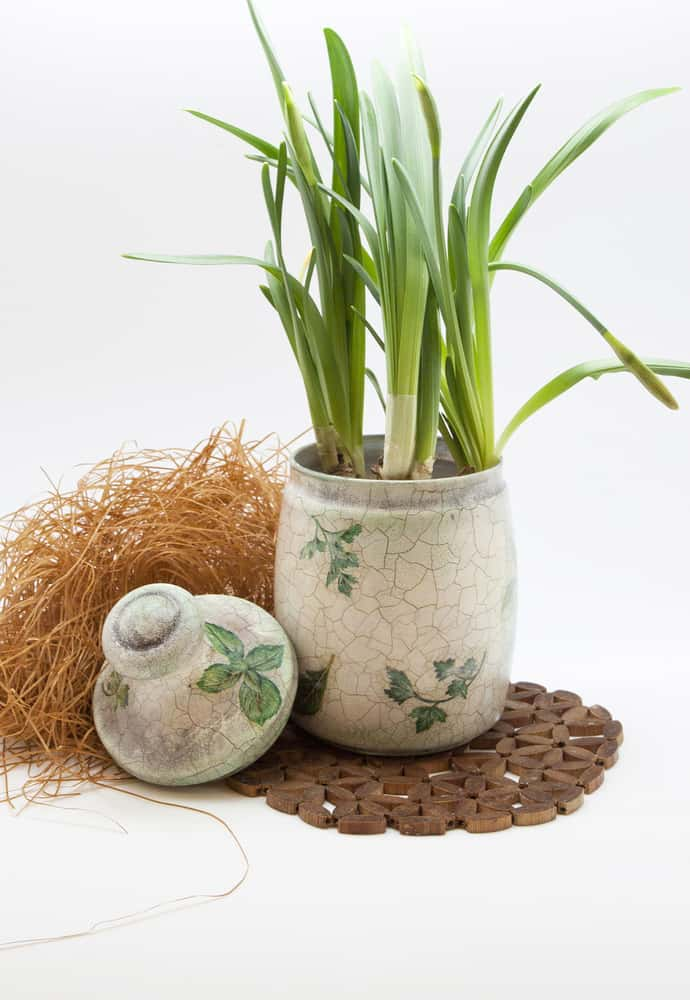
The word ‘decoupage’ has its origins in French (probably why it sounds so fancy!). ‘Decouper’, in French, means ‘to cut out’ and that’s basically what you’ll be doing with this craft. Decoupage is all about gluing paper, fabric, lace or other scraps onto wood, metal, cardboard, ceramics or glass, and then applying a coat of decoupage medium to seal and finish the surface.
Read Also: Spruce up Your Home with These Glass Painting Ideas
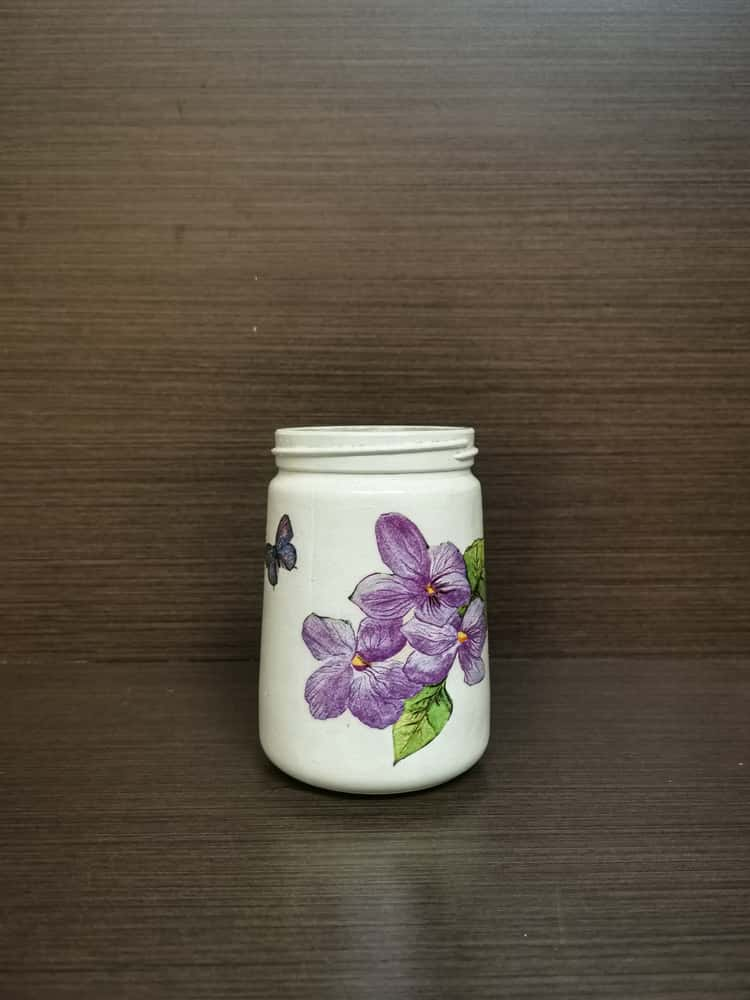
Ready to begin? Here’s a stepwise guide.
Here’s what you will need:
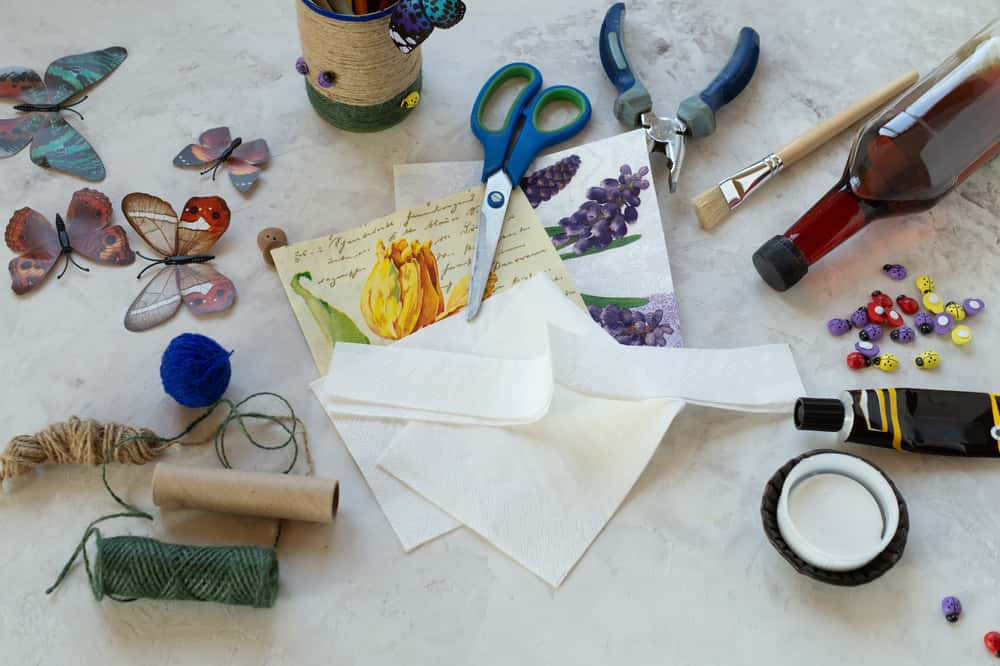
And here’s how to do it!
Make sure that the surface of the tin can is clean and perfectly dry.
If the can is serrated, wind twine around from one end to the other, to make it even. Glue the twine down so that it does not unwind.
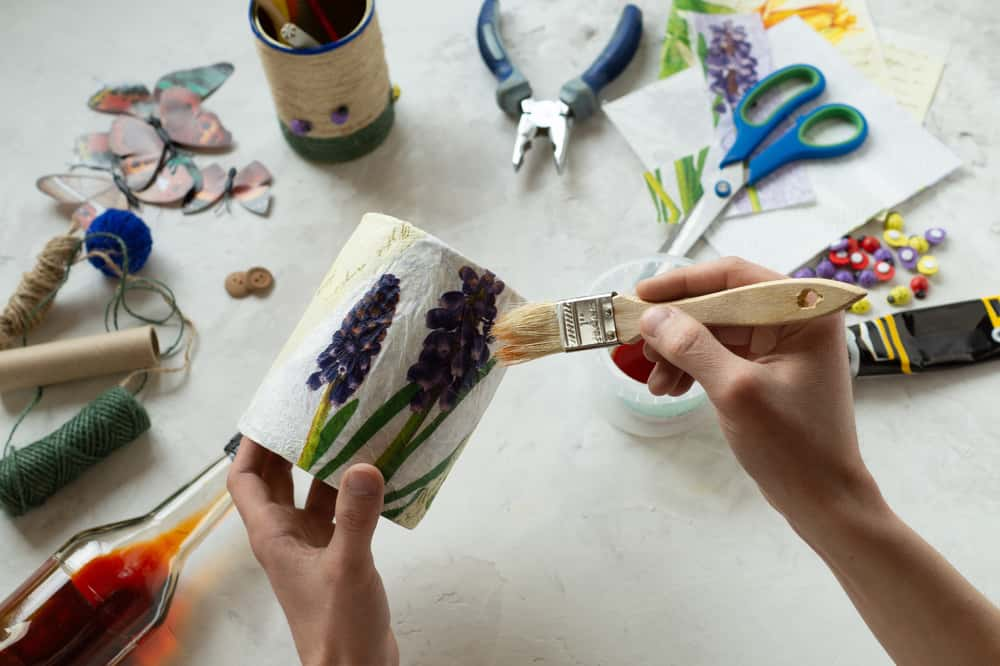
Choose the pictures that you want to stick on the can, and cut them out neatly. Plan how to stick it on the can, which side will go up and so on. Arrange the pictures on the dry can first to see how they look, before you start applying glue.
Next, carefully place the tissue or paper over the surface of the tin can, following the composition you have decided upon, and smoothing it down with the glue and brush. You can also use a small squeegee. If the paper is thin, it will stretch and tear so this step must be done with great care.
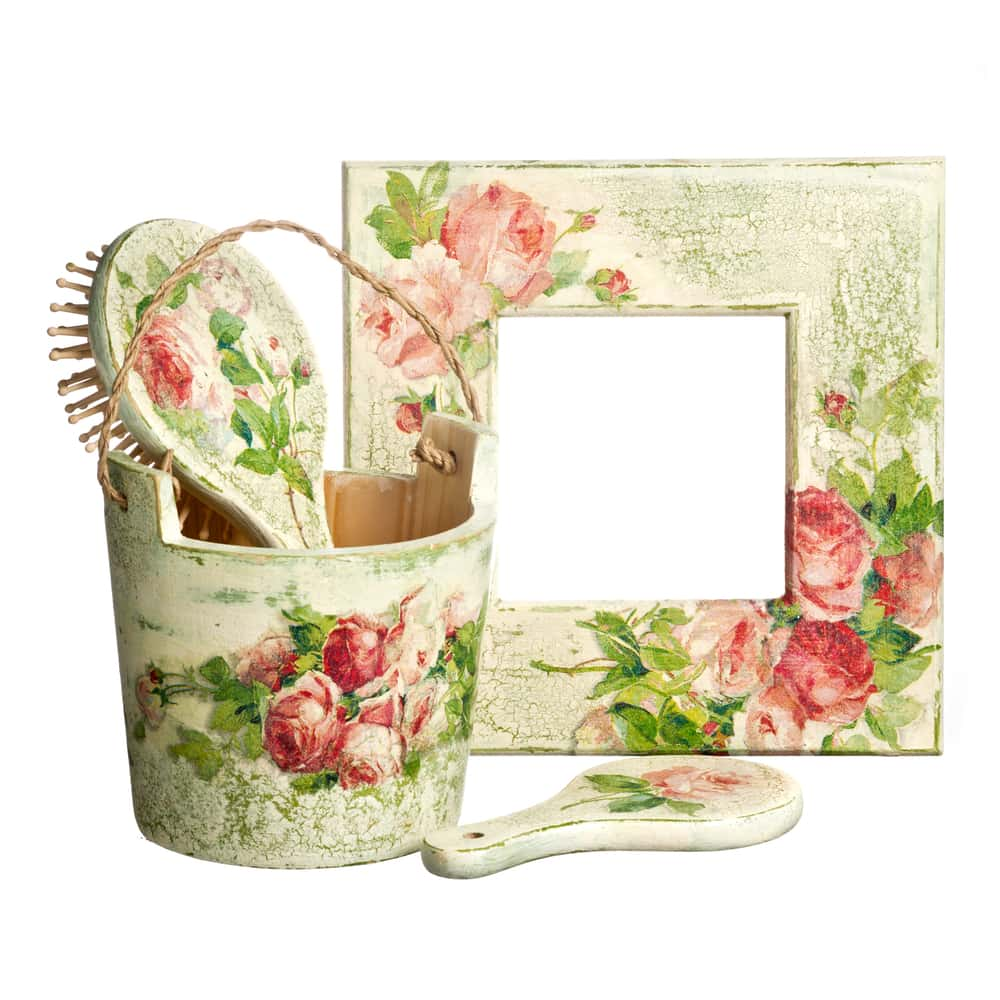
Build up the design by sticking more pieces of cut paper. You can use a craft knife to cut the edges and blend one picture into the other.
If there are any white edges around the pictures, you can colour them in using a felt pen so that the pictures and colours look good together.
Wipe off extra glue using a sponge that has been squeezed till it is almost dry.
Once the glue is completely dry (you might want to leave it overnight for this) you can brush on the clear varnish using a flat brush. Every time the varnish dries, you can sand it lightly and wipe off all the dust. Keep repeating this process till you get the perfect glossy finish you’re looking for. This might take up to 15 coats of varnish—so you will need tonnes of patience!
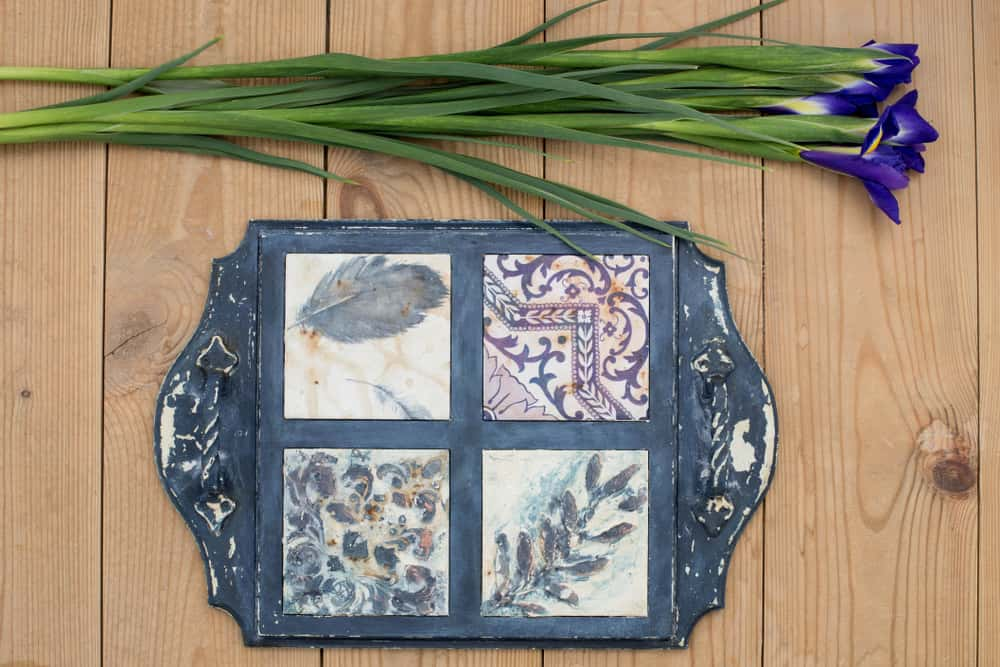
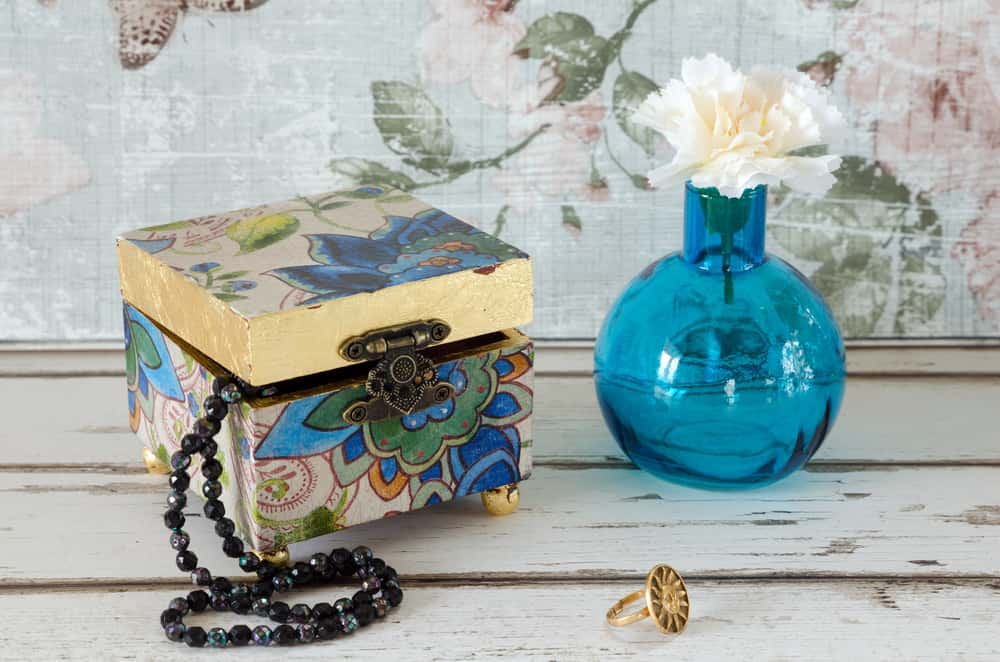
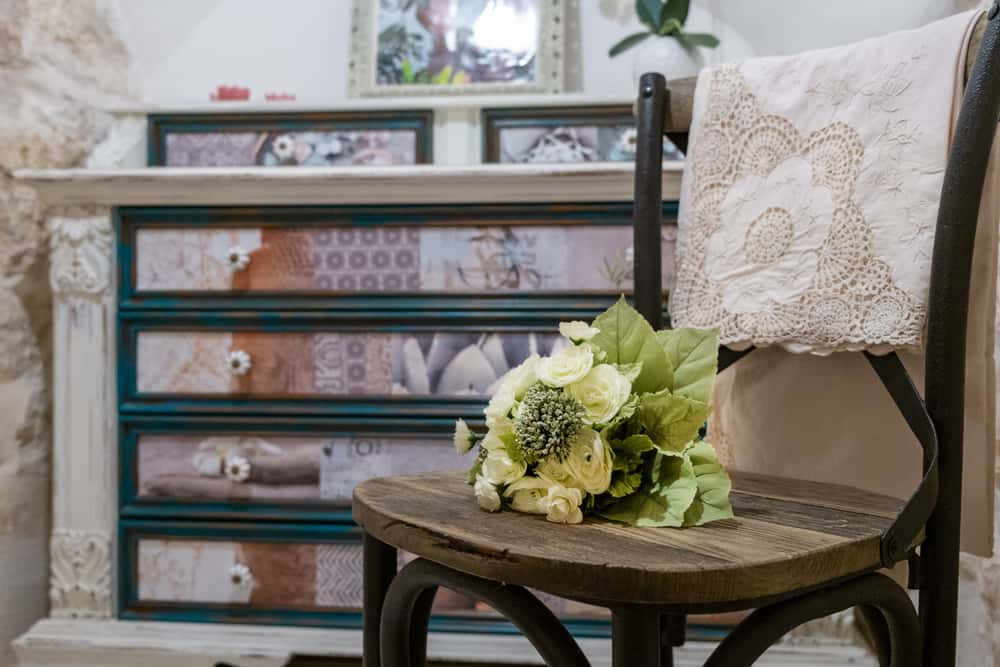

Ready to jump on the decoupage bandwagon? Let HomeLane lend a hand! We’ll guide you on decoupage colours, designs, themes and more. And while we’re at it, we can also handhold you through the rest of your home décor journey!

 EXPLORE MORE
Explore This Vibrant Bangalore Home That Revels in the Interplay of Patterns and Textures!
This Stunning Chennai Home Channels Nuanced Character and Tonality
Step Into This Minimal Chennai Home, and Get Wrapped in Comfort!
This Compact Chennai Apartment Is an Ode to Smart Design and Functionality!
By submitting this form, you agree to the privacy policy and terms of use