Windows are the soul of the house and add a certain pizazz to the design, be it on the exterior or the interior of a home. However, there is a lot you can do to old window frames to enrich your interiors. And just like thoughtful wardrobe design, repurposing old window frames can be an exciting adventure; and once you get those creative juices flowing, the sky’s the limit!
It is not difficult to get your hands on old windows; salvage yards and demolition sites always have a variety of discarded doors and windows. However, it can get overwhelming. Does turning a tarnished window into a work of art sound impossible? Let’s answer this question with some DIY ideas.
1. A Photo Frame, Did You Say?
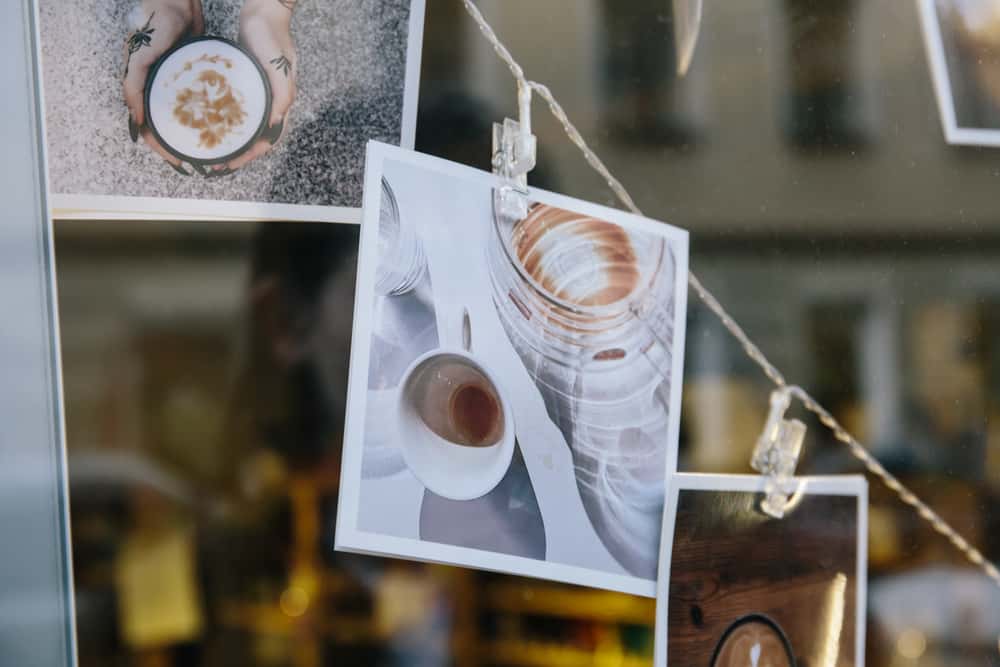
For this project, you will need an old window frame — preferably with its glass intact, some transparent cello tape, and paint (optional).
- Clean the frame thoroughly to get rid of dust and grime.
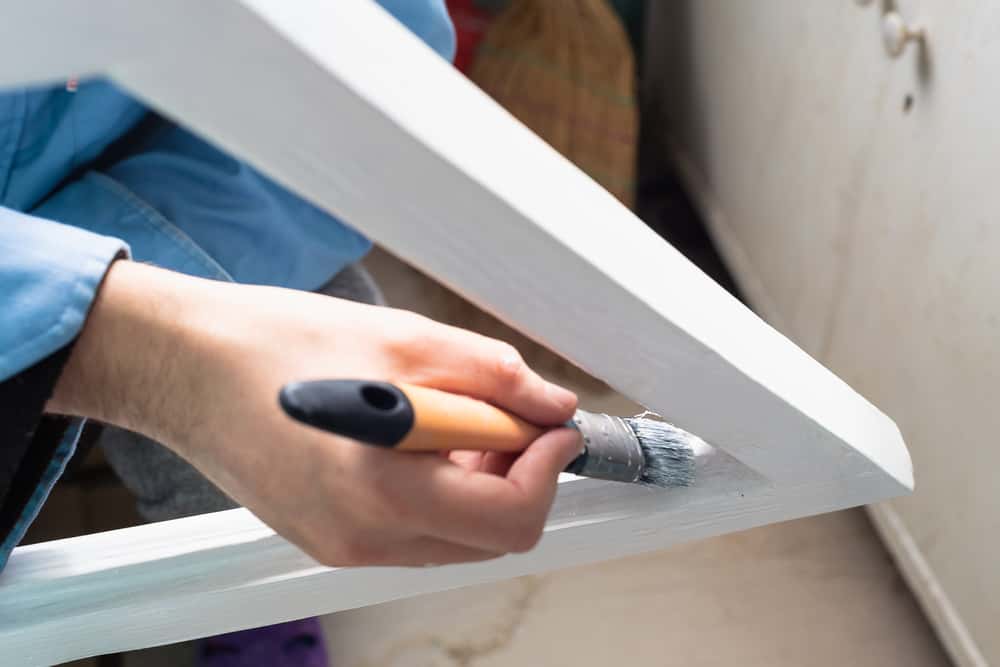
- If the rustic look is not quite your thing, you can add a few brush strokes or sprays of oil paint to the frame; spray paints give an even finish and dry faster. The paint should ideally be allowed to sit for a day before you commence the next step.
- Once the glass is spotlessly clean, you can stick your pictures on the back of the glass. You can colour coordinate or go for the black and white look.
Intriguing? Absolutely!
Time taken: Approximately a day and a half, if you are using oil paint. For a rustic look, a few hours should do it.
Maria Bulkka
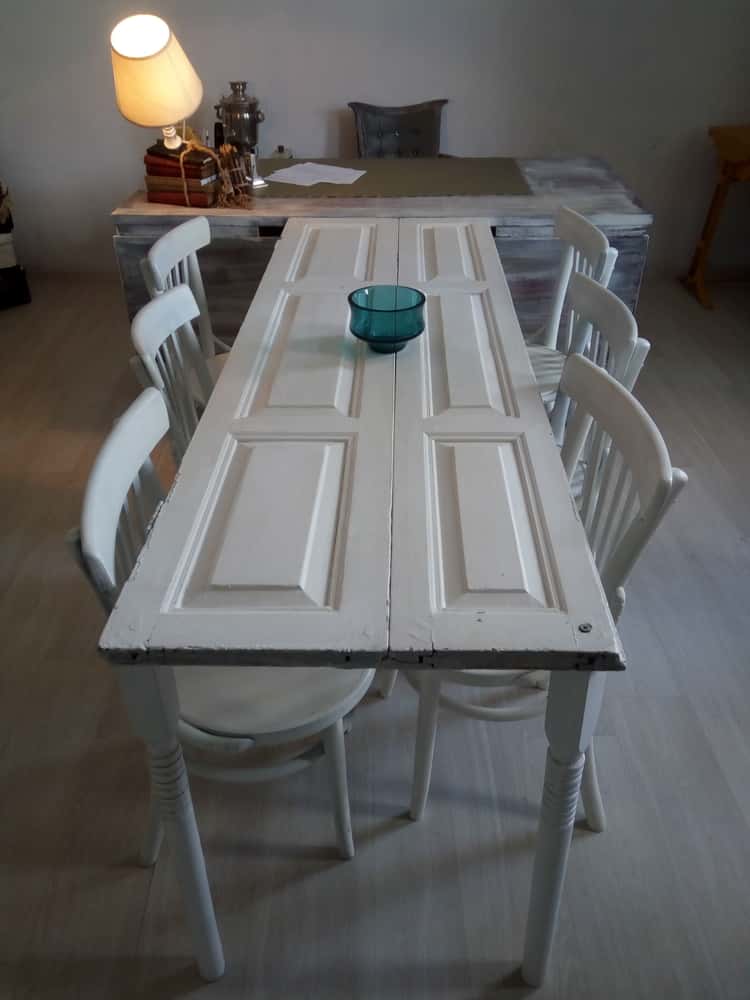
2. Yes, a Centre Table!
A conversation piece, without a doubt! And all it takes is an old window frame!
You will need an old window frame with glass, a sturdy base for support, paint (optional), and shells (also optional).
- Clean the window frame and the glass panes, thoroughly.
- You can opt for the au naturel look, or paint it using rough brush strokes to get a distressed look. The window will take around a day to dry.
- Since the window is heavy, you need to make a sturdy base for it; in case you are not handy with the tool kit, get a carpenter to do it. Or, you can mount the window on an existing table.
- Expert tip: Decorate the space between the base and frame with shells to increase the appeal.
Time taken: Approximately two days
3. A Classy Window Frame Room Divider!
You will need a few windows (depending on the size of your divider), carpentry tools, and paint (optional).
- Connect the windows. If you want the divider to fold in, use hinges to attach the windows. For a fixed partition, you can nail them together.
- Apply a coat of paint if you wish for an elegant look. For a rustic feel, you can leave the tarnished wood as it is.
- Expert tip: Experiment with the look! You can cover sections of the frame with fabrics like brocade or jute or put up your artwork on the surface. Interesting, isn’t it?
Time taken: Approximately 2-3 days, depending on the intricacy of the project.

4. A Mural for that Accent Wall!
You will need a window frame without glass, oil paint (optional), a strong adhesive like Fevicol, and decorative materials like shells, jute, brocade, mosaic chips, depending on what you have at hand.
Now, let your hands do the talking!
- Keep your paints, pictures, embellishments, and Fevicol ready.
- Board the back of the window with either cork or plywood. You will need to nail it down to secure the board properly.
- Paint the frame and decorate it with embellishments. Use the sections in the frame to your advantage and let each area tell its own story.
- Expert tip: Inspirational quotes interspersed with pictures work very well, adding intrigue to your interior.
Time taken: Approximately 5-6 hours depending on the size of the window and choice of material.
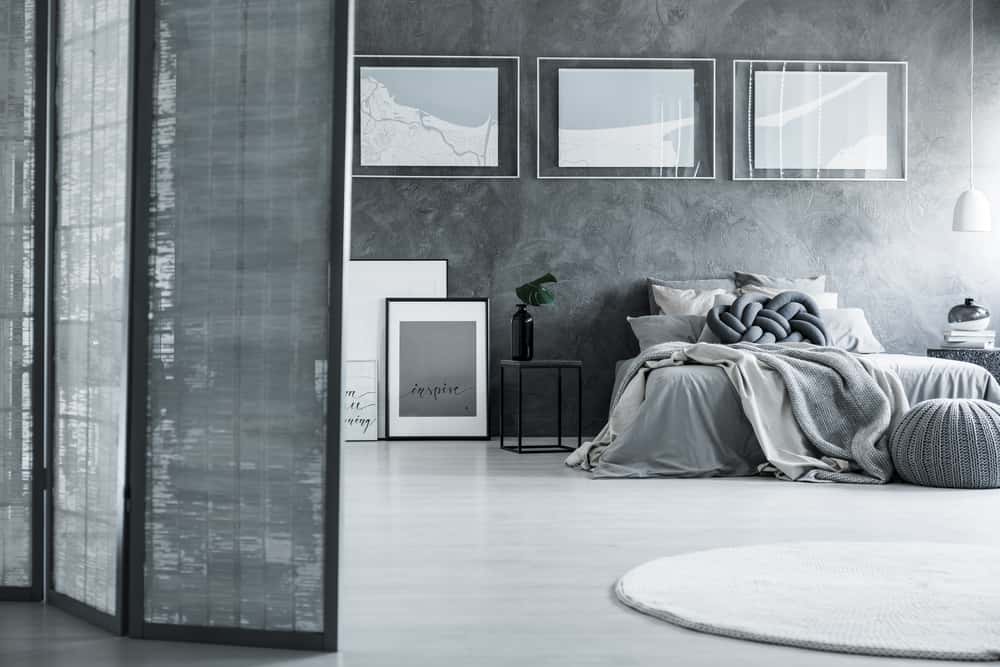
5. Lace It Up, for the Vintage Look!
You can never go wrong with lace for a classic old-world look. Lace and doilies add just the right touch to an interior if you are looking for a vintage look. All you need is a medium-sized window frame with glass, some doilies, lace, and Fevicol.
- A distressed look goes well with lace. Give your window a good cleaning.
- Paste a combination of lace and doilies in each section, for a breath-taking wall piece.
- Expert tip: It’s a perfect showpiece for the master bedroom!
Time taken: Around an hour or two.

6. Make an Accent Wall
Find a bi- or tri-fold window frame and use it as a divider for your room. Throw on some lace and chintz, or a vintage fabric for a throwback look. If you have leftover wallpaper with say a fleur-de-lis design even that would work wonders. We are just drooling over this piece of inspiration below, aren’t you?
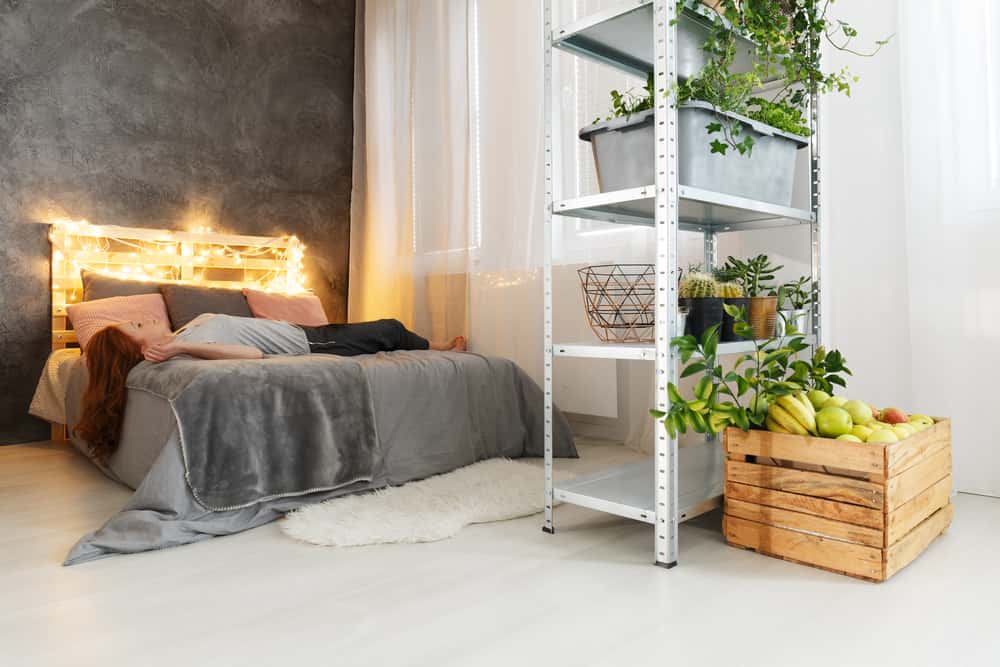
6. DIY Headboard
No money in your pocket for an expensive wall décor? Worry not! Count the pennies and buy yourself a string of fairy lights. Wrap it around a square frame and hang it up on an accent wall for some luminous goodness. Look at this wall for instance; isn’t it just drool-worthy?
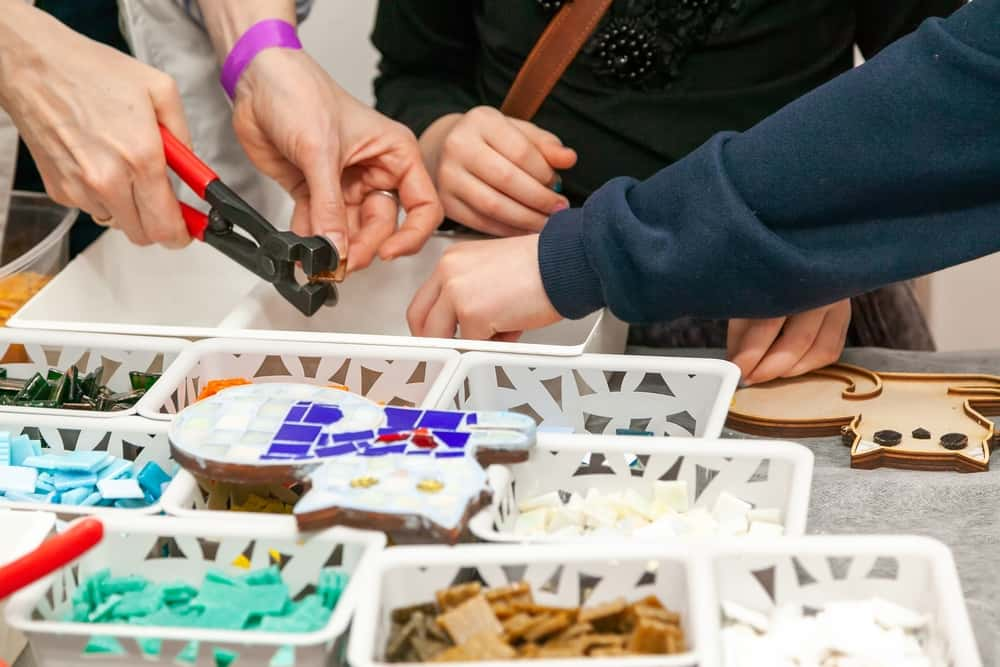
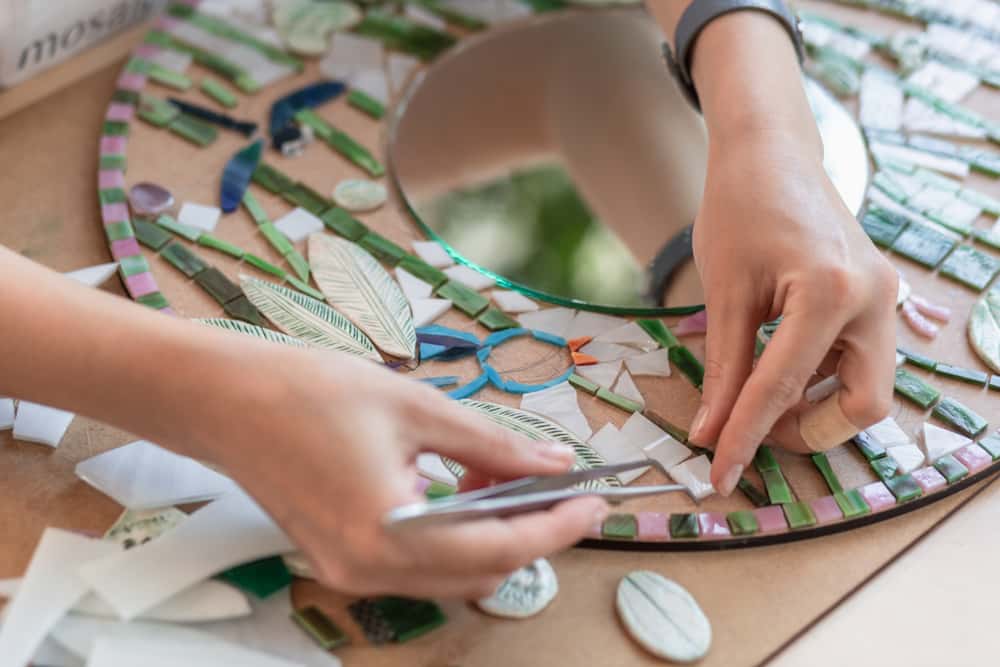
7. Just go crazy!
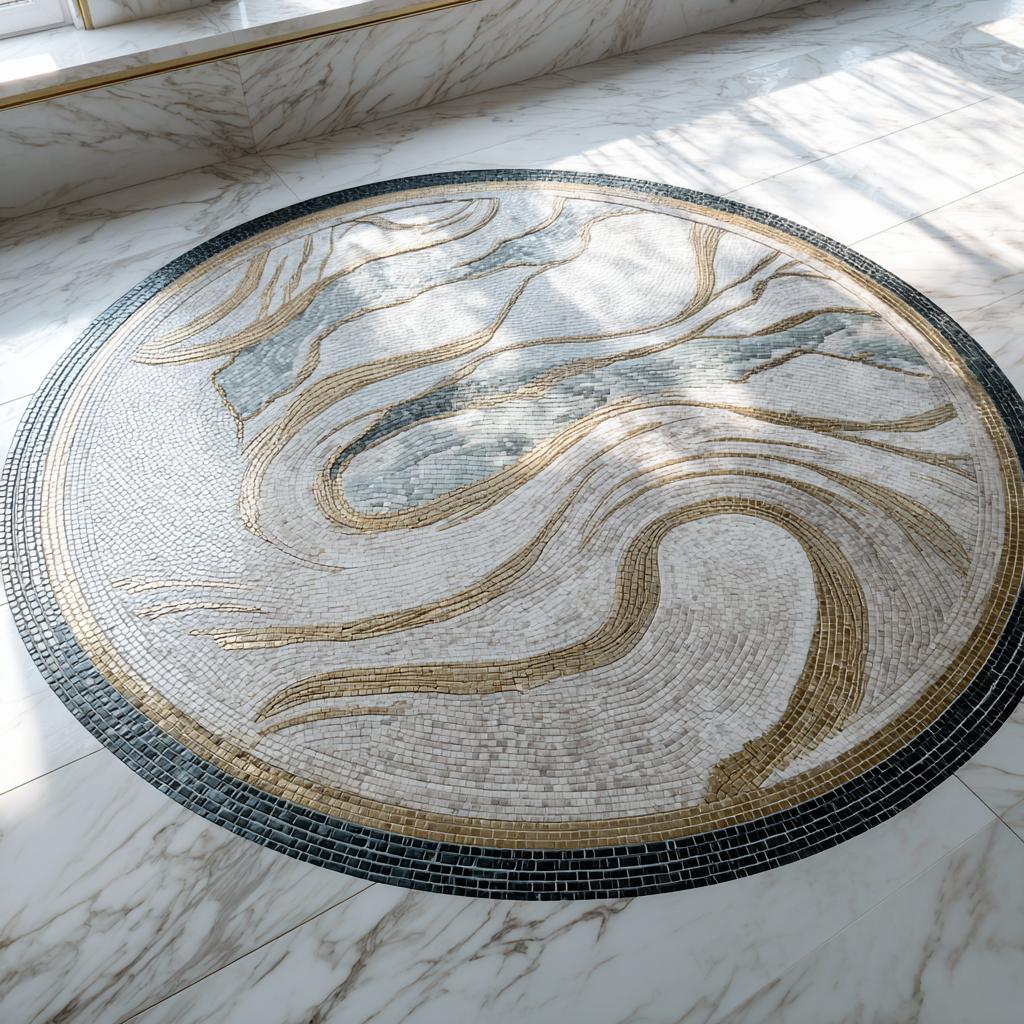
Because sometimes crazy is super fun! For instance, this window frame here is just a collage of glass pieces stuck don with super glue. You can make your own mosaic art this way with glass or tiles, and create a centrepiece for your living room that no-one can take their eyes off.
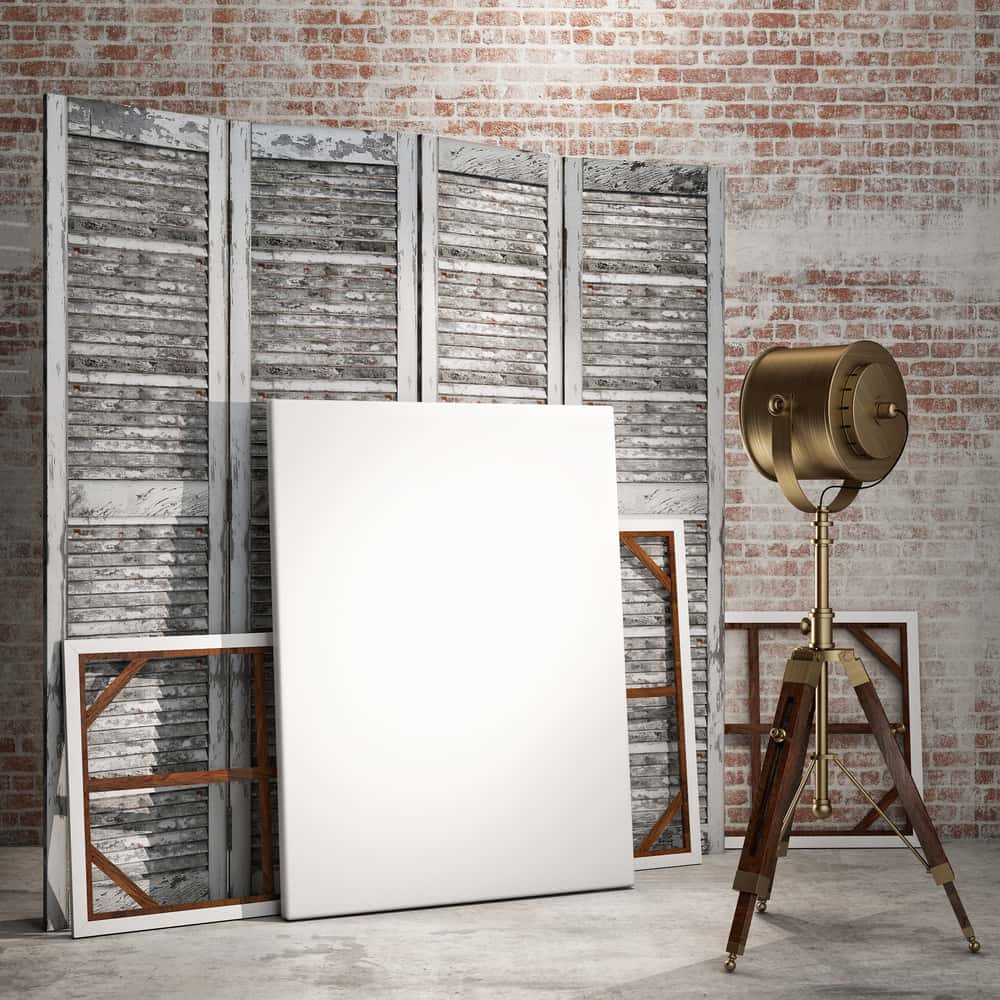
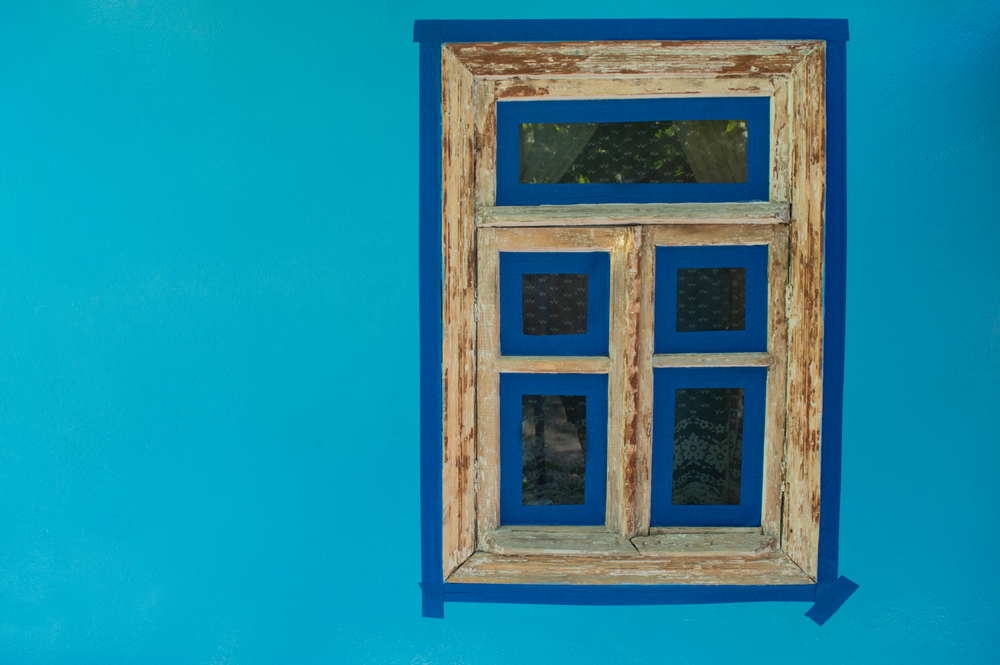
7. DIY Wall ideas using window frames
Upcycle the window frame, by painting some colours, this window frame could be used as wall piece or mural which can be installed in your home office, living room bedroom etc.
Now you know how to upcycle an old window frame. See, it doesn’t take much to get those ideas flowing! But the right décor goes a long way in making your window stand out. That’s where HomeLane comes in. A one-stop-shop for all your home décor needs. Go check it out!


 EXPLORE MORE