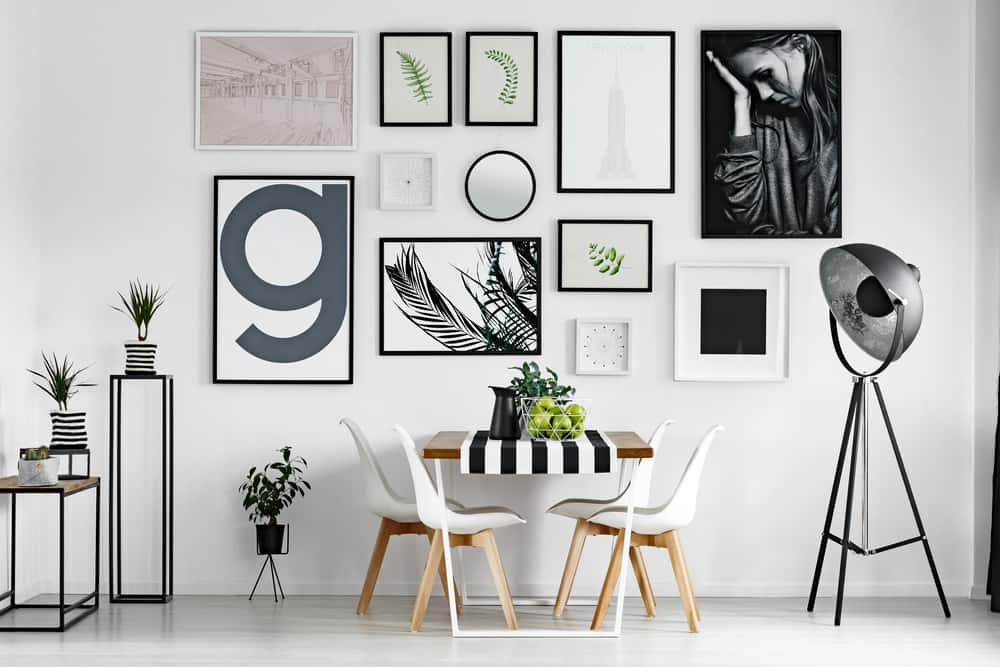
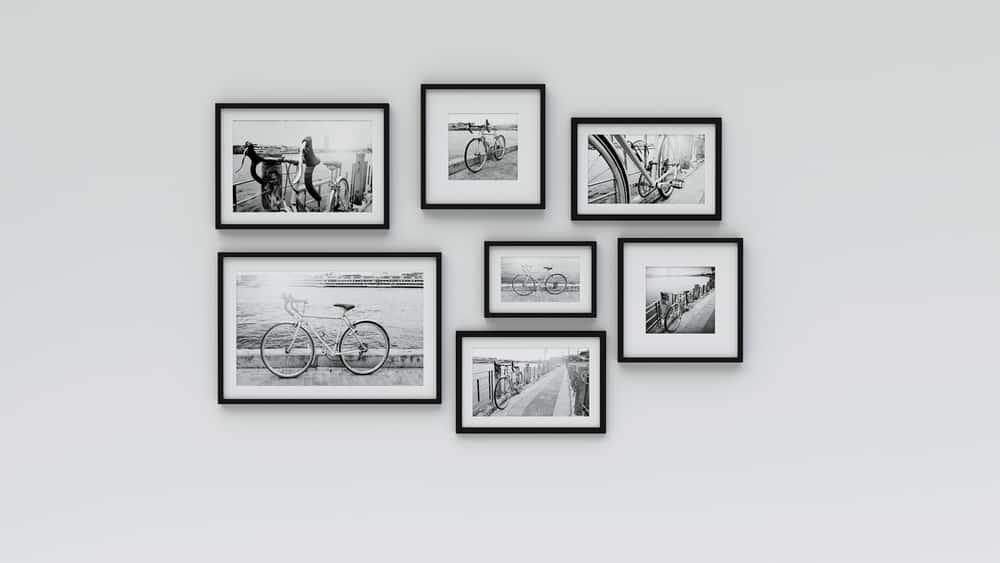
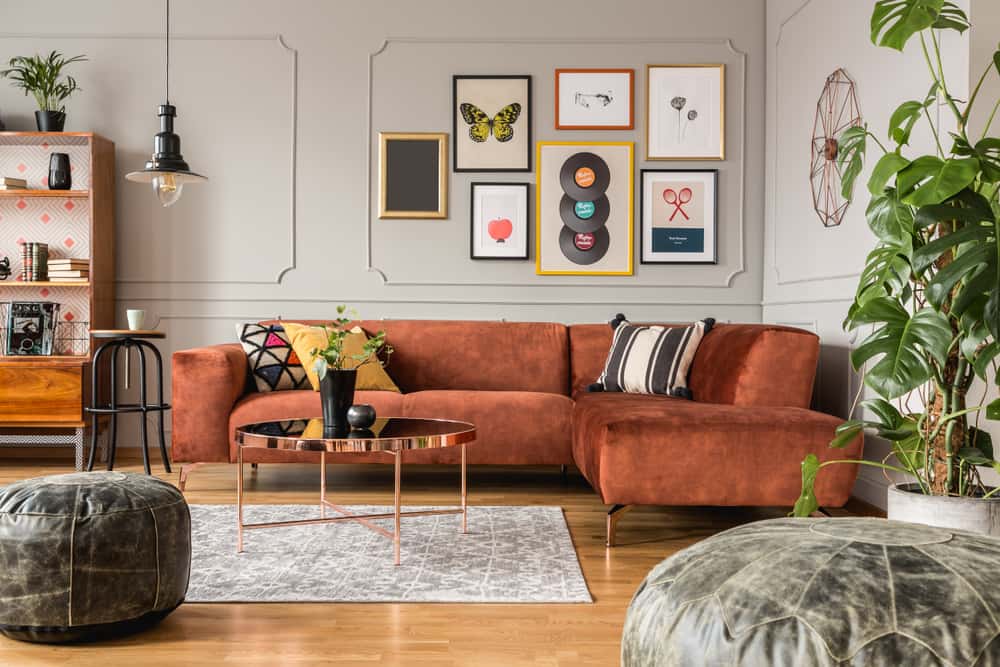
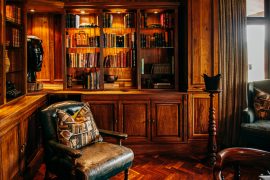
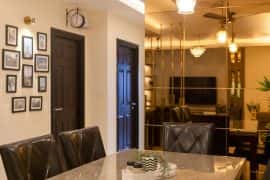
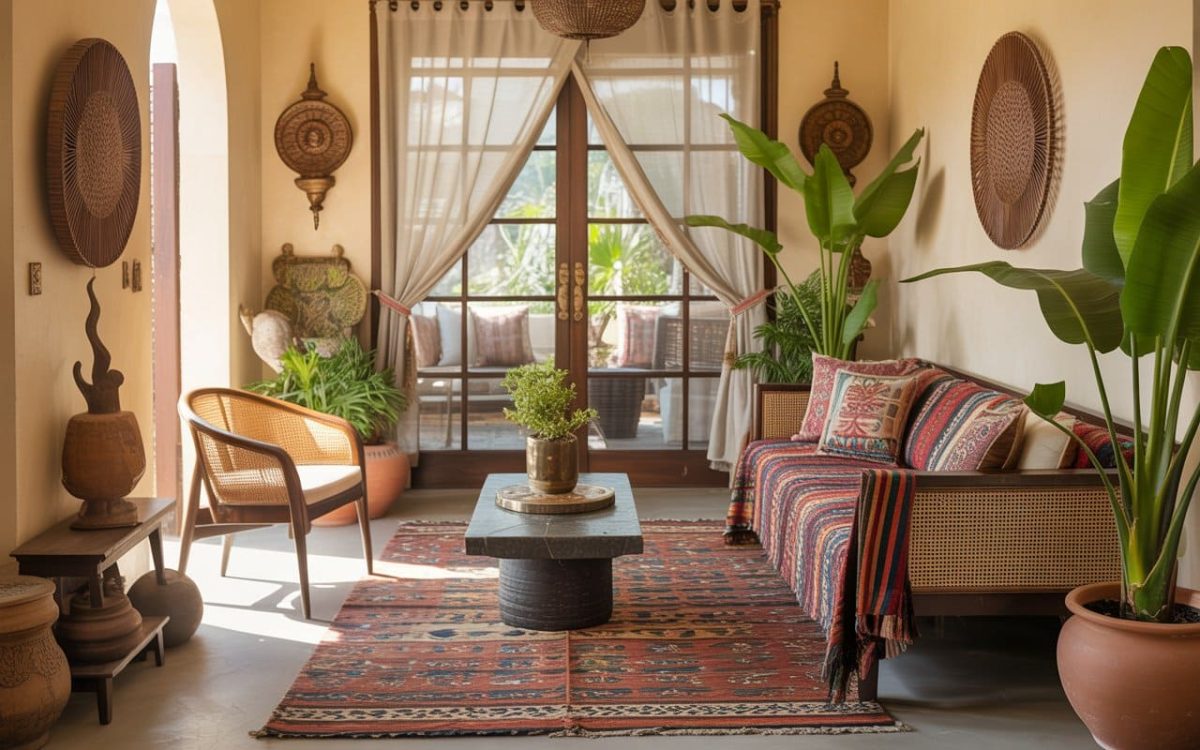
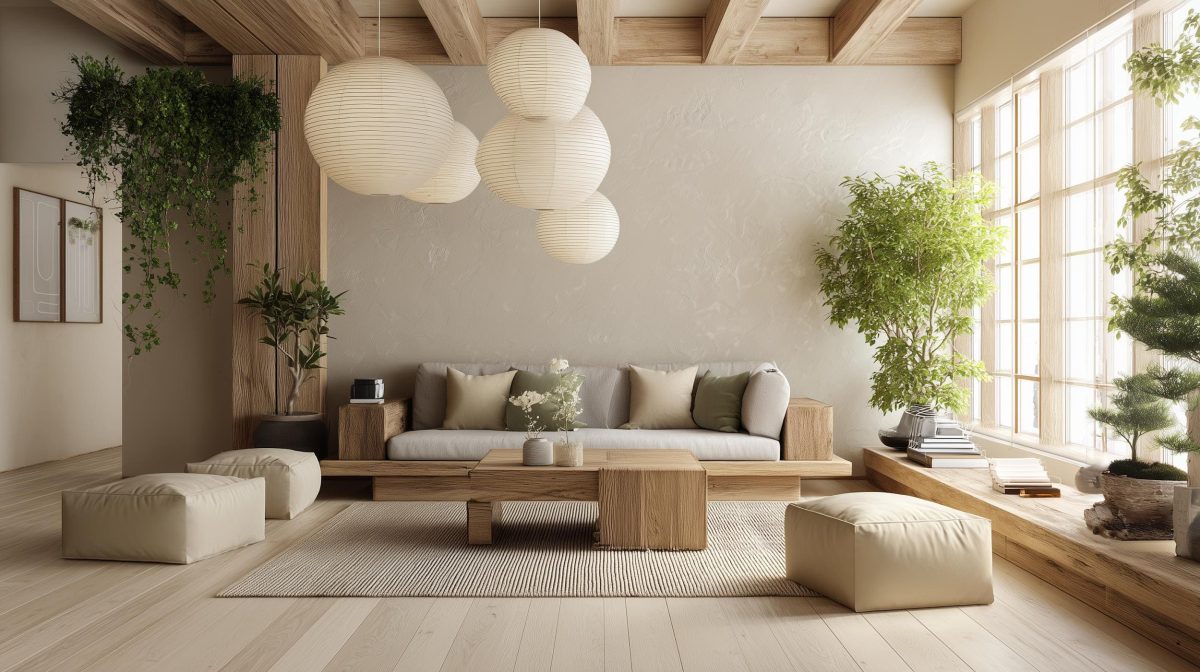
Gallery walls (or photo walls) are a display of photographs, posters or prints that are arranged in a specific way. Sometimes other items like exotic masks, antique keys, small floating shelves with keepsakes, sconces with candles and more are interspersed between images to add a 3D element. Gallery walls are a great choice if you have a large plain wall and want to create a focal point in your room. If opting for an accent wall with a different paint colour or wallpaper is not for you, a gallery wall is definitely an option you could consider that adds lots of interest and personality.
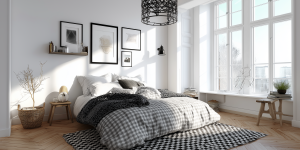
You can do a gallery wall anywhere in your home, but its popularly done up the staircase, in the hallway or in the living room. One option in the living room is the wall that the television placed on. You can arrange your pictures around the television to make it seem like the television is part of the gallery wall. Creating a gallery wall is all about collecting your favourite pieces that reflect your personality. For example, a good mix of styles and wall art including family photos, bold block-colour prints, fun patterns, typography images and more will make your wall come alive. If you thought that its overwhelming, don’t worry, we are here to break it down and help you create the perfect gallery wall.
There are two routes you can take to make a gallery wall:
- Using art you have collected and/or family photos.
- Buy a set of themed wall prints (like landscape prints) for a uniform look.
1. Start Collecting
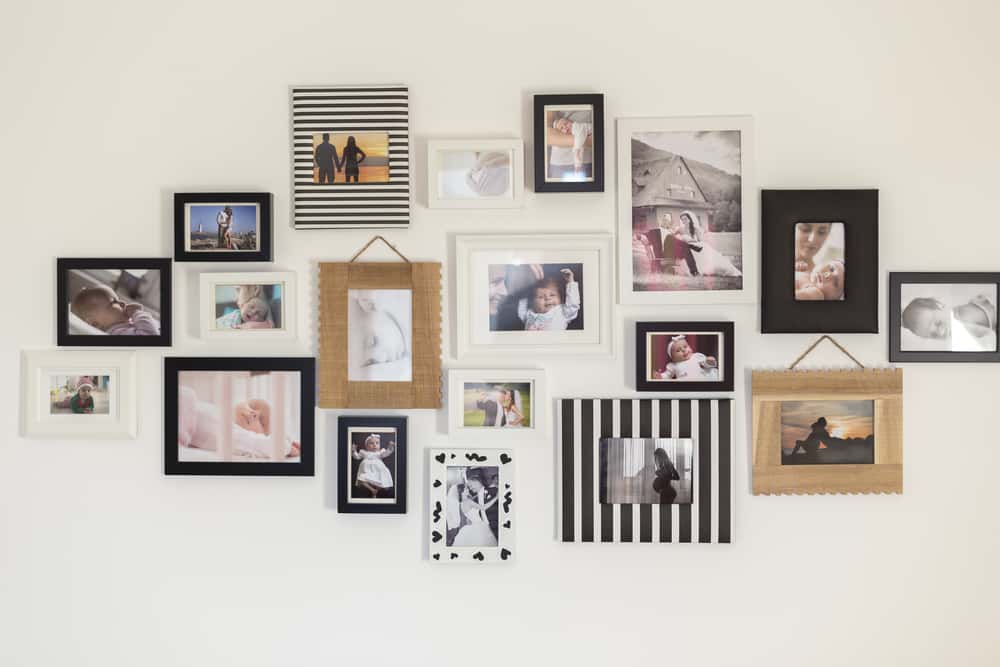
First, see if you already have some art pieces you would like to showcase in your gallery wall. This can include posters, original art pieces you picked up on your travels, sketches, DIY art pieces you have done on a weekend, a favourite comic that you framed and so much more. The possibilities are endless. You could even frame an old postcard that you love. This way, you will be personalizing your wall and making it mean something to you. What better way to make your home unique!
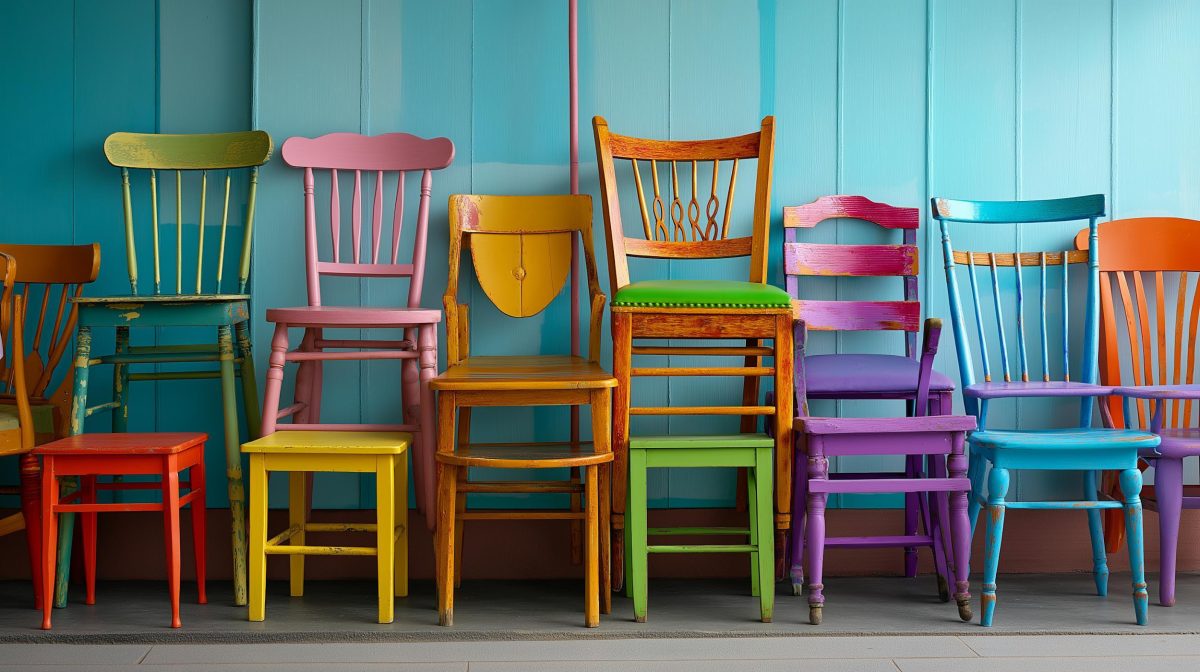
As you collect, think of all the ways you can arrange your pieces. You can either get pieces of different sizes or keep them all the same. Many people prefer different sizes so that its easier to find and gives a more eclectic look. Make sure you keep an eye out for inspiration when you visit friends’ homes, cafes, exhibitions etc.
2. Pick a Theme
Once you have your collection, pick your favourites and group them by themes. For example, if you are putting up only family photos, choose just the beach holiday photos, or just black and white ones, just nature photos etc. If you have a collection of art, pick out ones with colours that go well with your room’s decor. Picking one colour theme can be the factor that ties all your pieces together.
Also, figure out if you want even or odd numbers of pieces. Even numbers may look better if your collection is of the same size and your decor calls for a more neat look. Odd numbers work better if your collection is a mixed bag of different sizes and you want a more organic arrangement.
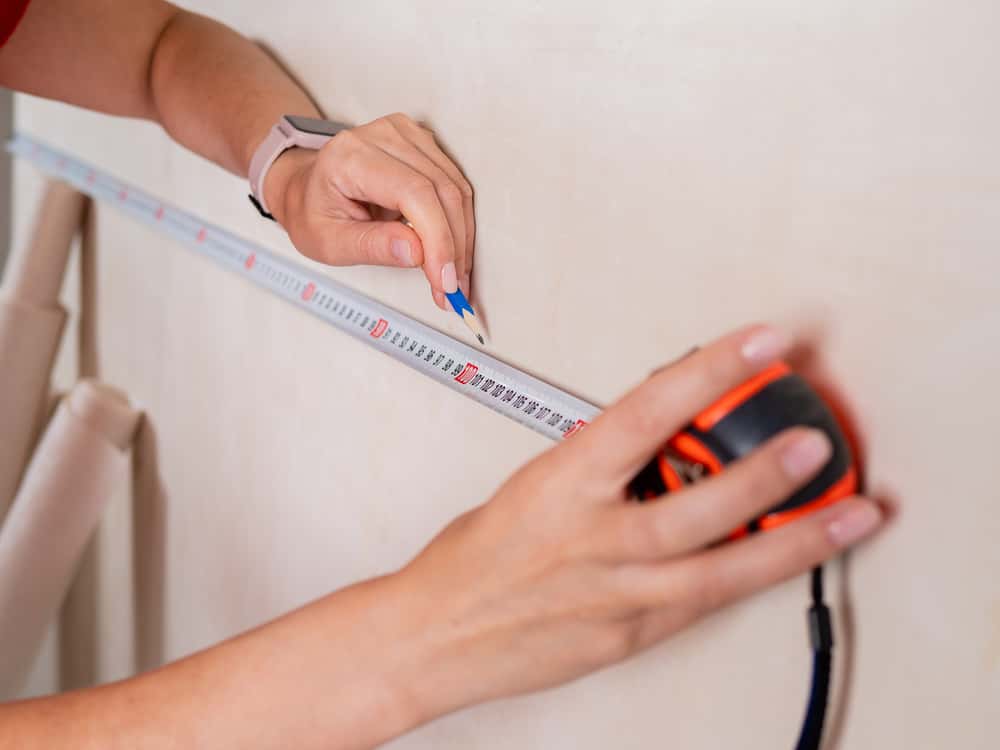
3. Get Your Measuring Tape Out
First, measure the wall you want to do up. Mark out the area on the floor with scotch tape and then lay out your collection so you get an idea of how much space is there without punching holes on the wall directly. See how much space you need between each item. Step back and see how the collection looks together. If any items look out of place, you can replace them at this point. Click pictures of different combinations and see what looks best.
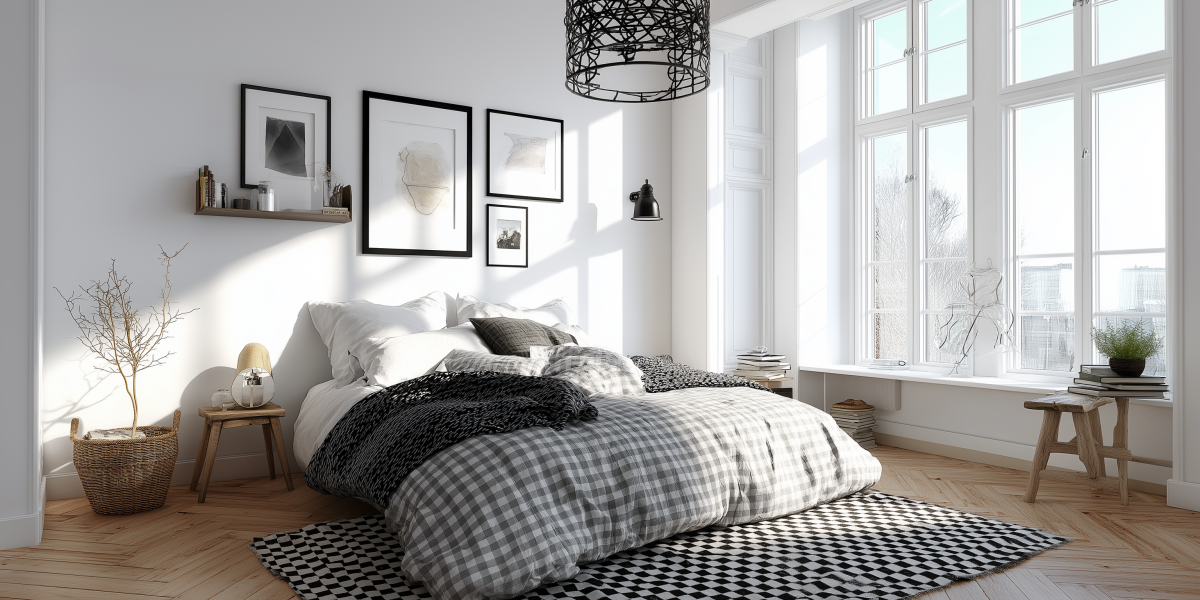
4. Frame It
The next step is to frame all of the pieces. This requires a lot of decision making: Do you want frames that blend with the wall or stand out? Do you want the frames of the same colour or differing colours? For a modern, clean look, simple black frames are a safe choice. White or neutral frames suit homes with Scandinavian decor style. Another option is to get frames in different styles but in the same colour so they go well together.
5. Hang it
Once you have a good idea of where each image will go, grab a pencil and mark out where you will nail hooks. You can go a step further and cut out brown paper in the exact sizes of each piece, tape them on the wall at the exact places you want to nail holes in. Keep a wall filler at hand in case you make mistakes. Also, get a leveller to make sure that everything is straight.
Finally, stand back and enjoy your creation. The beauty of gallery walls is that you can easily swap out pieces as and when you find new pieces. As long as its nearly the same size and goes with the rest of the pieces, you are good to go. Need help with your home’s decor? Talk to our experts at HomeLane today.


 EXPLORE MORE