7 Wall Sticker Mistakes That Ruin Your Walls and How to Fix Them Easily
By Bivin Peter- January 15, 2026
Imagine finding the perfect wall sticker—a design that speaks to your soul, promising to transform your living room accent wall or your child’s bedroom into a space of beauty and inspiration. You apply it with excitement, only to watch in dismay as stubborn air bubbles appear, edges refuse to stick, or the style clashes awkwardly with your carefully curated room.
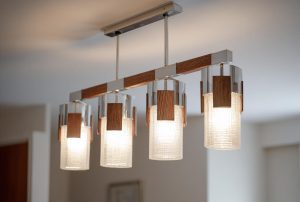
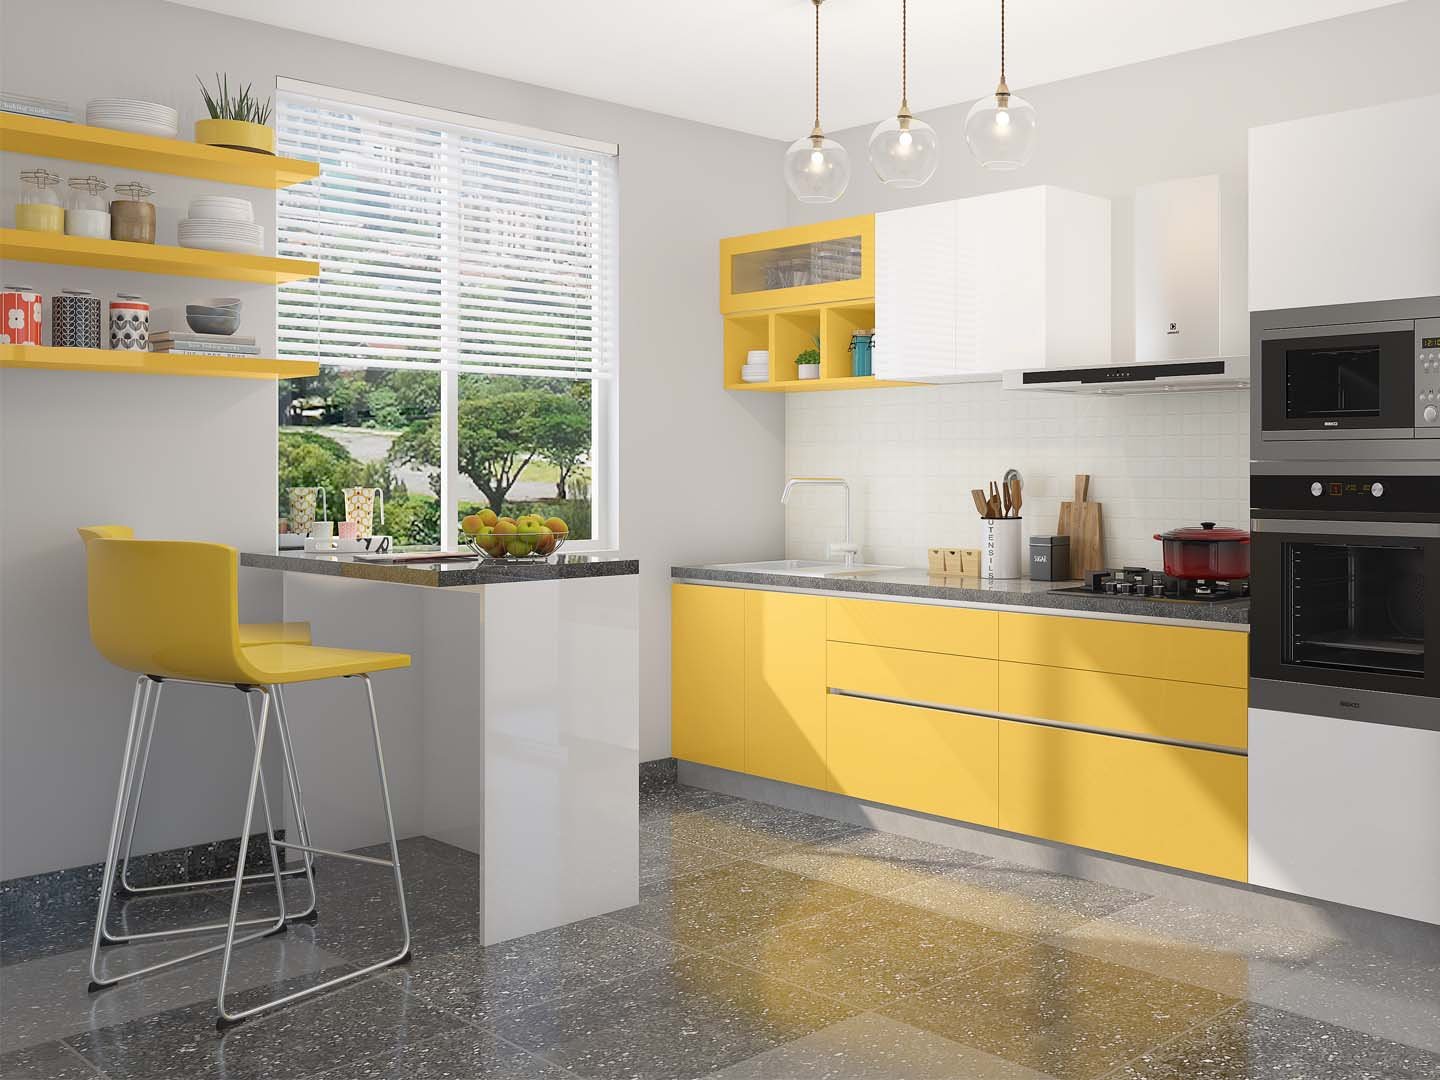
Wall stickers for living room create elegant warm modern hall spaces
This frustrating scenario is more common than you think, but it is entirely preventable. Wall stickers offer an incredible, non-permanent way to express personality, demarcate spaces, and inject colour into a home interior. However, their simplicity is deceptive. A successful application hinges on avoiding a handful of key errors that can compromise their look and longevity.
Drawing from decades of interior design experience, this guide details the seven critical mistakes to avoid with your wall stickers. From preparation to placement, these insights will empower you to achieve a professional, magazine-worthy finish that lasts.
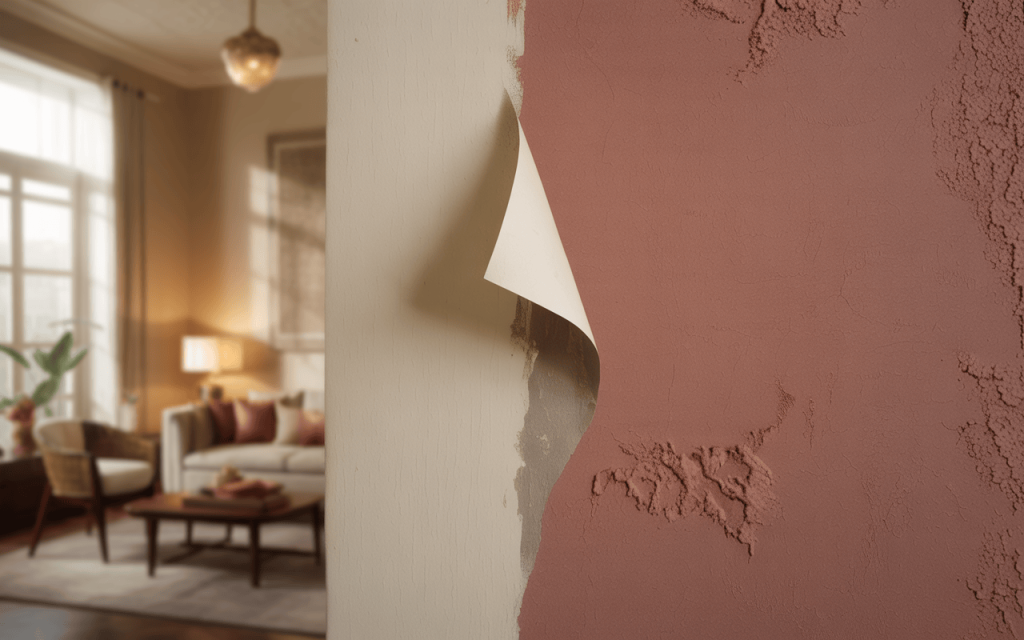
Mistake 1: Ignoring Surface Compatibility
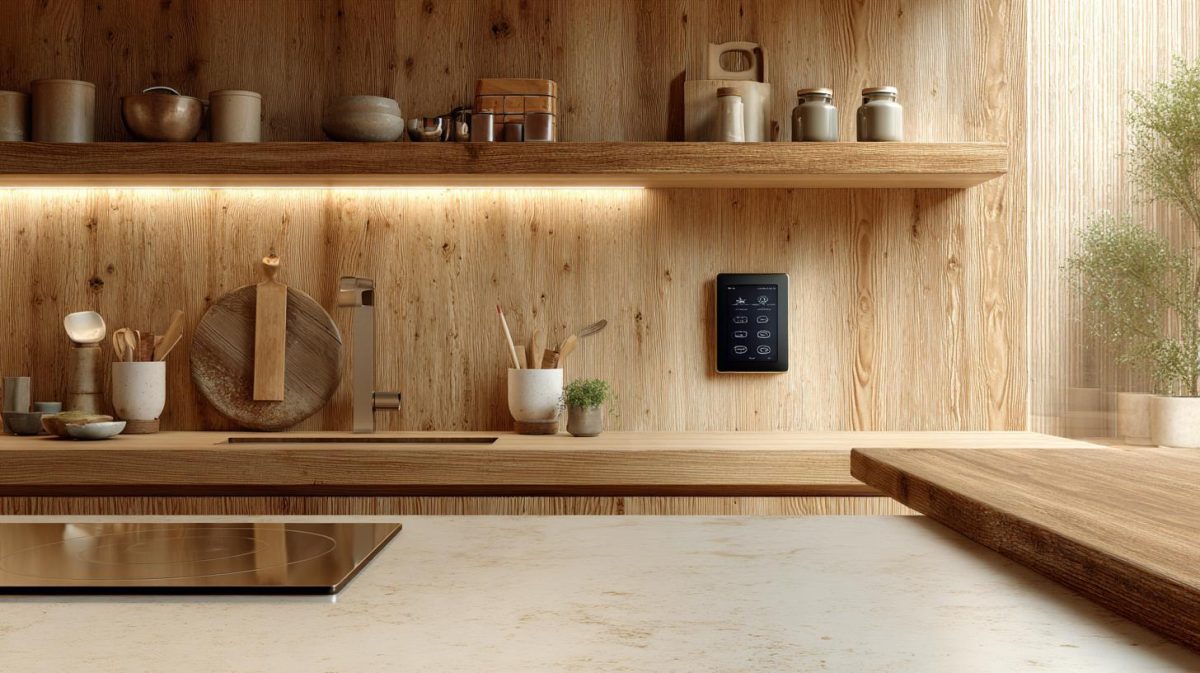
Trendy wall stickers for home that add texture and character to your walls
The journey to perfect wall stickers begins long before you peel off the backing paper. It starts with the wall itself. One of the most fundamental errors is applying stickers to incompatible surfaces.
Textured Walls: Rough, stucco, or heavily textured surfaces prevent the vinyl from making full contact, leading to poor adhesion and trapped air pockets. For such walls, specifically designed textured adhesive vinyl is available, formulated to grip uneven surfaces.
Uncured Paint: Applying wall stickers for home to freshly painted walls is a recipe for disaster. Paint needs a full 2-4 weeks to cure completely. Trapped solvents can weaken the adhesive or cause it to bond too aggressively, pulling paint off upon removal.
Unstable Surfaces: Avoid cracked, peeling, or dusty walls. The adhesive will stick to the flaking paint or a layer of dust rather than the wall, guaranteeing failure. Always start with a wall that is structurally sound, smooth, and impeccably clean.
Expert Insight: “Run your hand over the wall. If it feels perfectly smooth and cool to the touch, it’s likely ready. If you feel grit or texture, clean it thoroughly or consider a different product type,” advise professional installers.
Mistake 2: Skipping the Preparation Ritual
Artistic wall stickers for bedroom that add charm and personality to your space
A clean wall is a sticky wall. Dust, oil, and invisible grime are the silent adversaries of any adhesive. A quick wipe with a damp cloth isn’t always enough.
For a guaranteed bond, wash the area with a mild solution of dish soap and warm water, then rinse with clean water and allow it to dry completely—preferably overnight. This step is non-negotiable for ensuring your chosen bedroom wall stickers or wall stickers for the living room remain securely in place for years.
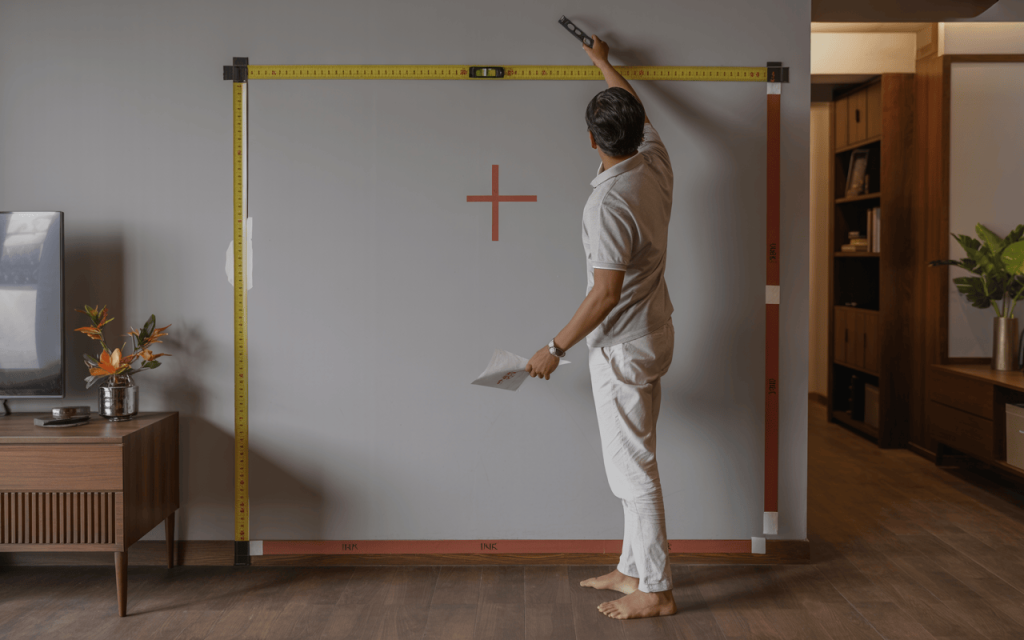
Mistake 3: Eyeballing Measurements and Placement
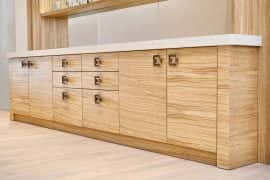
Wall stickers for home measured precisely before full wall installation
Few things are more disheartening than a beautifully applied sticker that is crooked or off-centre. Avoid the temptation to “just stick it on.”
Use Tools: Employ a measuring tape, a pencil, and most importantly, a spirit level. Walls and ceilings are rarely perfectly straight.
The Tape Trick: For large or multi-piece wall stickers, use painter’s tape to create a temporary “hinge” at the top. This allows you to position the entire piece perfectly, check the alignment, and then commit by peeling and smoothing from the top down.
Mistake 4: Mishandling the Application Process
Artistic wall stickers for home that bring style and personality to any room
Rushing the application is where bubbles, wrinkles, and tears happen. Patience is your greatest tool.
Temperature Matters: Apply wall stickers in a room-temperature environment (18-24°C). Cold vinyl is stiff and prone to cracking; hot vinyl can be overly stretchy and adhesive can become unmanageable.
Peel and Stick Gradually: For larger decals, don’t remove all the backing at once. Peel back a few inches, align it perfectly, smooth it down with a squeegee or a credit card wrapped in a soft cloth, and then gradually work your way down.
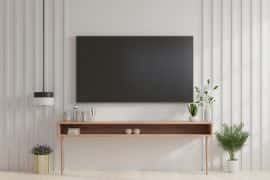
Mistake 5: Disregarding Room Theme and Scale
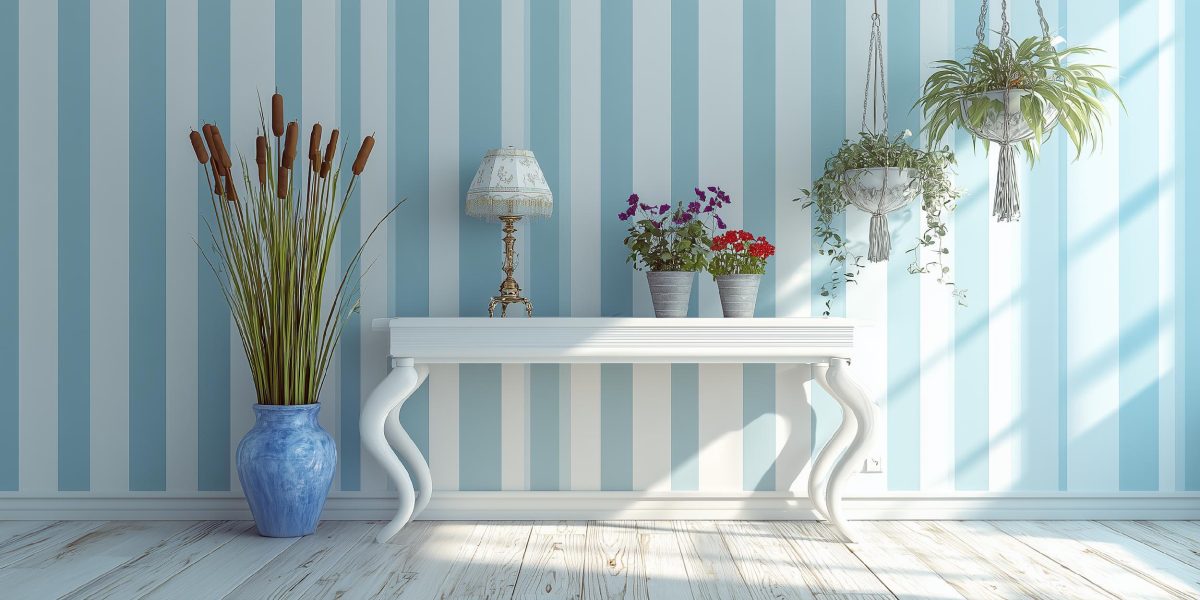
Modern wall stickers for living room that add elegance and artistic beauty
A sticker is a design element, not an island. A common mistake is choosing a decal in isolation without considering the room’s existing ecosystem.
Scale & Proportion: A tiny, dainty floral might be swallowed on a vast, empty wall in your hall. Conversely, an oversized, bold geometric full wall sticker for the bedroom can overwhelm a cozy space. Measure your wall and visualise the impact.
Colour and Style Cohesion: Does the sticker’s colour palette complement your upholstery, bedding, or artwork? Does a modern, abstract design clash with your traditional furniture? Choose wall stickers that harmonise with or intentionally, thoughtfully, contrast your established theme.
Mistake 6: Creating Visual Clutter
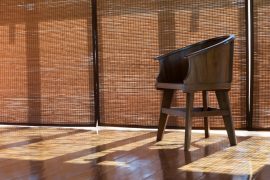
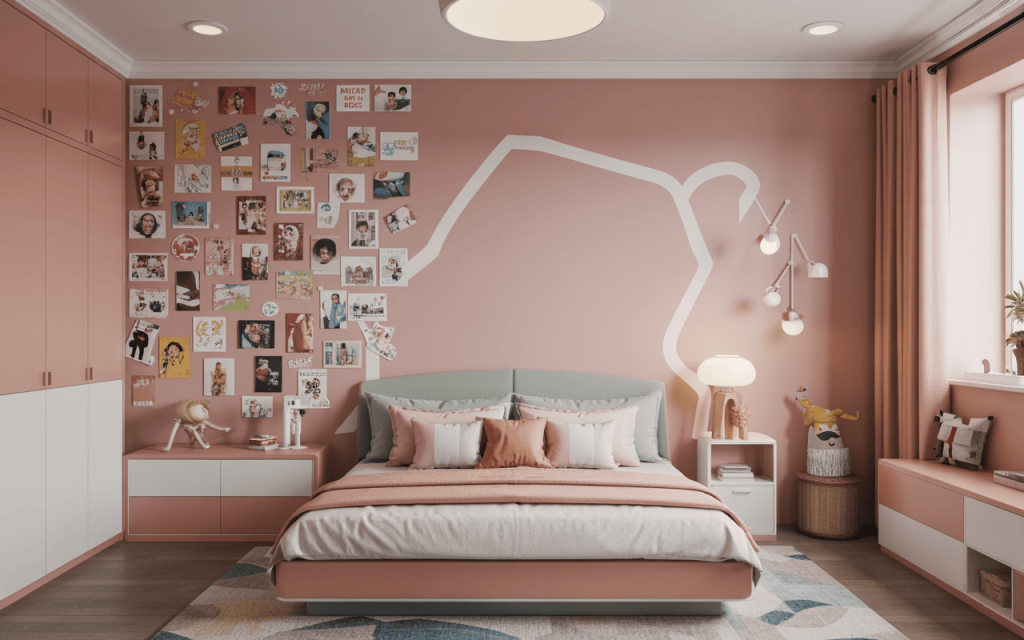
Bedroom wall stickers add playful charm to modern home interiors
The allure of variety can lead to a cluttered, chaotic look. This is especially true in children’s rooms or when using motivational quotes.
Less is often more. Choose one focal-point statement piece, like a majestic tree or an elegant quote, rather than scattering dozens of small, unrelated images. For a cohesive gallery wall effect with multiple wall stickers, stick to a consistent colour scheme or thematic style (e.g., all botanical or all celestial).
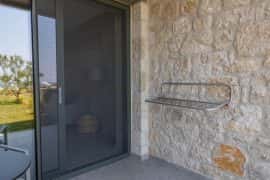
Mistake 7: Assuming Removal is Always Simple
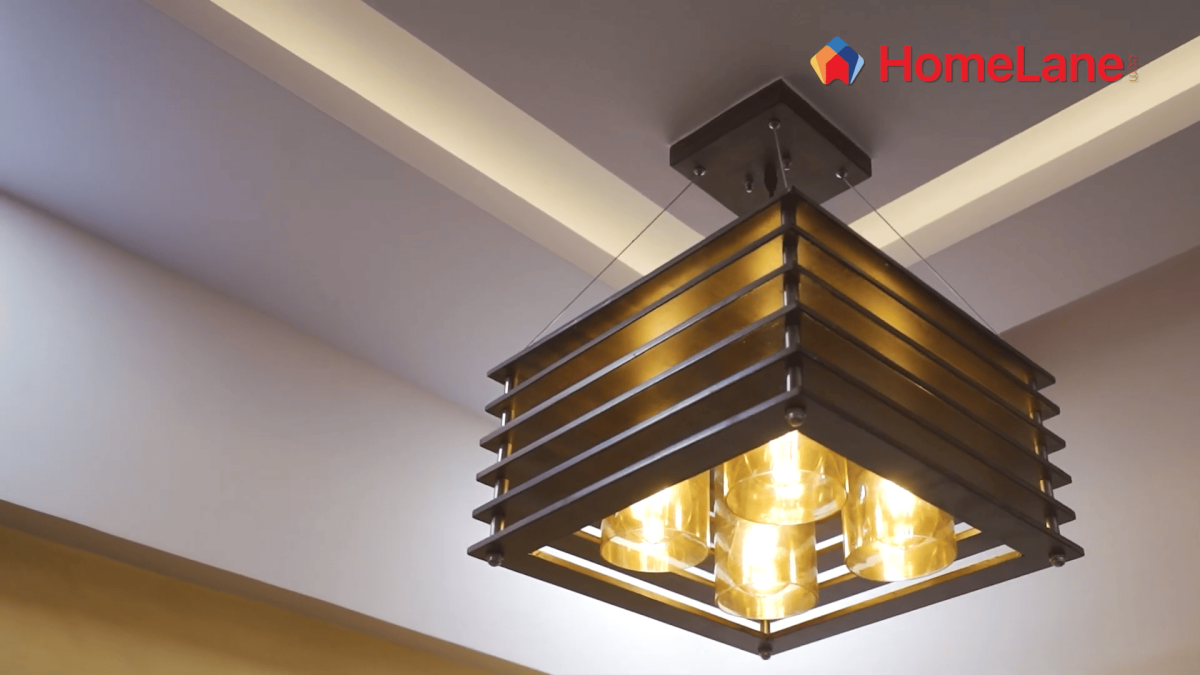
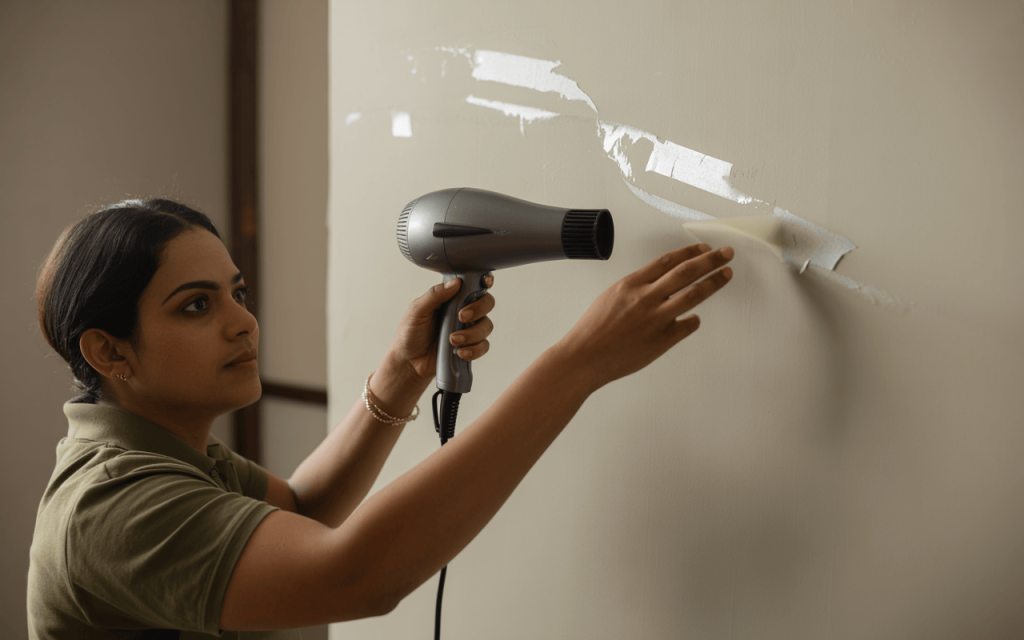
Wall stickers for home installed smoothly using heat application technique
Quality removable wall stickers are designed to come off cleanly, but only if removed correctly. Simply yanking them off can damage your paint.
Use Heat: Gently warm the sticker with a hairdryer on a low setting. This softens the adhesive, making it pliable and easy to peel away slowly and at a shallow angle.
Go Slow: If you feel resistance, apply more heat. Never force it. A patient removal ensures your wall is left undamaged and ready for its next transformation.
From Vision to Flawless Reality
Bedroom wall stickers enhance cosy bedrooms with personalised framed accents
A stunning feature wall doesn’t need to be a source of stress—it just needs clarity, care, and clever execution. Even the most ambitious wall sticker project, from a subtle accent to a full wall sticker for the bedroom, is possible with the right knowledge. All it takes is a plan that respects your space and a process that protects your walls.
At HomeLane, we help you build beauty with confidence. Our experts are adept at integrating statement décor into cohesive interior designs — smart, stylish, and rich with intent. Let’s transform your vision into reality.
FAQs On Wall Stickers
1. What surfaces are unsuitable for wall stickers?
Avoid heavily textured walls (like stucco), unfinished or porous surfaces, freshly painted walls (wait 3-4 weeks), wallpaper (which may tear), and any dusty, dirty, or damp areas. Smooth, clean, painted drywall or glass is ideal.
2. How do I prevent bubbles during application?
Ensure the wall is clean and smooth. Apply at room temperature and use a squeegee or credit card to smooth the sticker from the centre outward as you apply it gradually. For small bubbles that remain, you can gently puncture them with a pin and press flat.
3. Can wall stickers damage painted walls?
They can be removed incorrectly from fragile paint. Always test adhesion in a small, hidden area first. To remove safely, use a hairdryer on low heat to warm the adhesive and peel slowly at a 180-degree angle. This minimises the risk of pulling off paint.
4. How long do wall stickers typically last?
The longevity varies by product quality and environment. Indoors, on a suitable surface, high-quality vinyl wall stickers can last for many years. Direct sunlight, high humidity, or temperature extremes can shorten their lifespan.


 EXPLORE MORE