The global wall putty market is poised to grow by $1.33 bn during 2022-2026. But what’s fueling this skyrocketing growth? If you want to understand how to use a wall putty design for your home interior and lend a flawless finish to your walls, this guide is for you.
We will decode everything you need to know about wall putty designs- from what it is and how it should be applied to its advantages and disadvantages as well as uses and applications. Let’s get going!
What Does a Wall Putty Design Refer To?
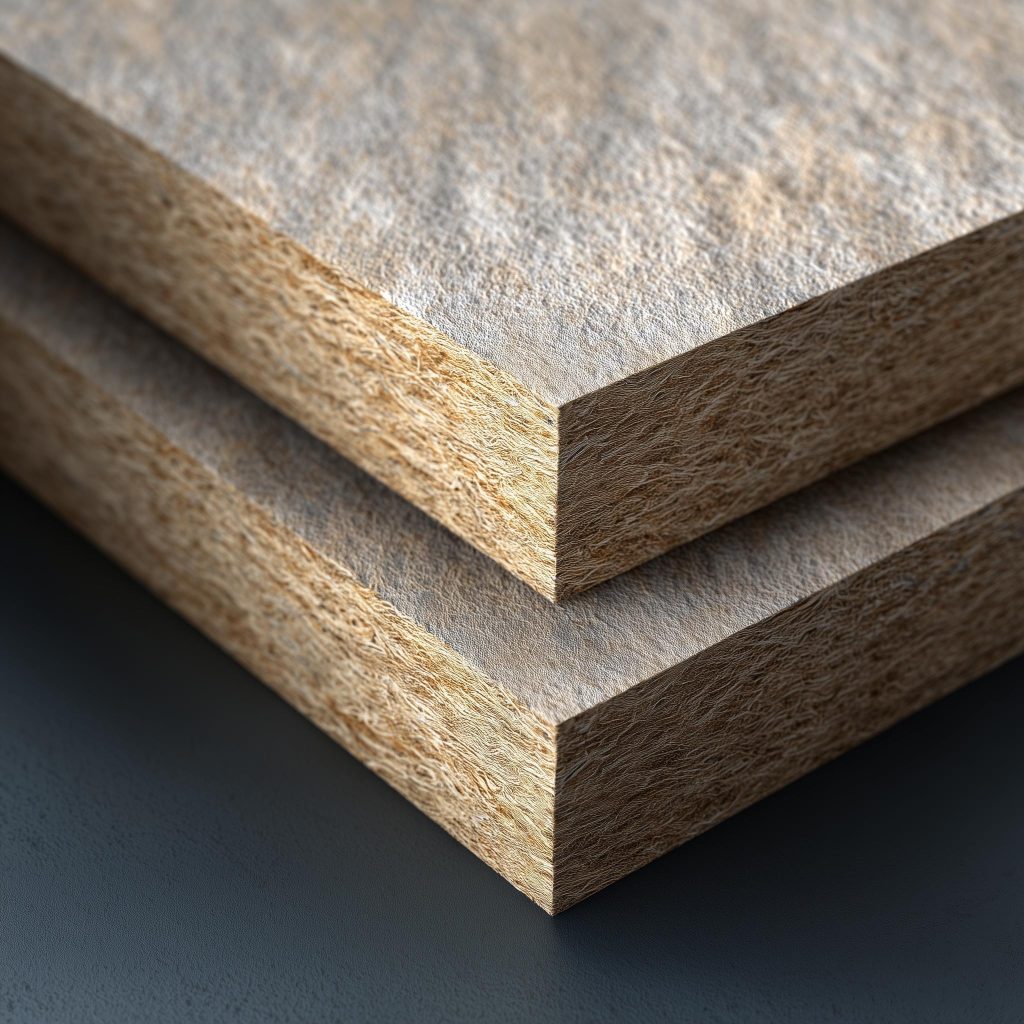
A wall putty consists of minerals and high-quality polymer- it is nothing but a white cement that is used for a textured putty design. You apply it on walls using lightweight blocks, concrete, etc. If you have damaged walls or walls with tiny holes in them, you should go for wall putty first. It helps add a flawless finish to your painting job and is typically done before the last coat of primer has dried.
Types of Wall Putty Design for Your Home
Typically speaking, you can use two types of wall putty: acrylic wall putty and cement-based wall putty.
- Acrylic Wall Putty: A common form of water-based wall putty, this putty type is available in a paste form. Thus, it can easily and directly be applied to the wall surface. Plus, compared to POP, you get a smoother texture and a long-lasting, high-quality finish with acrylic putty. It is also helpful in sealing cracks and other irregularities in the wall. If you want putty for your home’s interior walls, you can go for this putty type.
- Cement-Based Putty: Available in powder form, this polymer-based putty type must first be combined with water before applying. This putty is most extensively used in residential construction today. It is made up of white cement, minerals, and polymers. As a result, you can use it for both interior and exterior walls. This putty lends a shiny, glossy, and smooth finish to the walls. Plus, it has a high bonding strength, making it super convenient to apply.
Uses and Applications of Wall Putty Designs
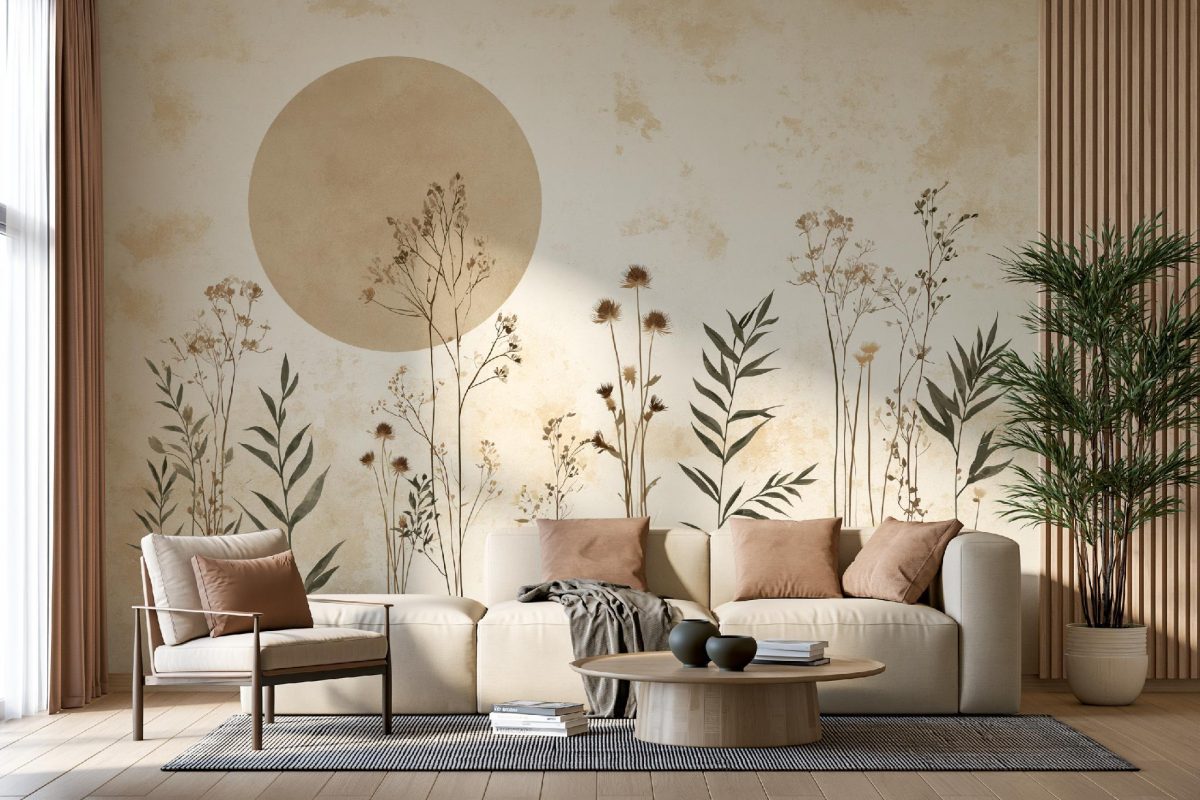
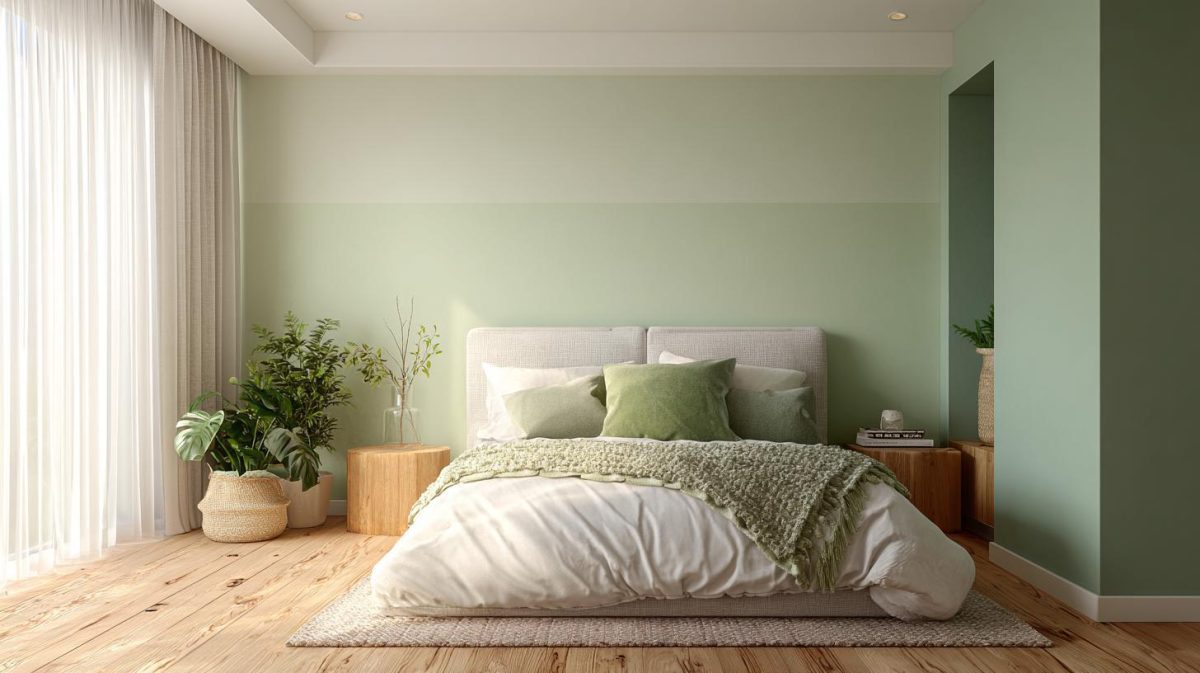
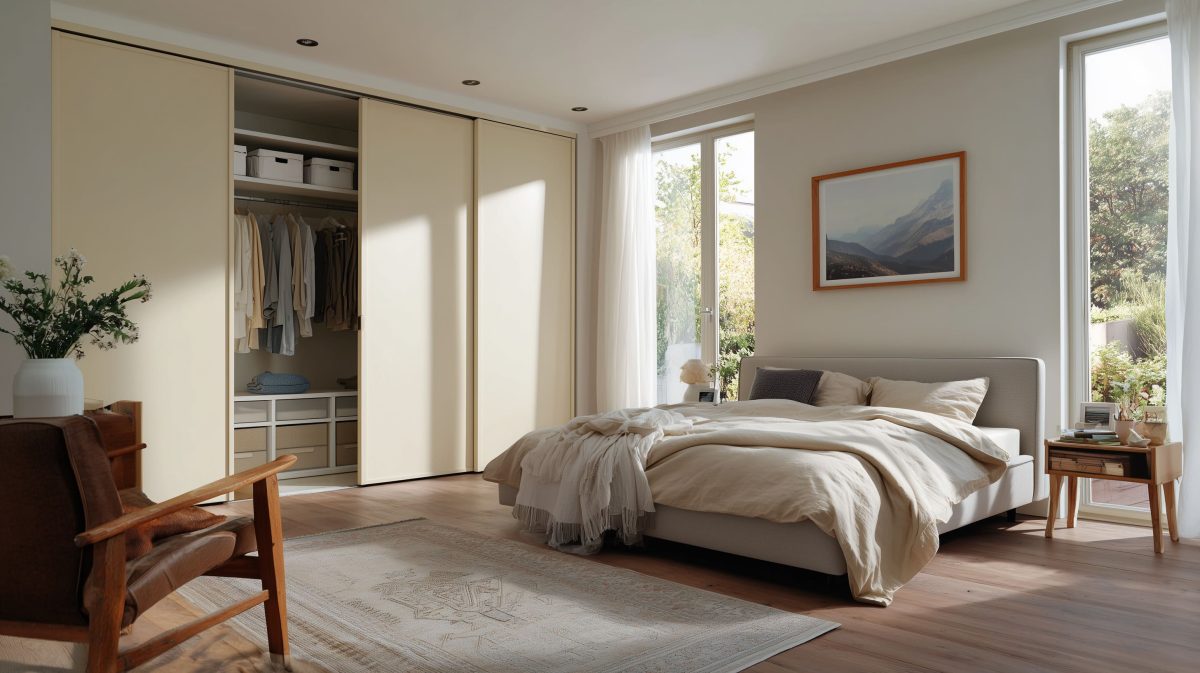
A modern wall putty texture design becomes especially useful if you are moving into a new home or are considering renovating your old home (for example, your bedroom interior design). If you want a textured finish, you can go for a 3D wall putty design. Most seasoned painters use this white-coloured mixture on the walls before painting the wall. Here are the top applications and use-cases of wall putty designs:
- People think of applying putty to either fill dents, cracks, and gaps on the wall or enhance the paint’s life.
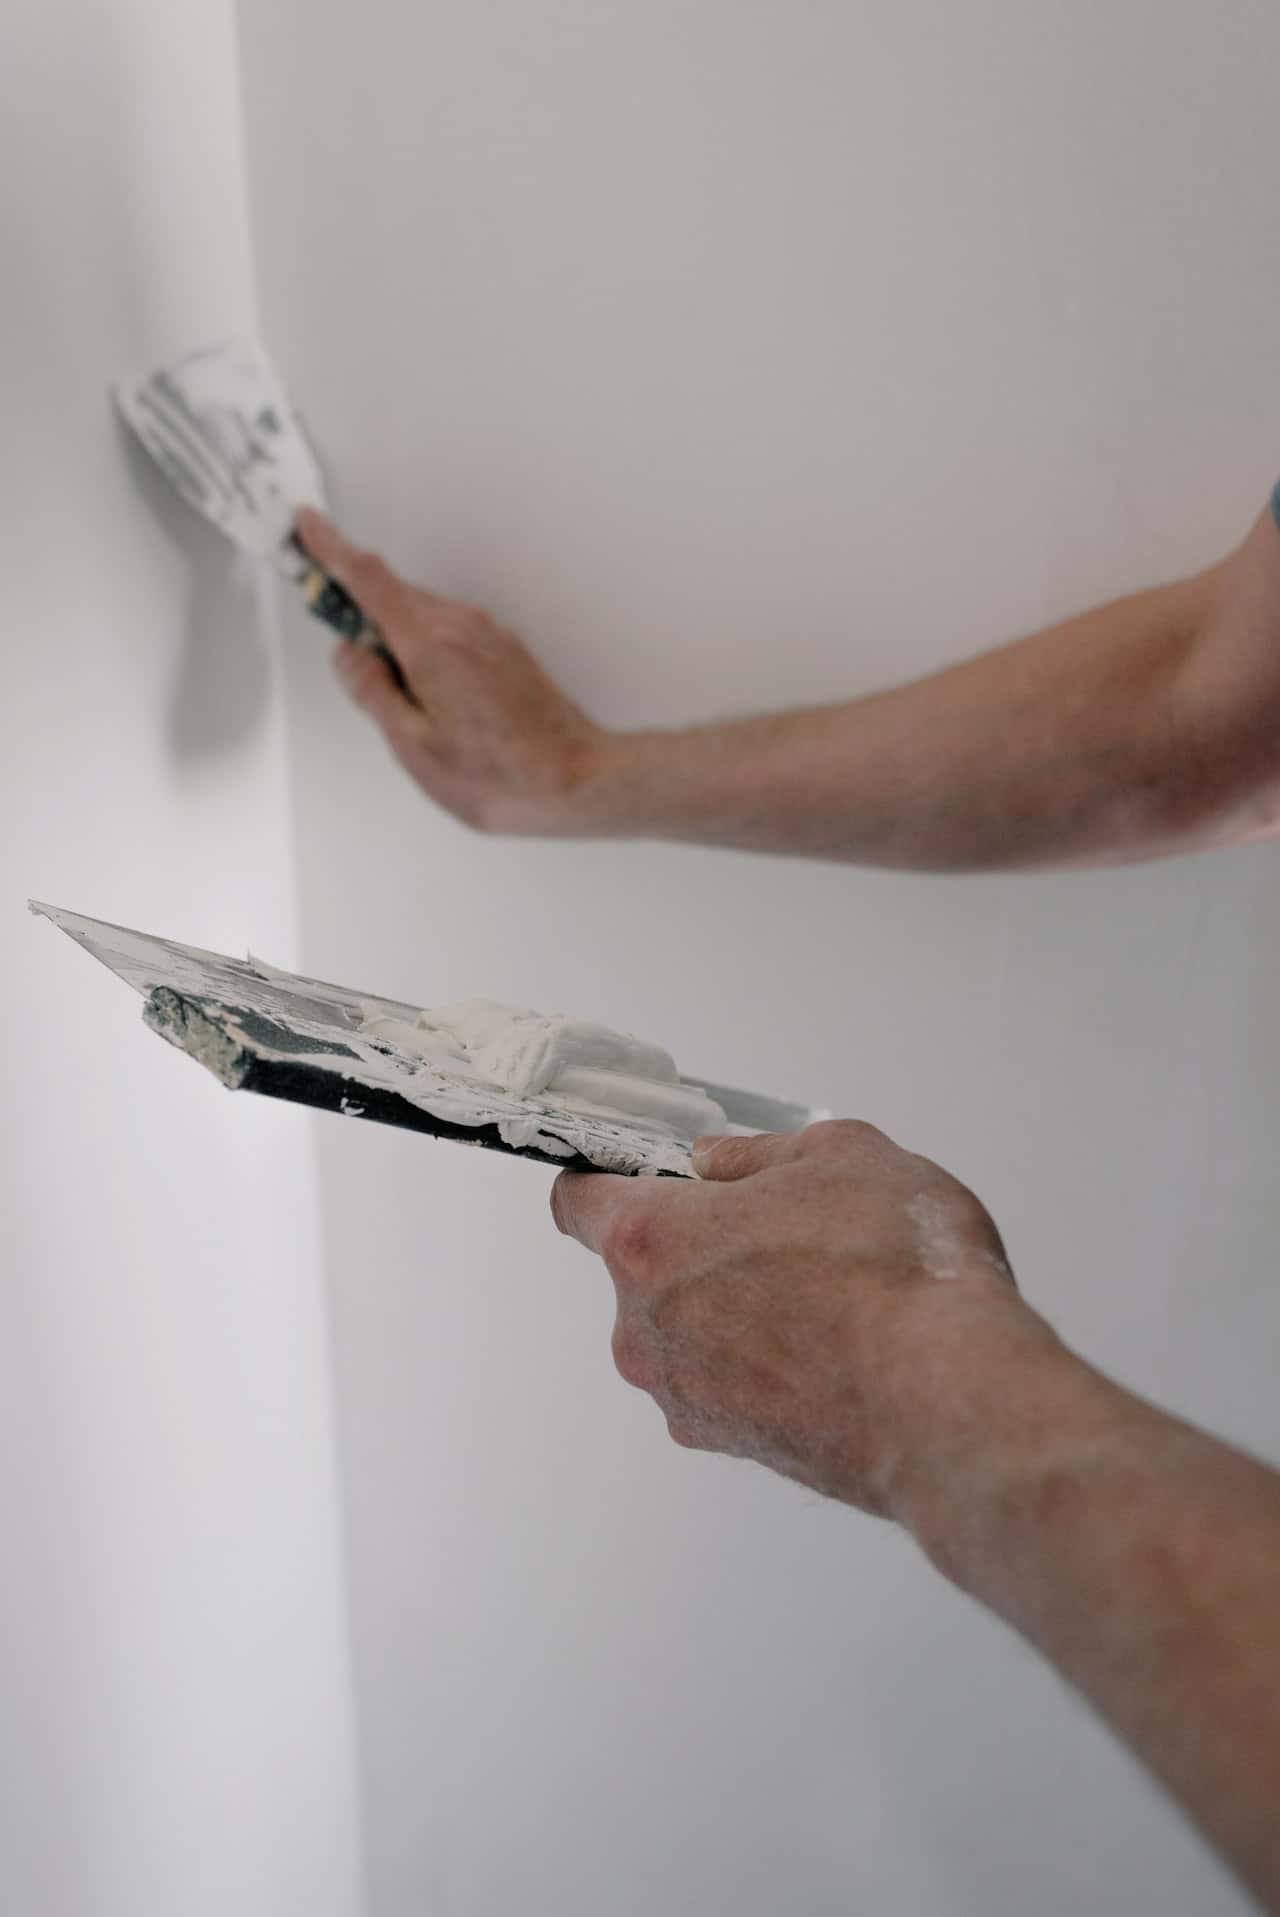
- Generally, workers apply one or two layers of putty before they finally apply the paint coat, ultimately lending a flawless shine to the walls.
- Getting familiar with the brand’s instruction manual is recommended before using the wall putty product. In simpler words, following the procedure to the t is key to a wall putty job done right.
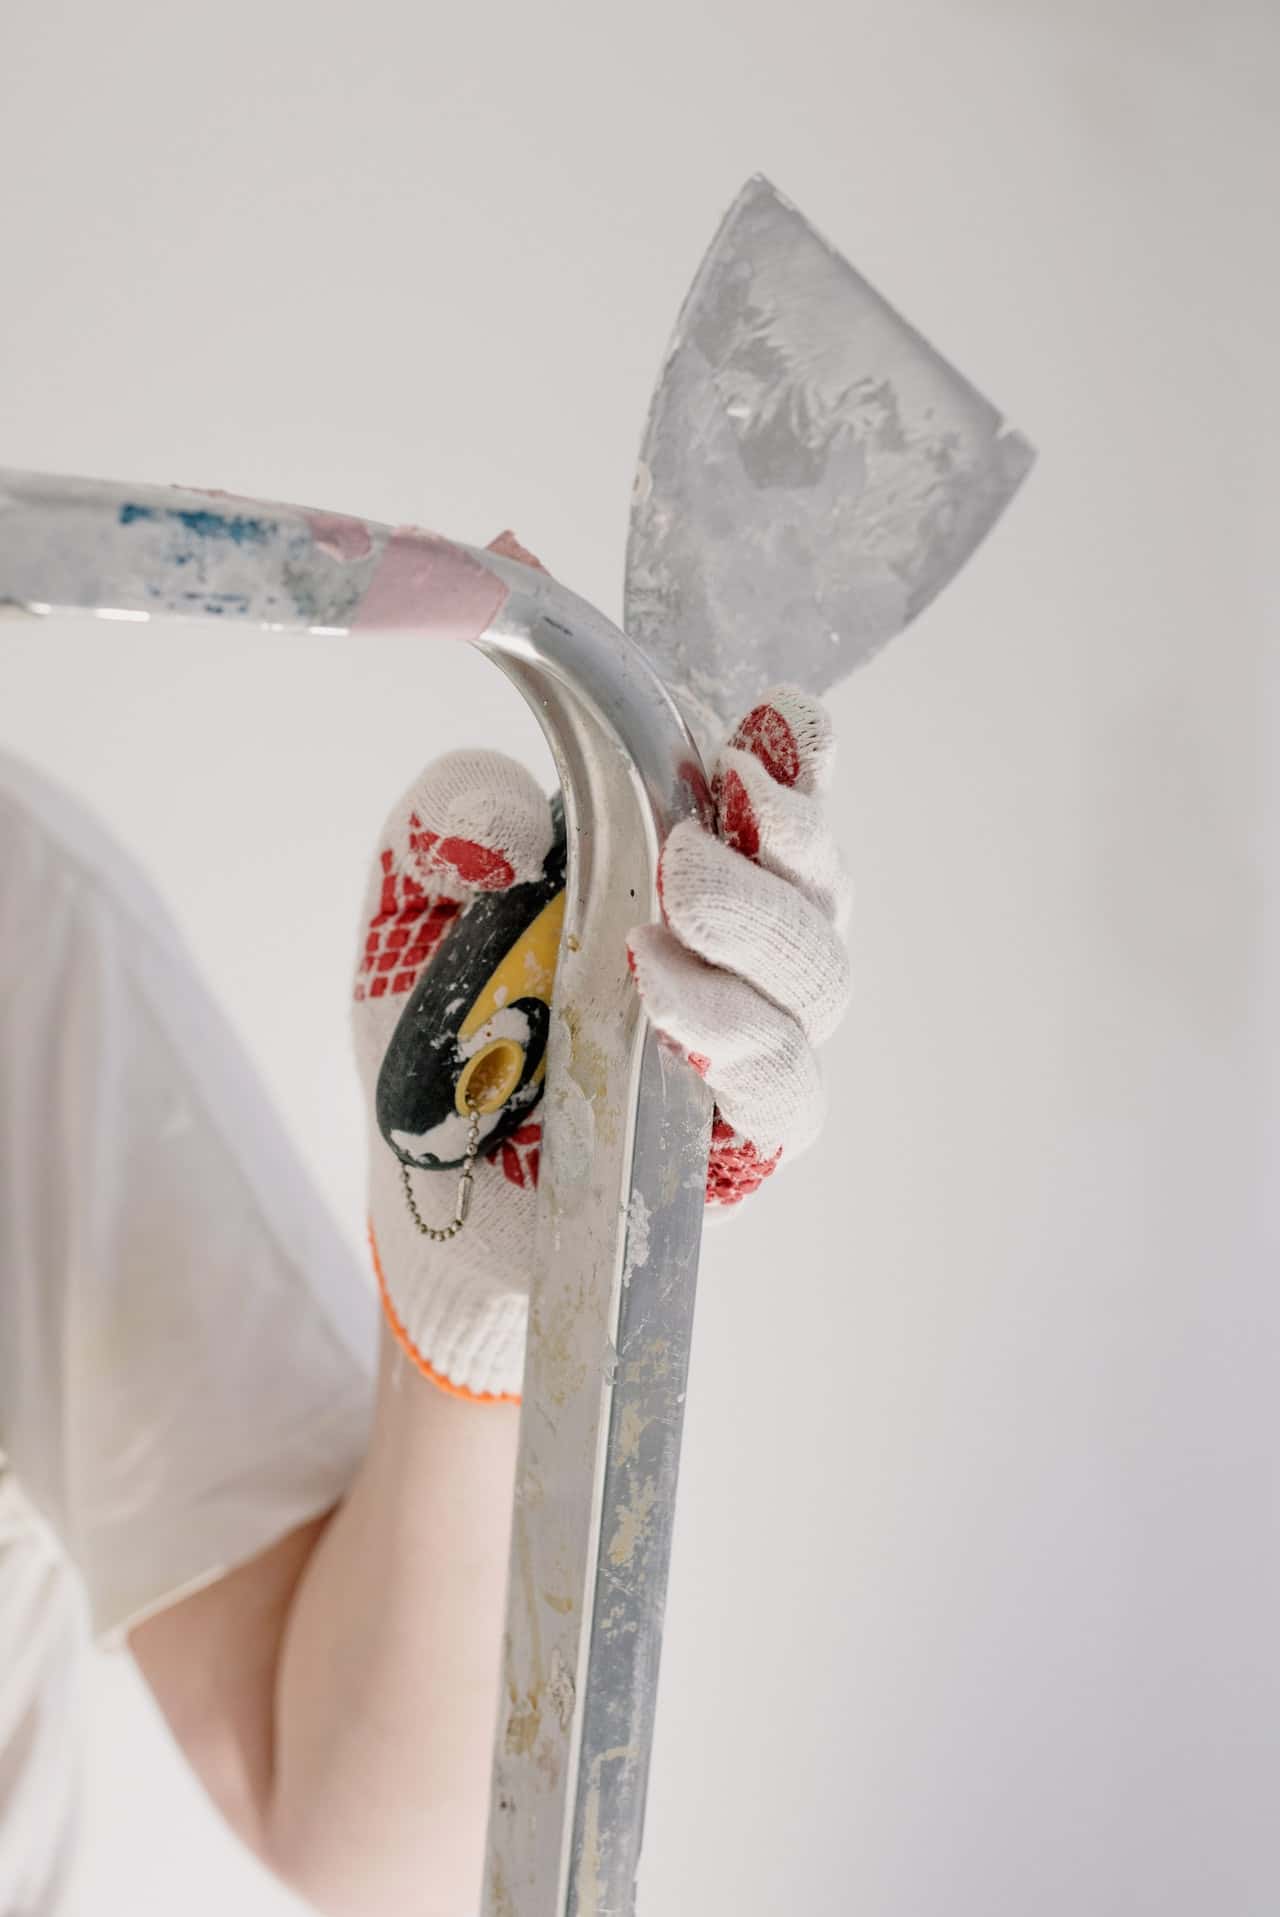
Pro tip: Once you choose a wall putty design, make sure to clean your walls using sandpaper and remove old stains, dust, mould, grease, left-over wallpaper, and so on the putty job begins. You can also use a screwdriver to dig out the dents/cracks in the wall. Wear goggles, gloves, and a mask at this point to protect yourself.
Here are the steps to apply wall putty:
Step 1: First, decide on the kind of wall putty your walls need.
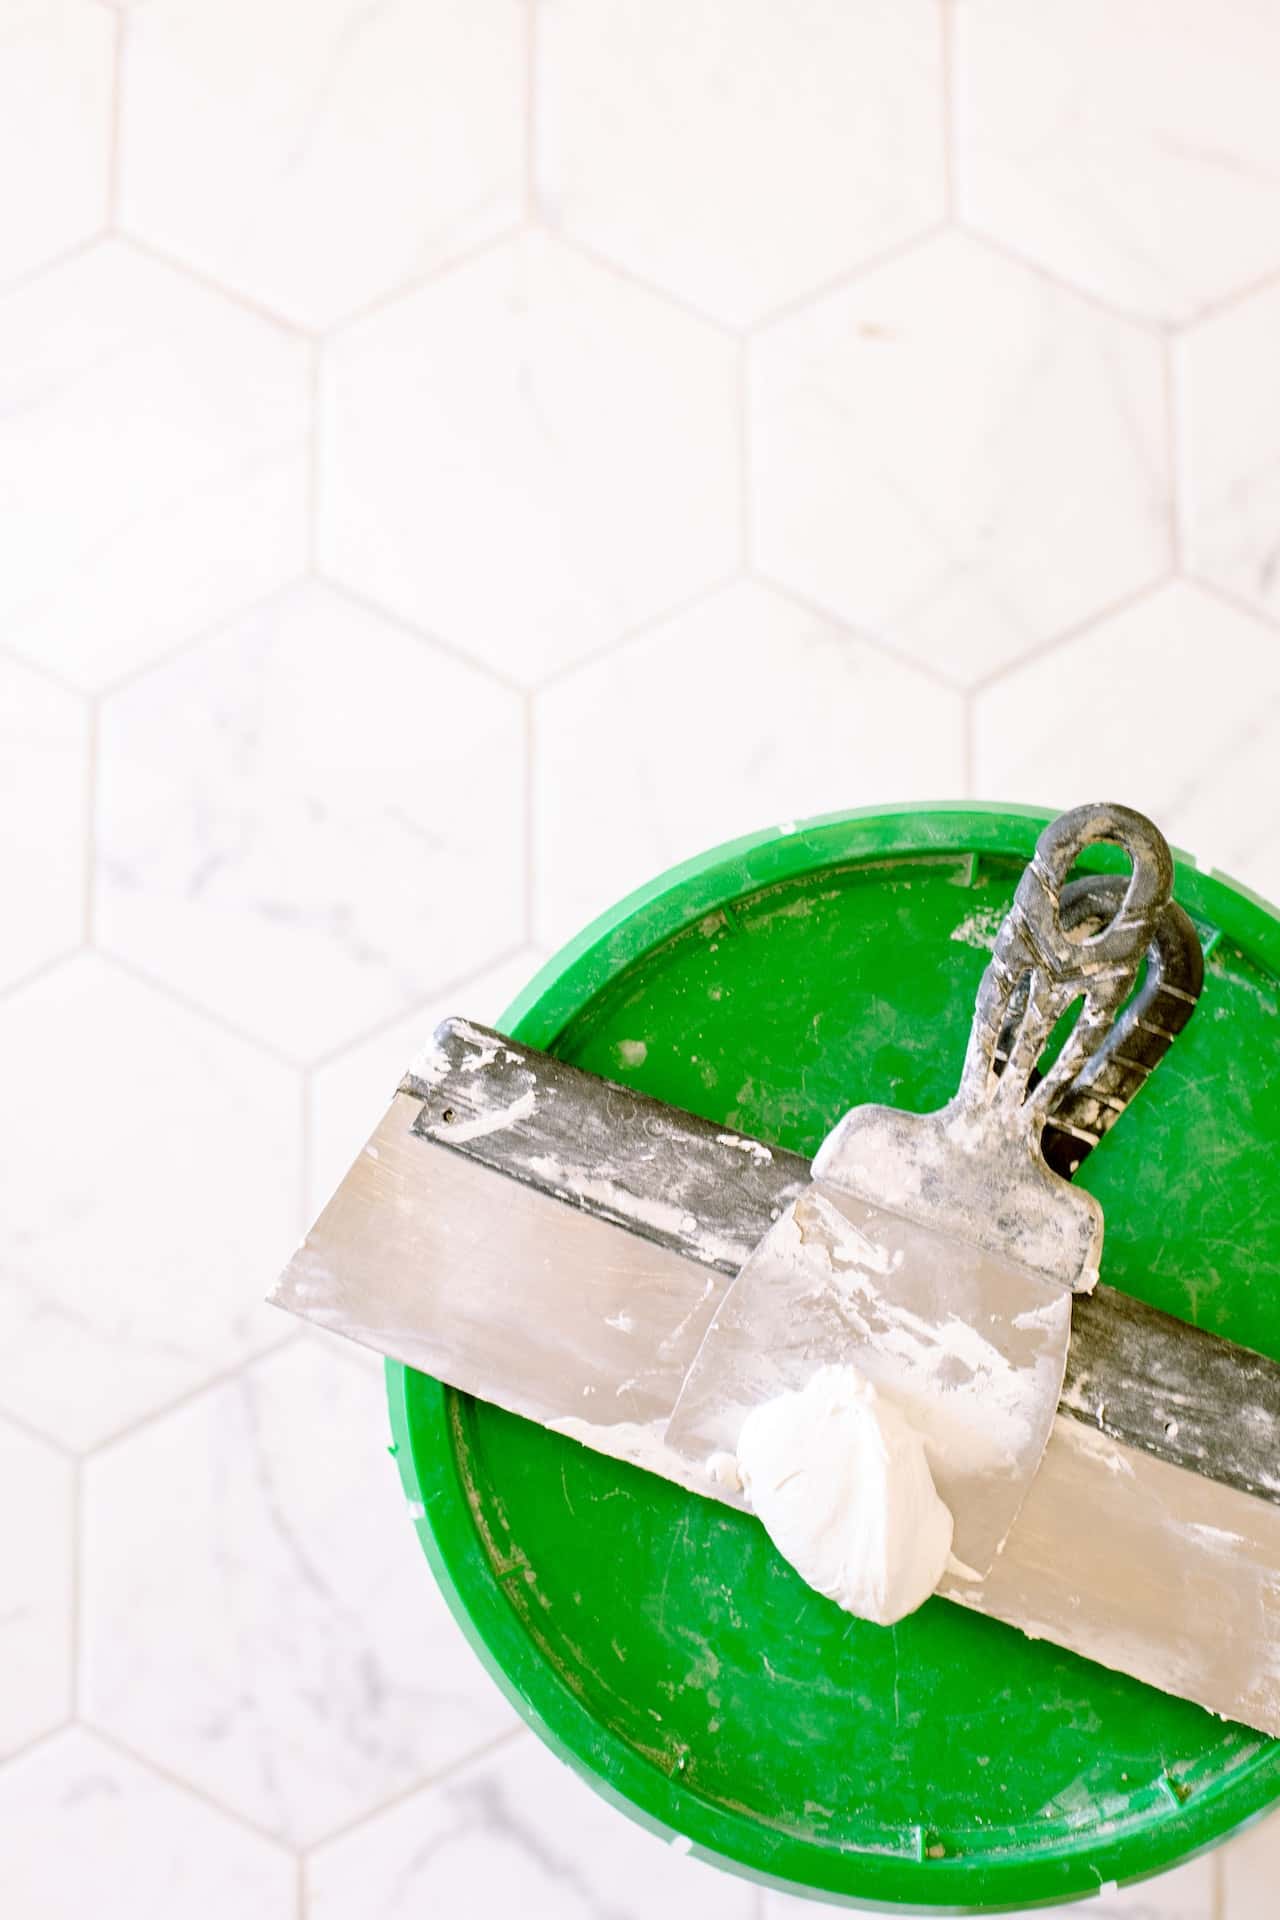
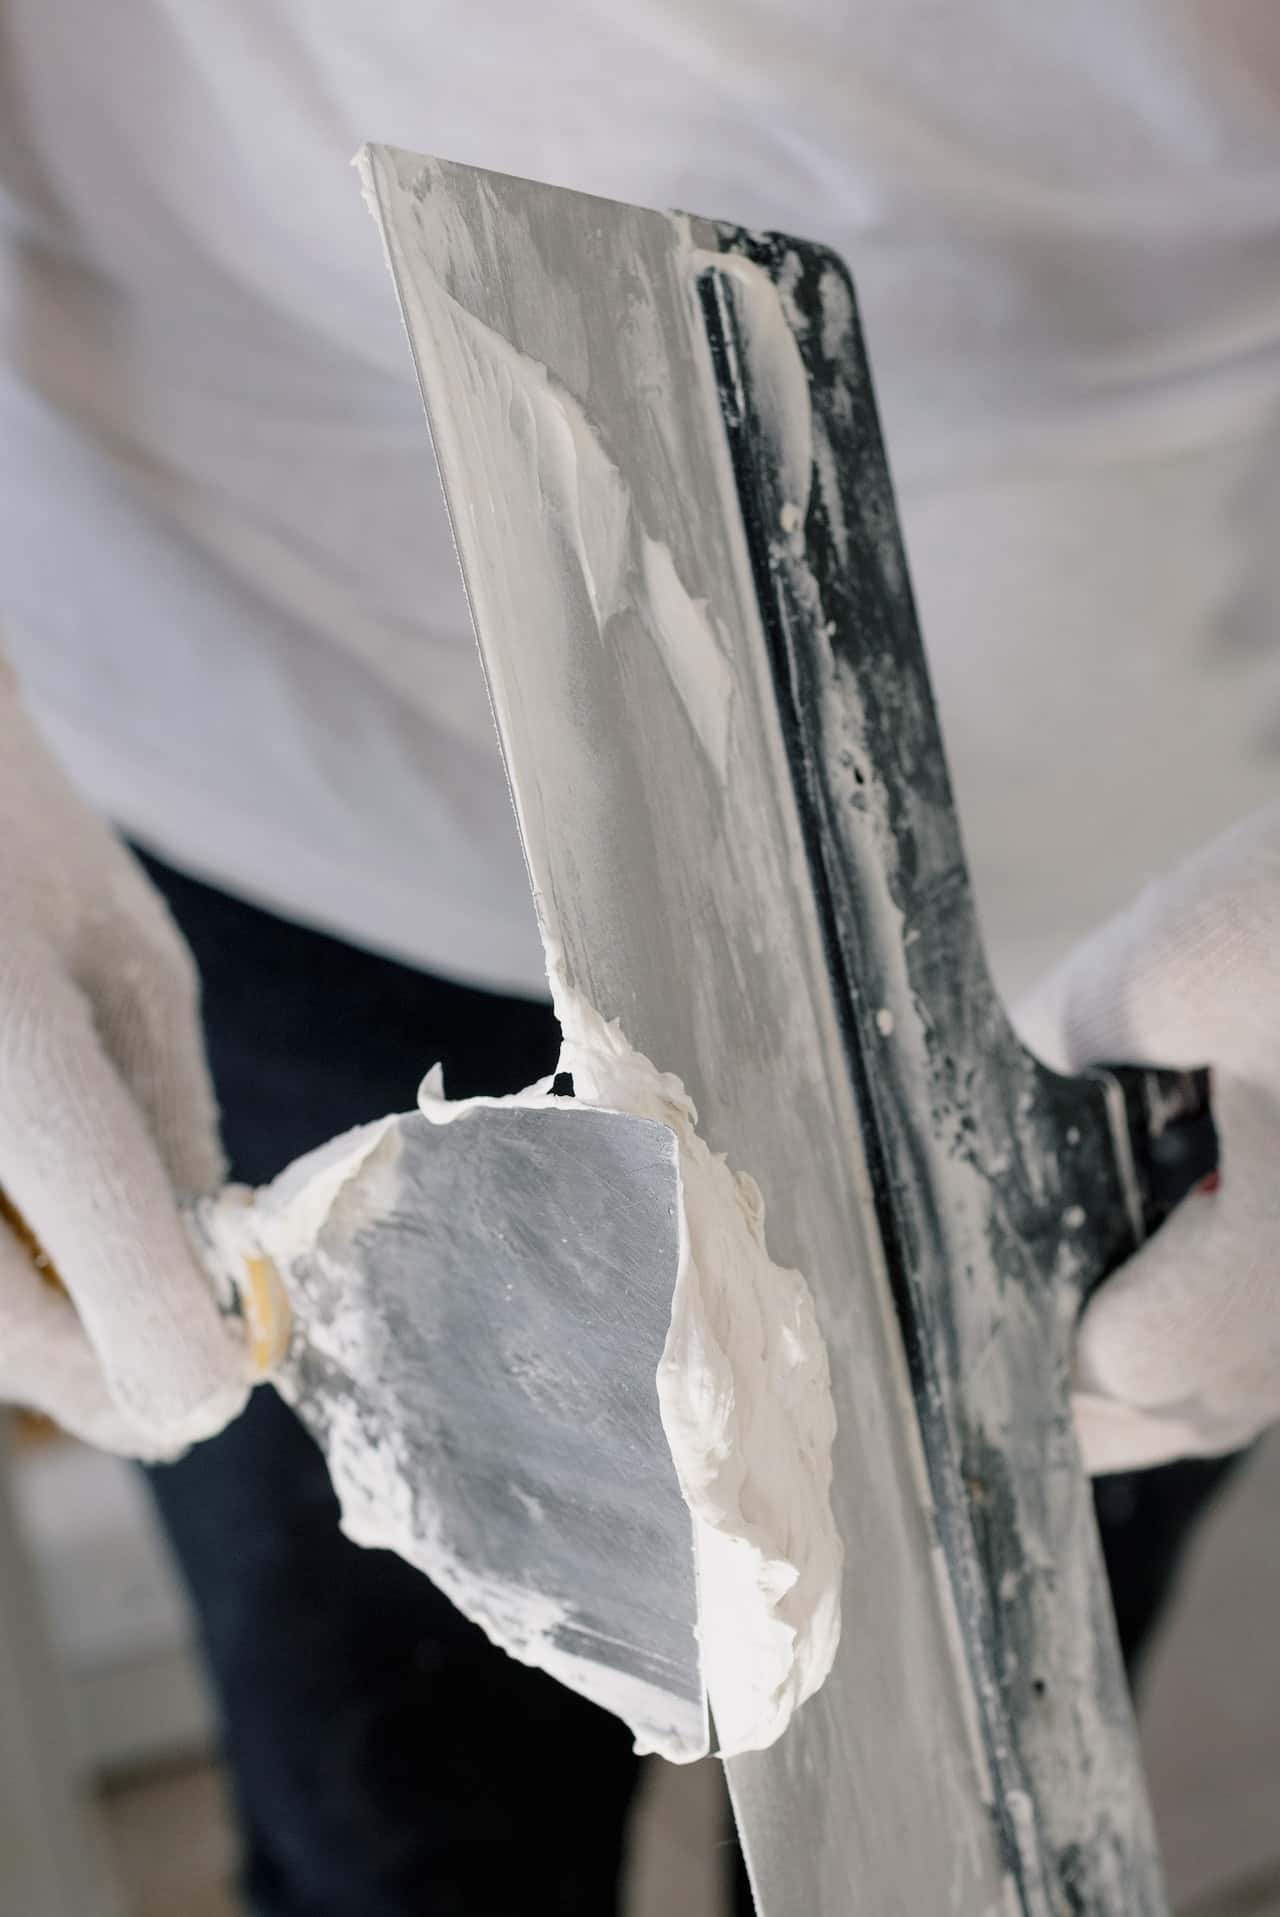
Step 2: If using cement putty, add water to the wall putty mix. You should get a smooth paste in the end. For best results, use a mechanical stirrer to blend the mixture.
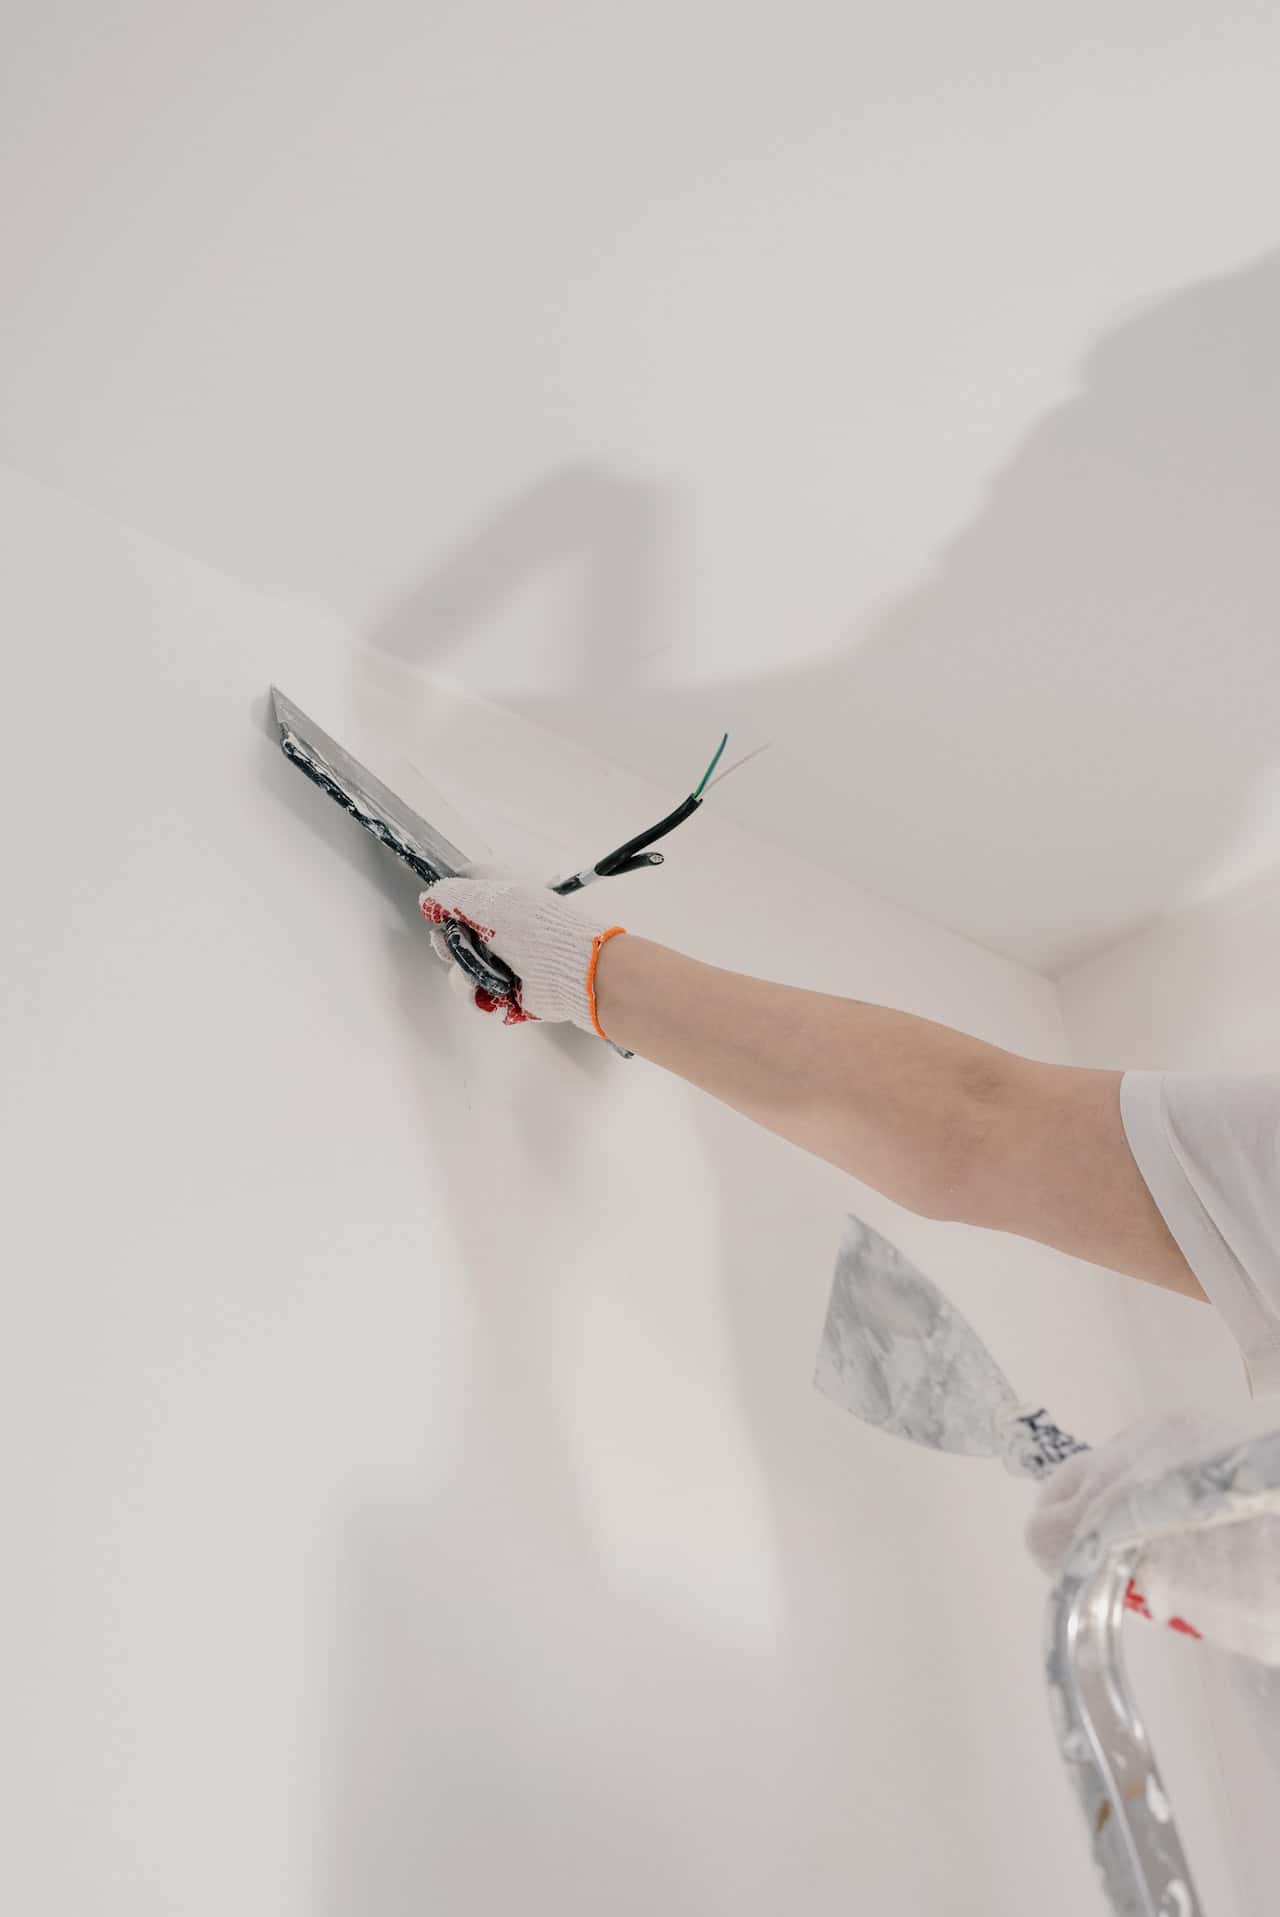
Step 3: Apply the wall putty only on a pre-wet surface, as it will help build a strong bond with the wall substrates.
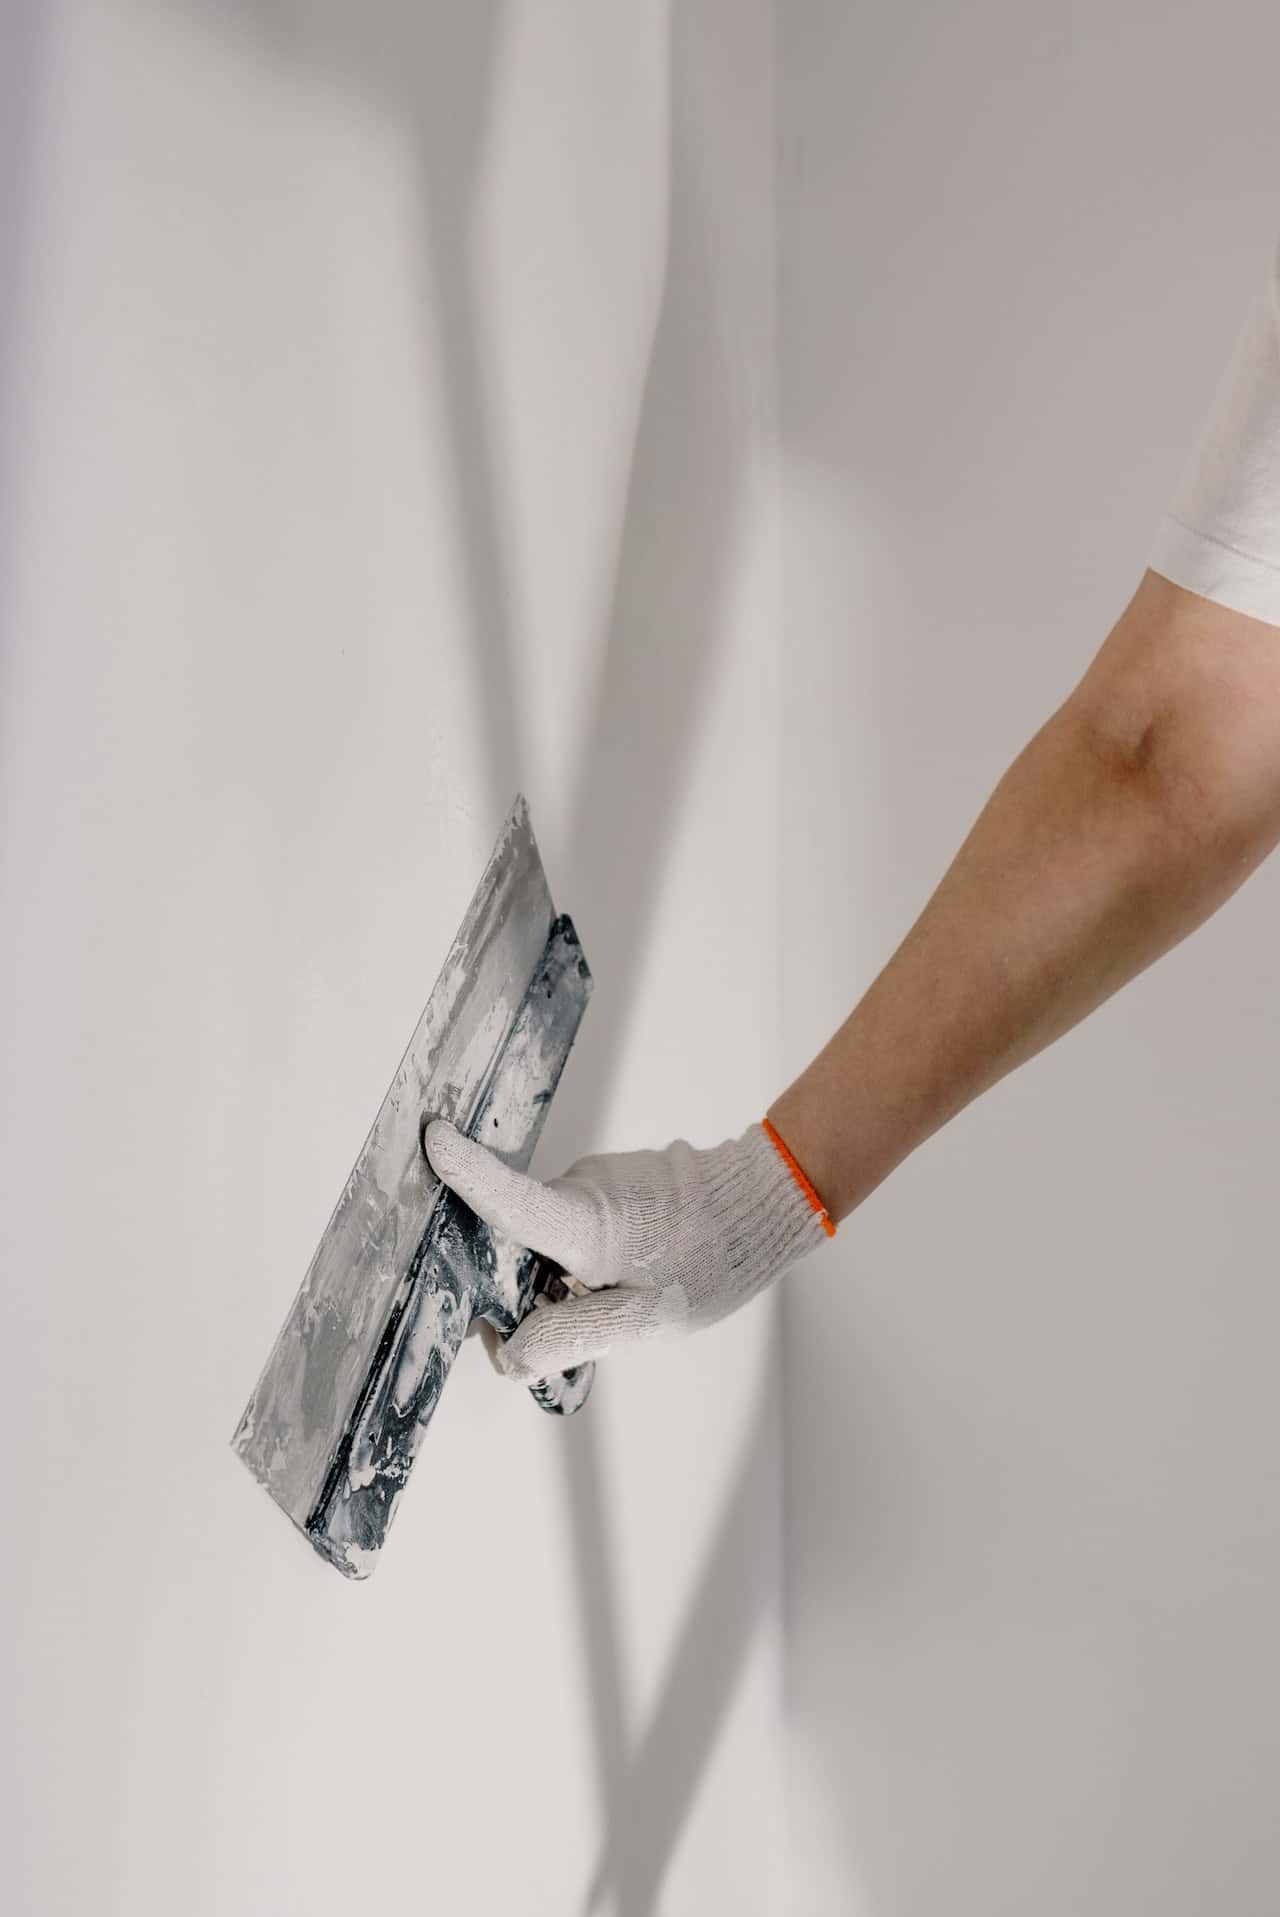
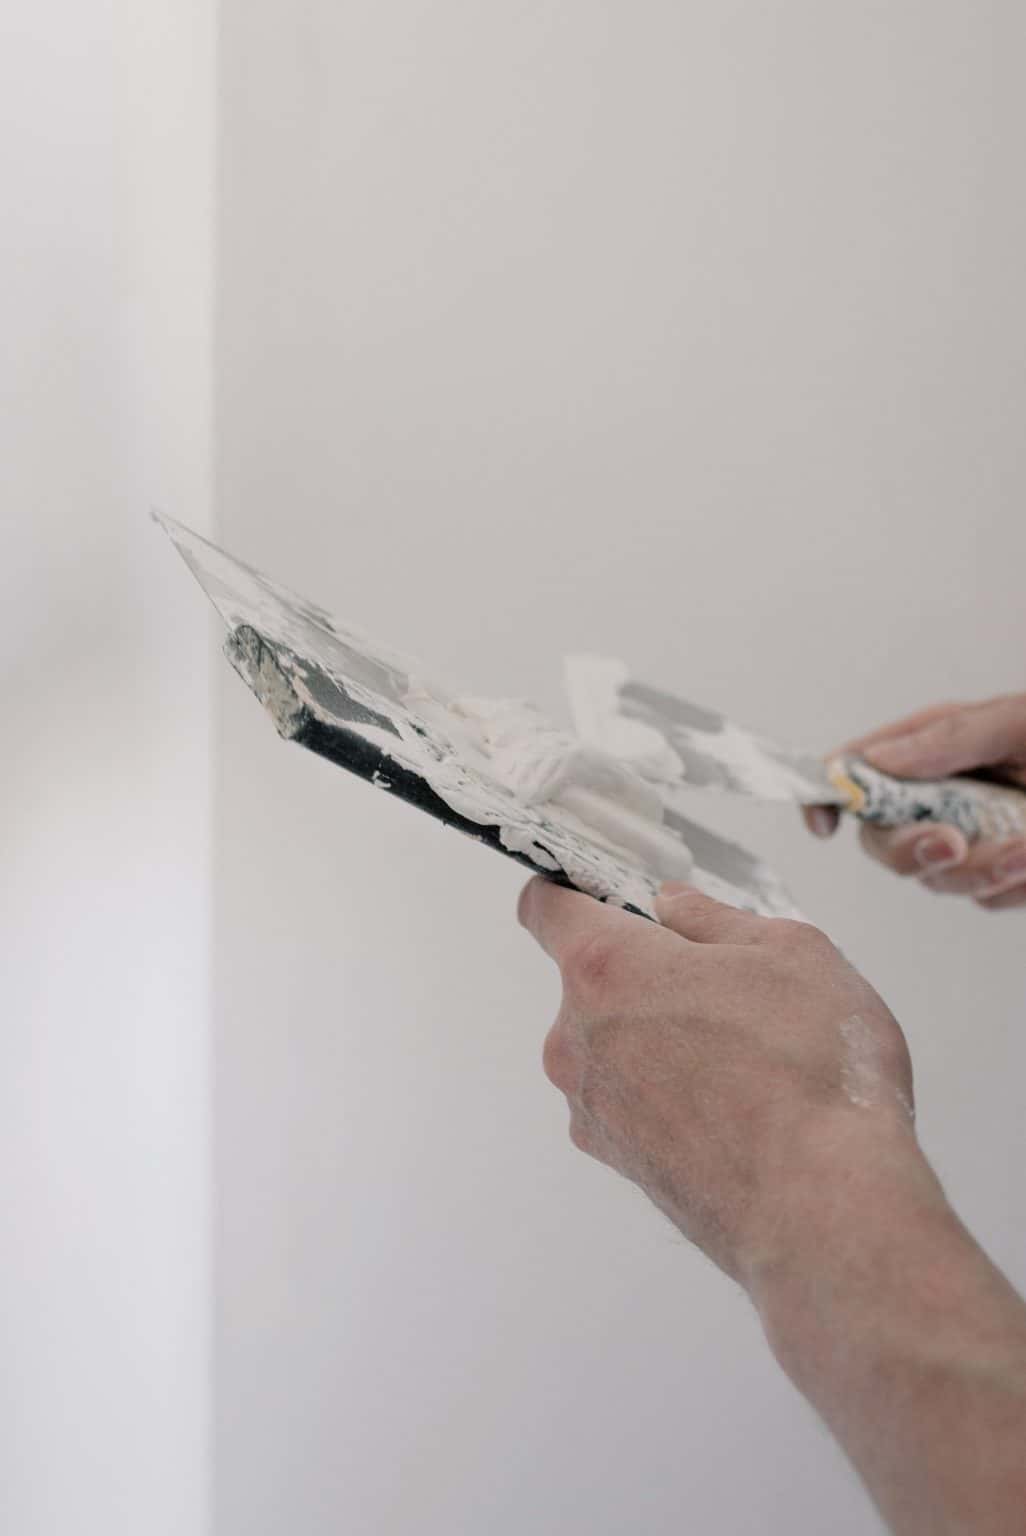
Step 4: Use the right tools, such as a putty knife and a firm brush, when applying wall putty on a plastered wall. Once the putty has been applied, smoothen the dry surface with sandpaper.
Pro tip: Use the putty mixture within 2-3 hours of preparing it. This is why it is recommended that you prepare the putty mix in smaller quantities to avoid wastage.
Pros and Cons of Wall Putty Designs
Pros-
- The wall putty makes your paintwork shine, adding a flawless and attractive finish to the walls as it helps bring the actual paint colour to the forefront; plus prevents the paint the flaking eventually.
- It makes the paintwork sturdy and long-lasting it effortlessly combines with the paint.
- It helps homeowners save money as it helps reduce the use of paint- you won’t need as much paint to complete the task.
- It offers high water and heat resistance, ensuring that moisture does not accumulate on the walls; it is also abrasion-resistant
- It helps improve the tensile strength of the wall.
Cons-
- The putty dries relatively quickly; hence it should only be applied to the walls by an experienced painter
- Once the putty is applied, scooping it off the surface or scraping it can be difficult
- Once the putty is hardened, tweaking or replacing is not possible; it may also not be possible to avoid cracks if you are applying wall putty to a broad surface area
- You need a mechanical stirrer to prepare the putty since it dries quickly; doing it manually is not possible
- It may comprise potentially toxic substances (think: formaldehyde), which may cause a skin rash/allergies
Top-Tips to Remember When Applying Wall Putty
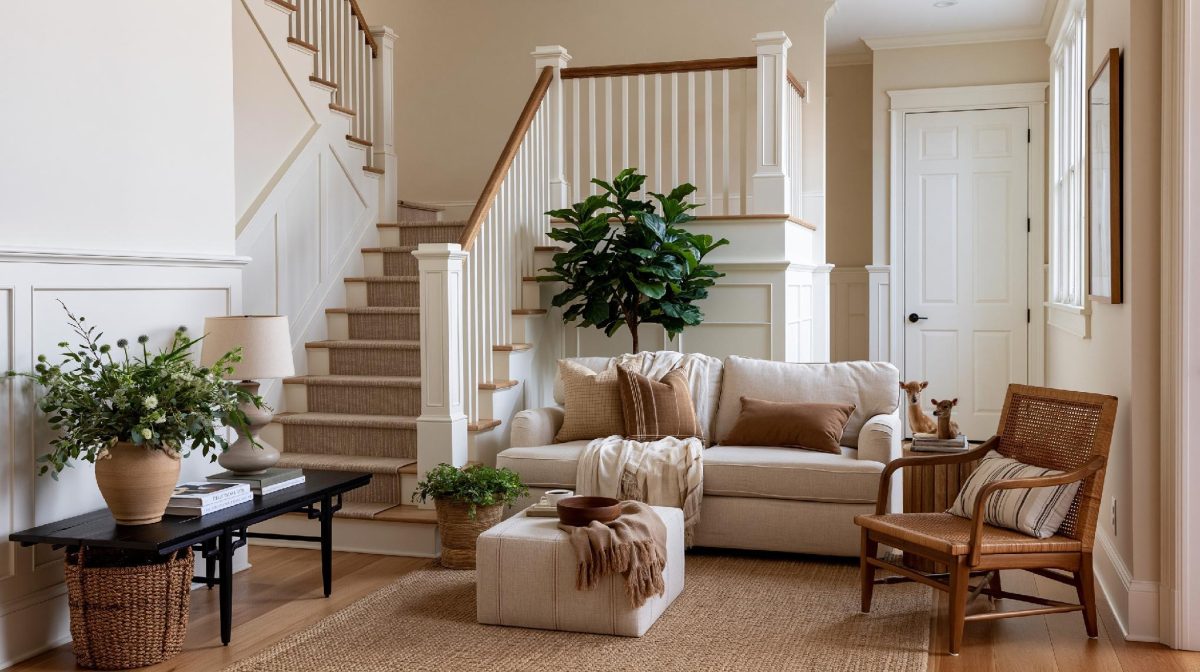
Whether you want to go for a bedroom wall putty design or one for your living room, keep the following best practices in mind while applying wall putty design in home:
- Before getting started, buy high-quality gloves and a face mask for your protection.
- Next, buy a good quality hands-on wall putty and cement/acrylic wall putty so that you get an even and smooth surface.
- Before applying wall putty, apply a primer first to the wall. Make sure to air-dry the wall for a couple of hours.
- Ideally, use two coats of wall putty. However, let the first coat cure for about four hours before you go in for the second coat. You should also wait a couple more hours before applying the third layer.
- Once the wall putty is successfully coated, use high-quality sandpaper to smoothen the surface. This step will allow you to get rid of any dust and filth as well as remove limescale from the walls.
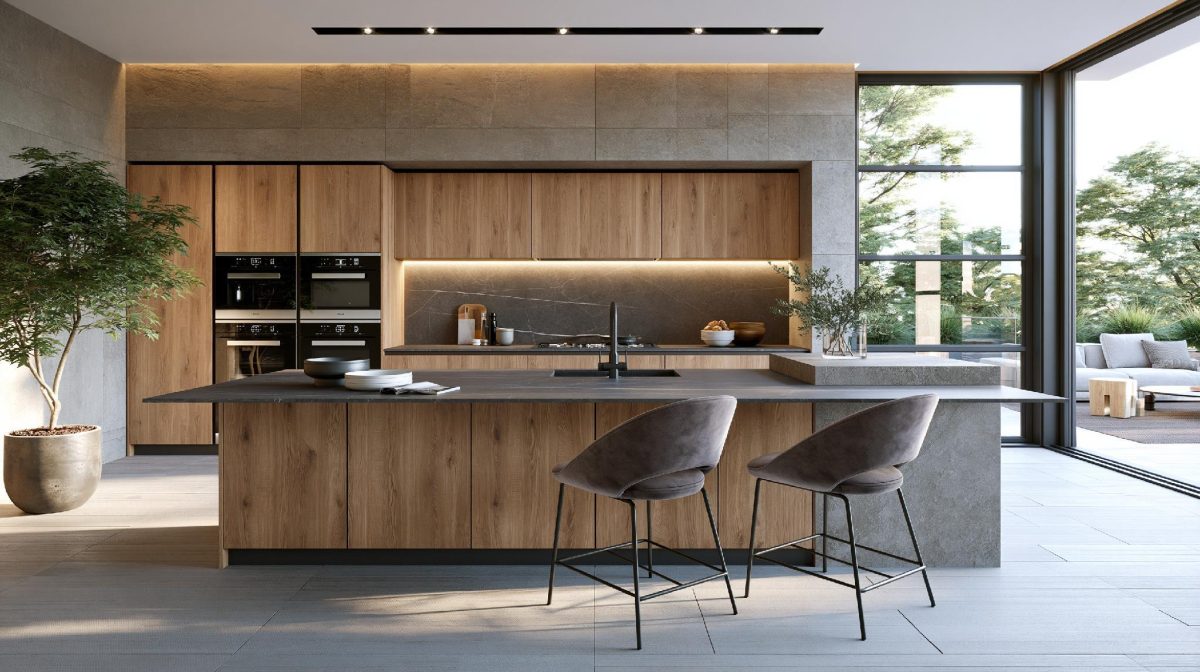
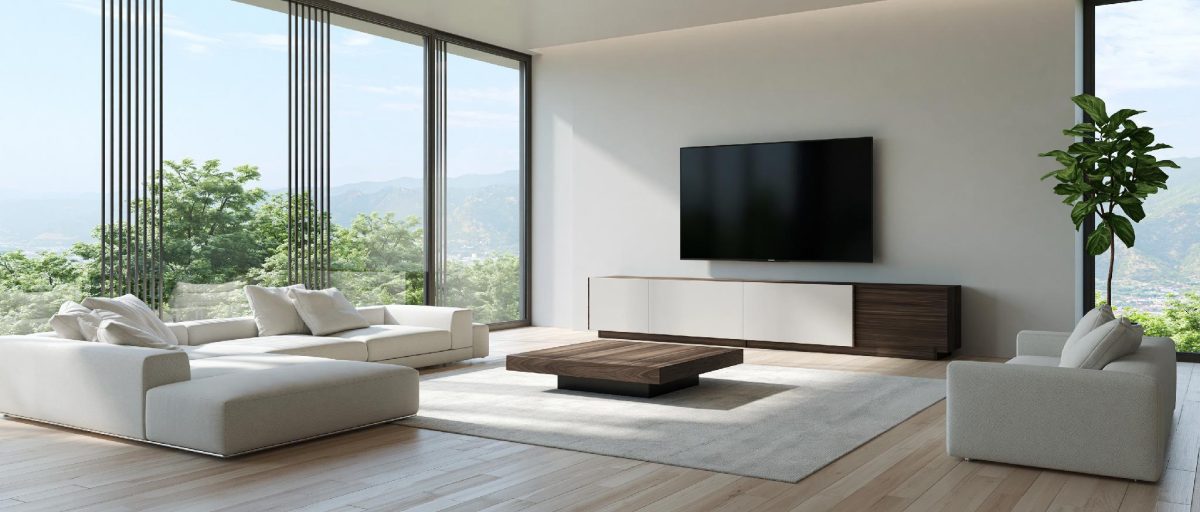
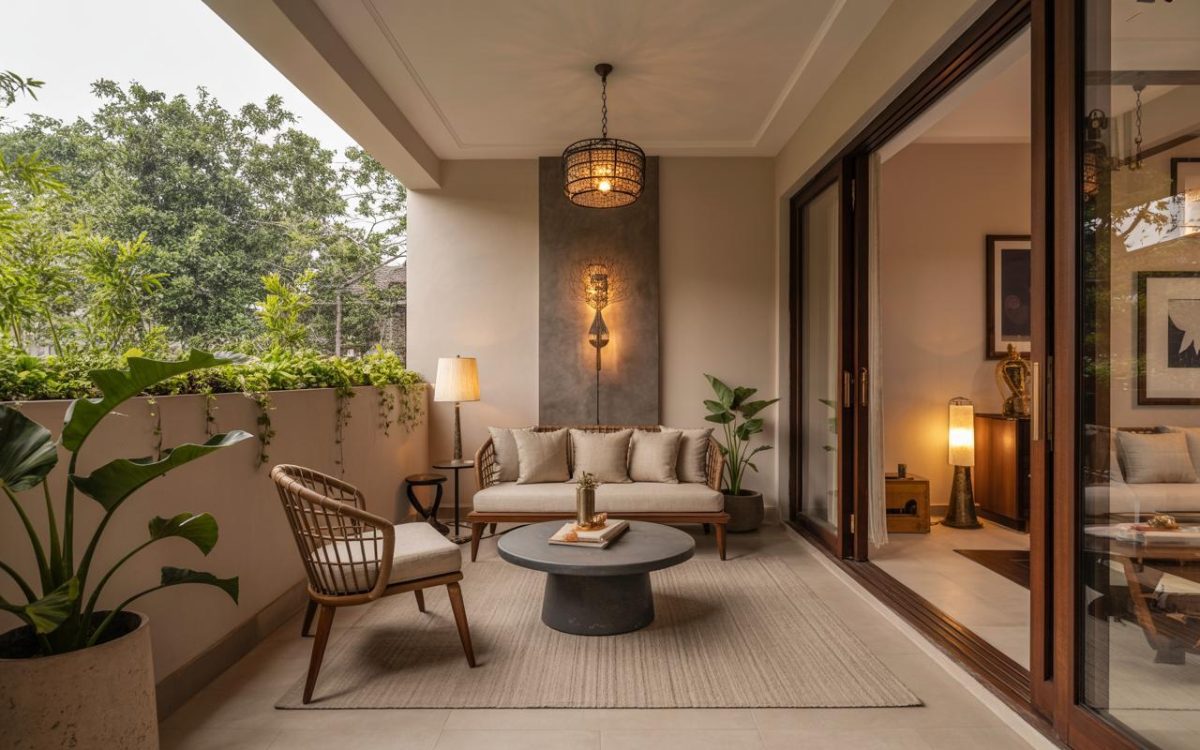
Wall putty is a versatile material with endless applications, benefits, and use cases. Whether you want to upgrade your living room interior design or give your bedroom a new look with a fresh coat of paint, choosing the right kind of wall putty design is the key. Take note of the tips and best practices outlined above and transform your home the right way. For more practical tips on wall putty designs, head over to HomeLane.
FAQs
1. Is Wall Putty Good for Walls?
Yes, wall putty is great for walls as it offers better protection against stains, mould, dents, and cracks. Plus, this versatile and multi-functional material can be on any wall type, from precast walls to concrete/rendered walls. It lends a smooth, shiny, and glossy finish to the wall and prevents the paint from chipping off. Finally, it prevents moisture buildup within the walls and helps the walls be heat- and abrasion-resistant.
2. How Do I Put Texture on a Putty Wall?
If you want to create textures and patterns on wall putty, use masking tape. You can experiment with fun patterns using this tape. Just make sure to remove the tape when the putty is still wet, or it will get removed once it has dried.
Alternatively, you can leverage the services of a professional wall putty artist who will use a stencil to create trendy and beautiful wall putty designs. You can use this idea for your foyer or living room. Other materials that can be used to add texture to a putty wall include a sponge, a scraper for a fish scale wall putty design, flat brushes to create gorgeous murals, a brick for a classic wall putty design, and more.
3. Which Putty Is Used for Wall Texture?
Acrylic wall putty design is excellent for adding texture to your walls. You can create the desired pattern of choice by hand–be it geometric, floral, etc.- make sure to do it when the putty is wet, or the pattern will stay the same.


 EXPLORE MORE